

knew it was EXACTLY what I was after! So elegant and just the perfect amount of GLAM to fit our wedding style! But these things don’t come cheap honey. Here’s how you can save a pretty penny by doing it ALL yourself! Minus the printing part of course…
Step 1 | Select a Color Palette


Step Two | Select a Style
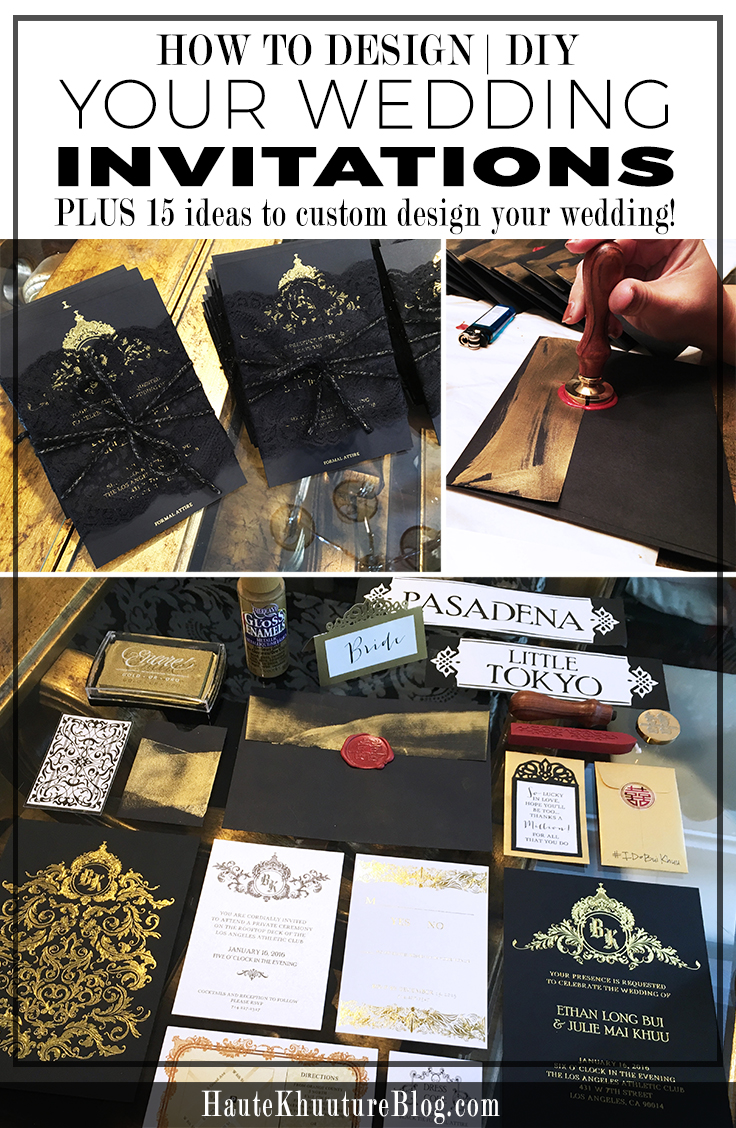
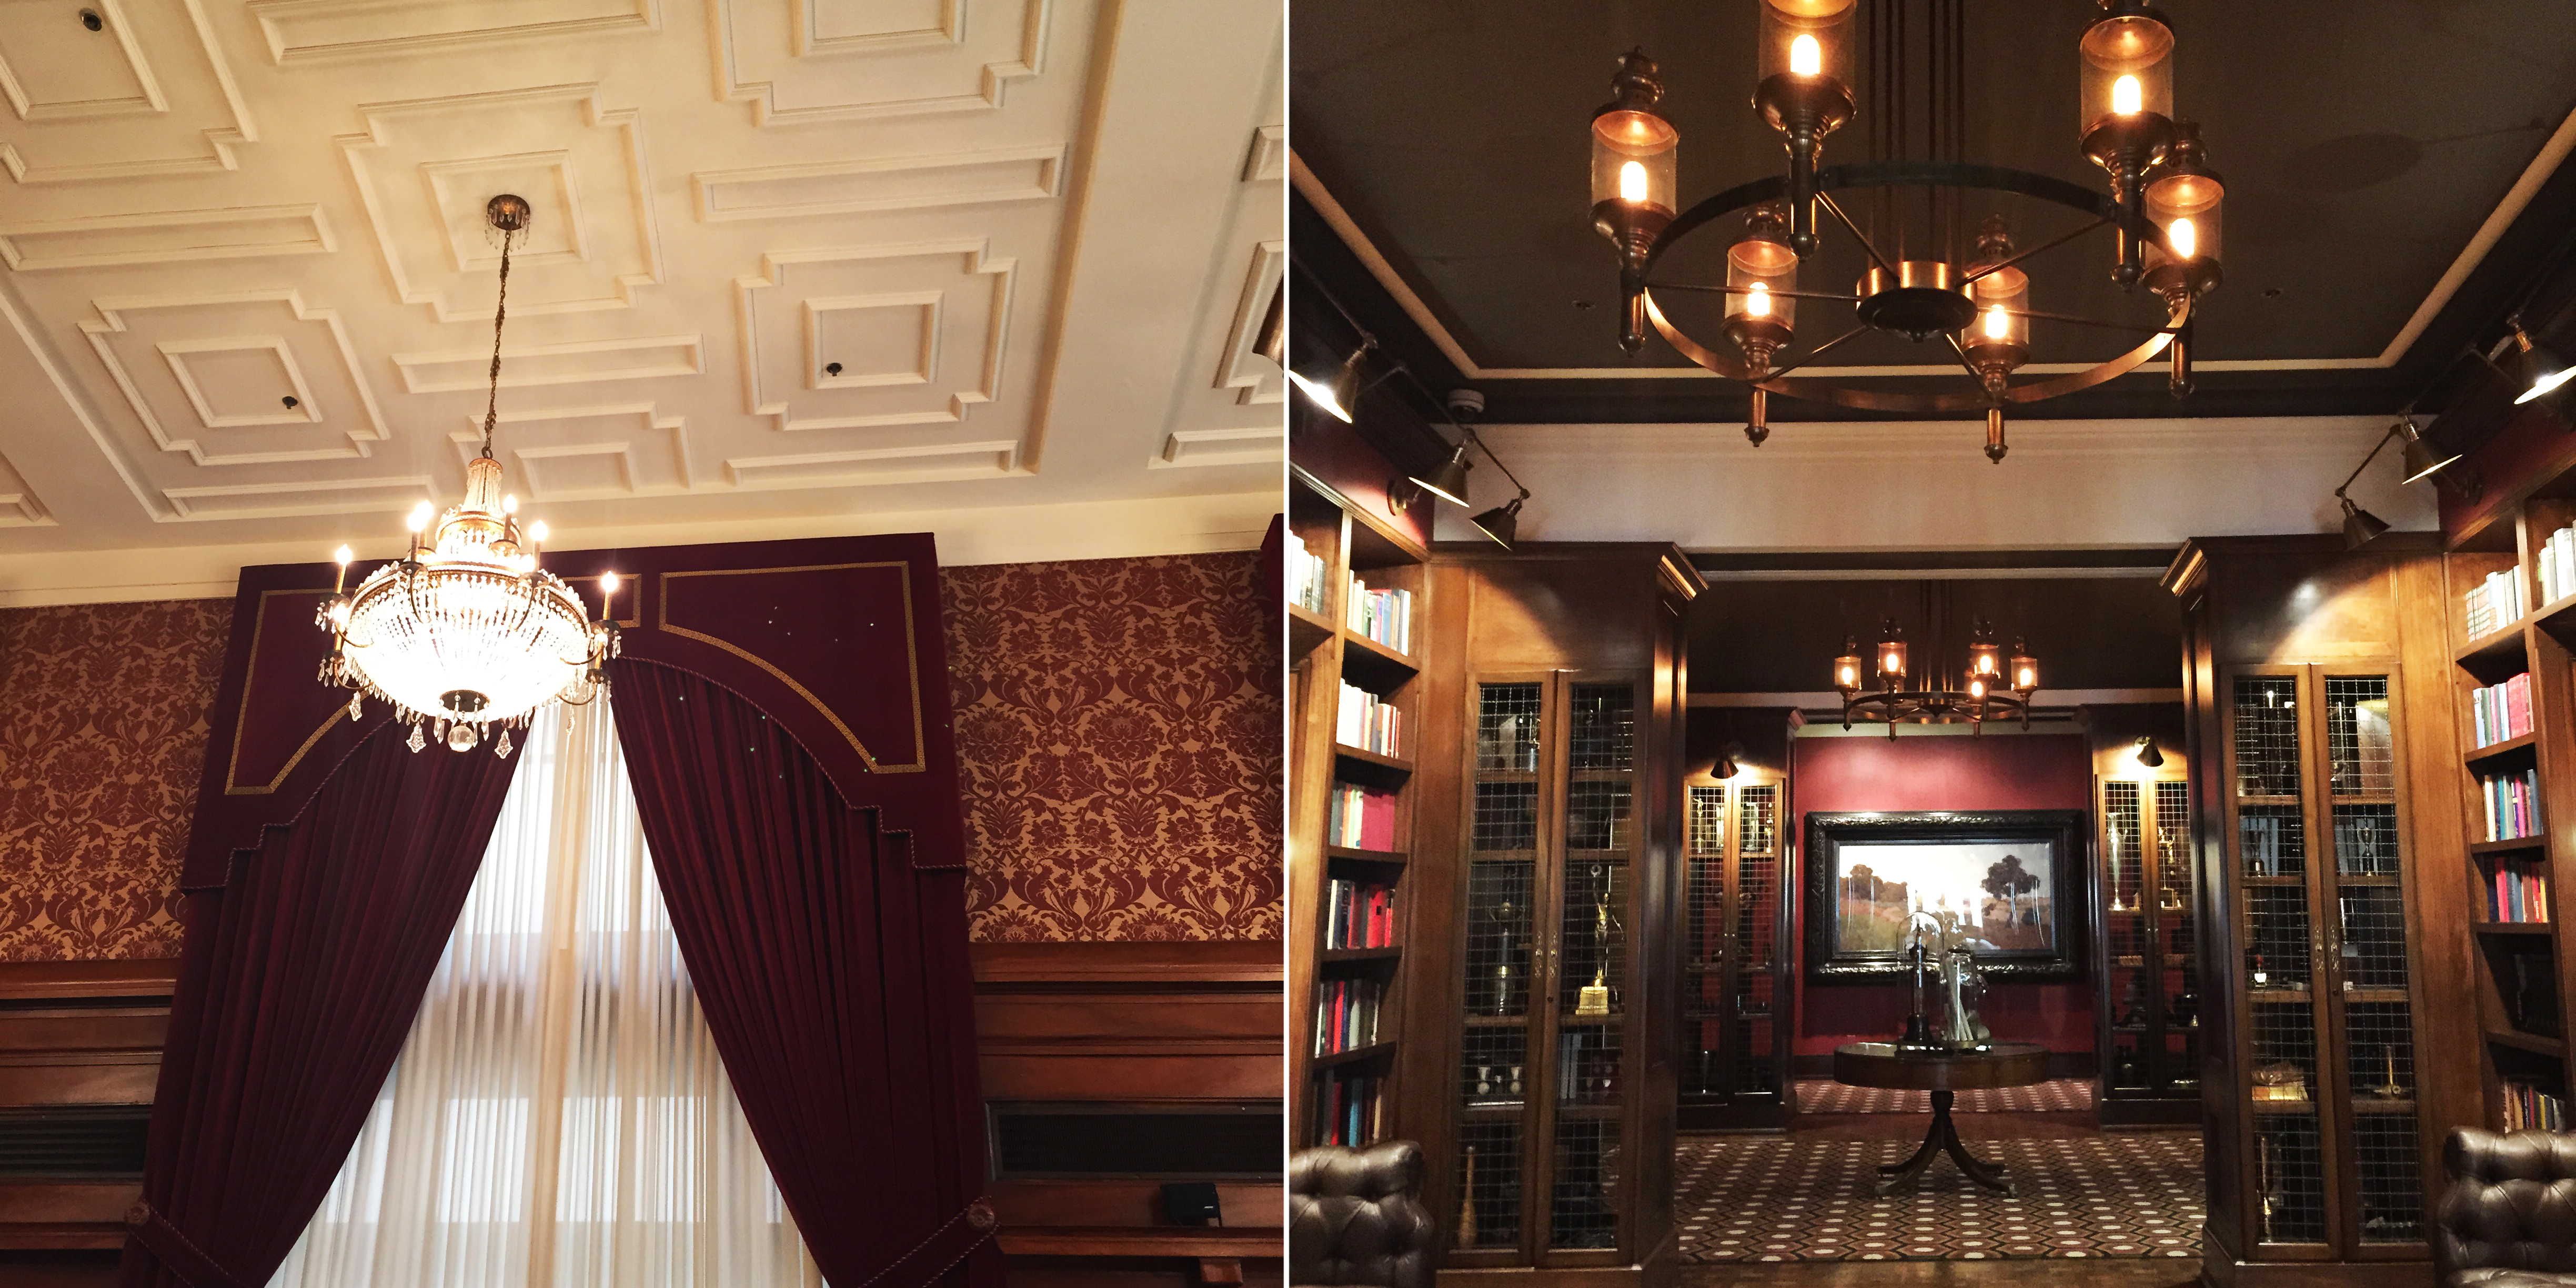
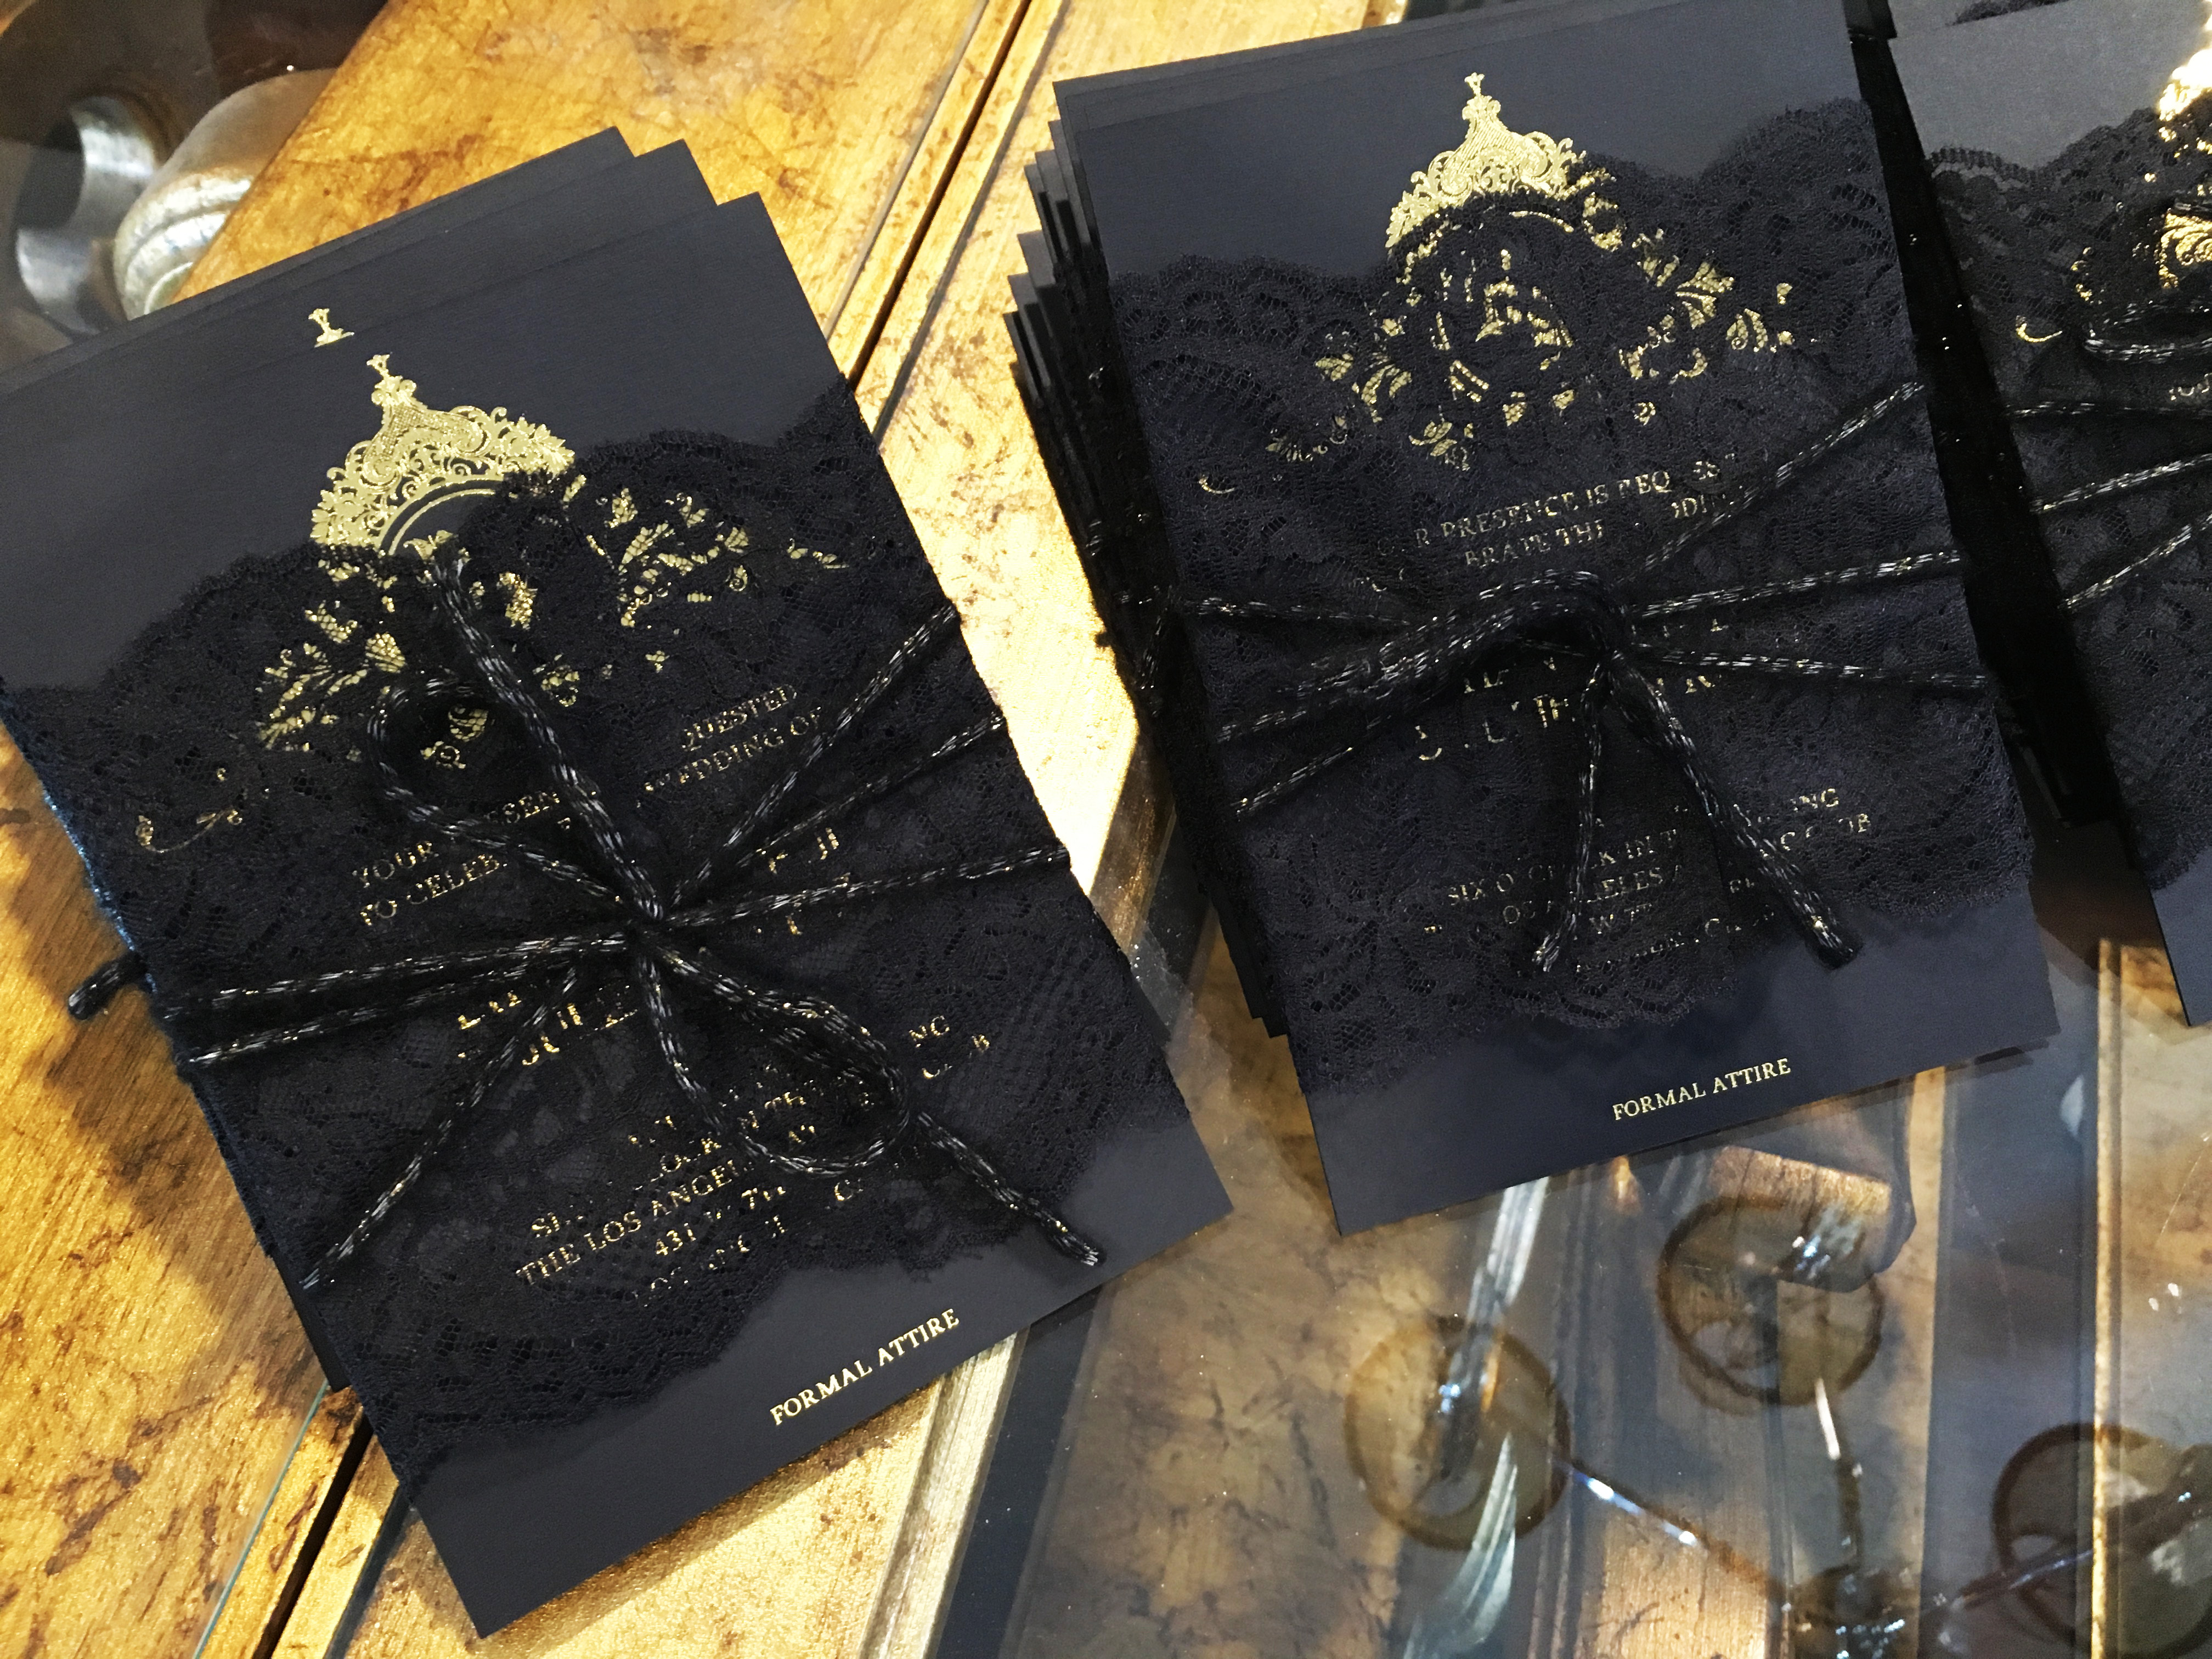
OUR WINTER WEDDING STYLE: Glam luxe meets Gothic romance
I pinned some invitations I LOVED from Pinterest and after having contacted the graphic companies directly for a quote, these babies came out to over $50+ per invitation! Multiply that by 150 invitations and I’ve just blown a fraction of my budget on invites alone! Crazy!!!
Step 3 | Graphic Design
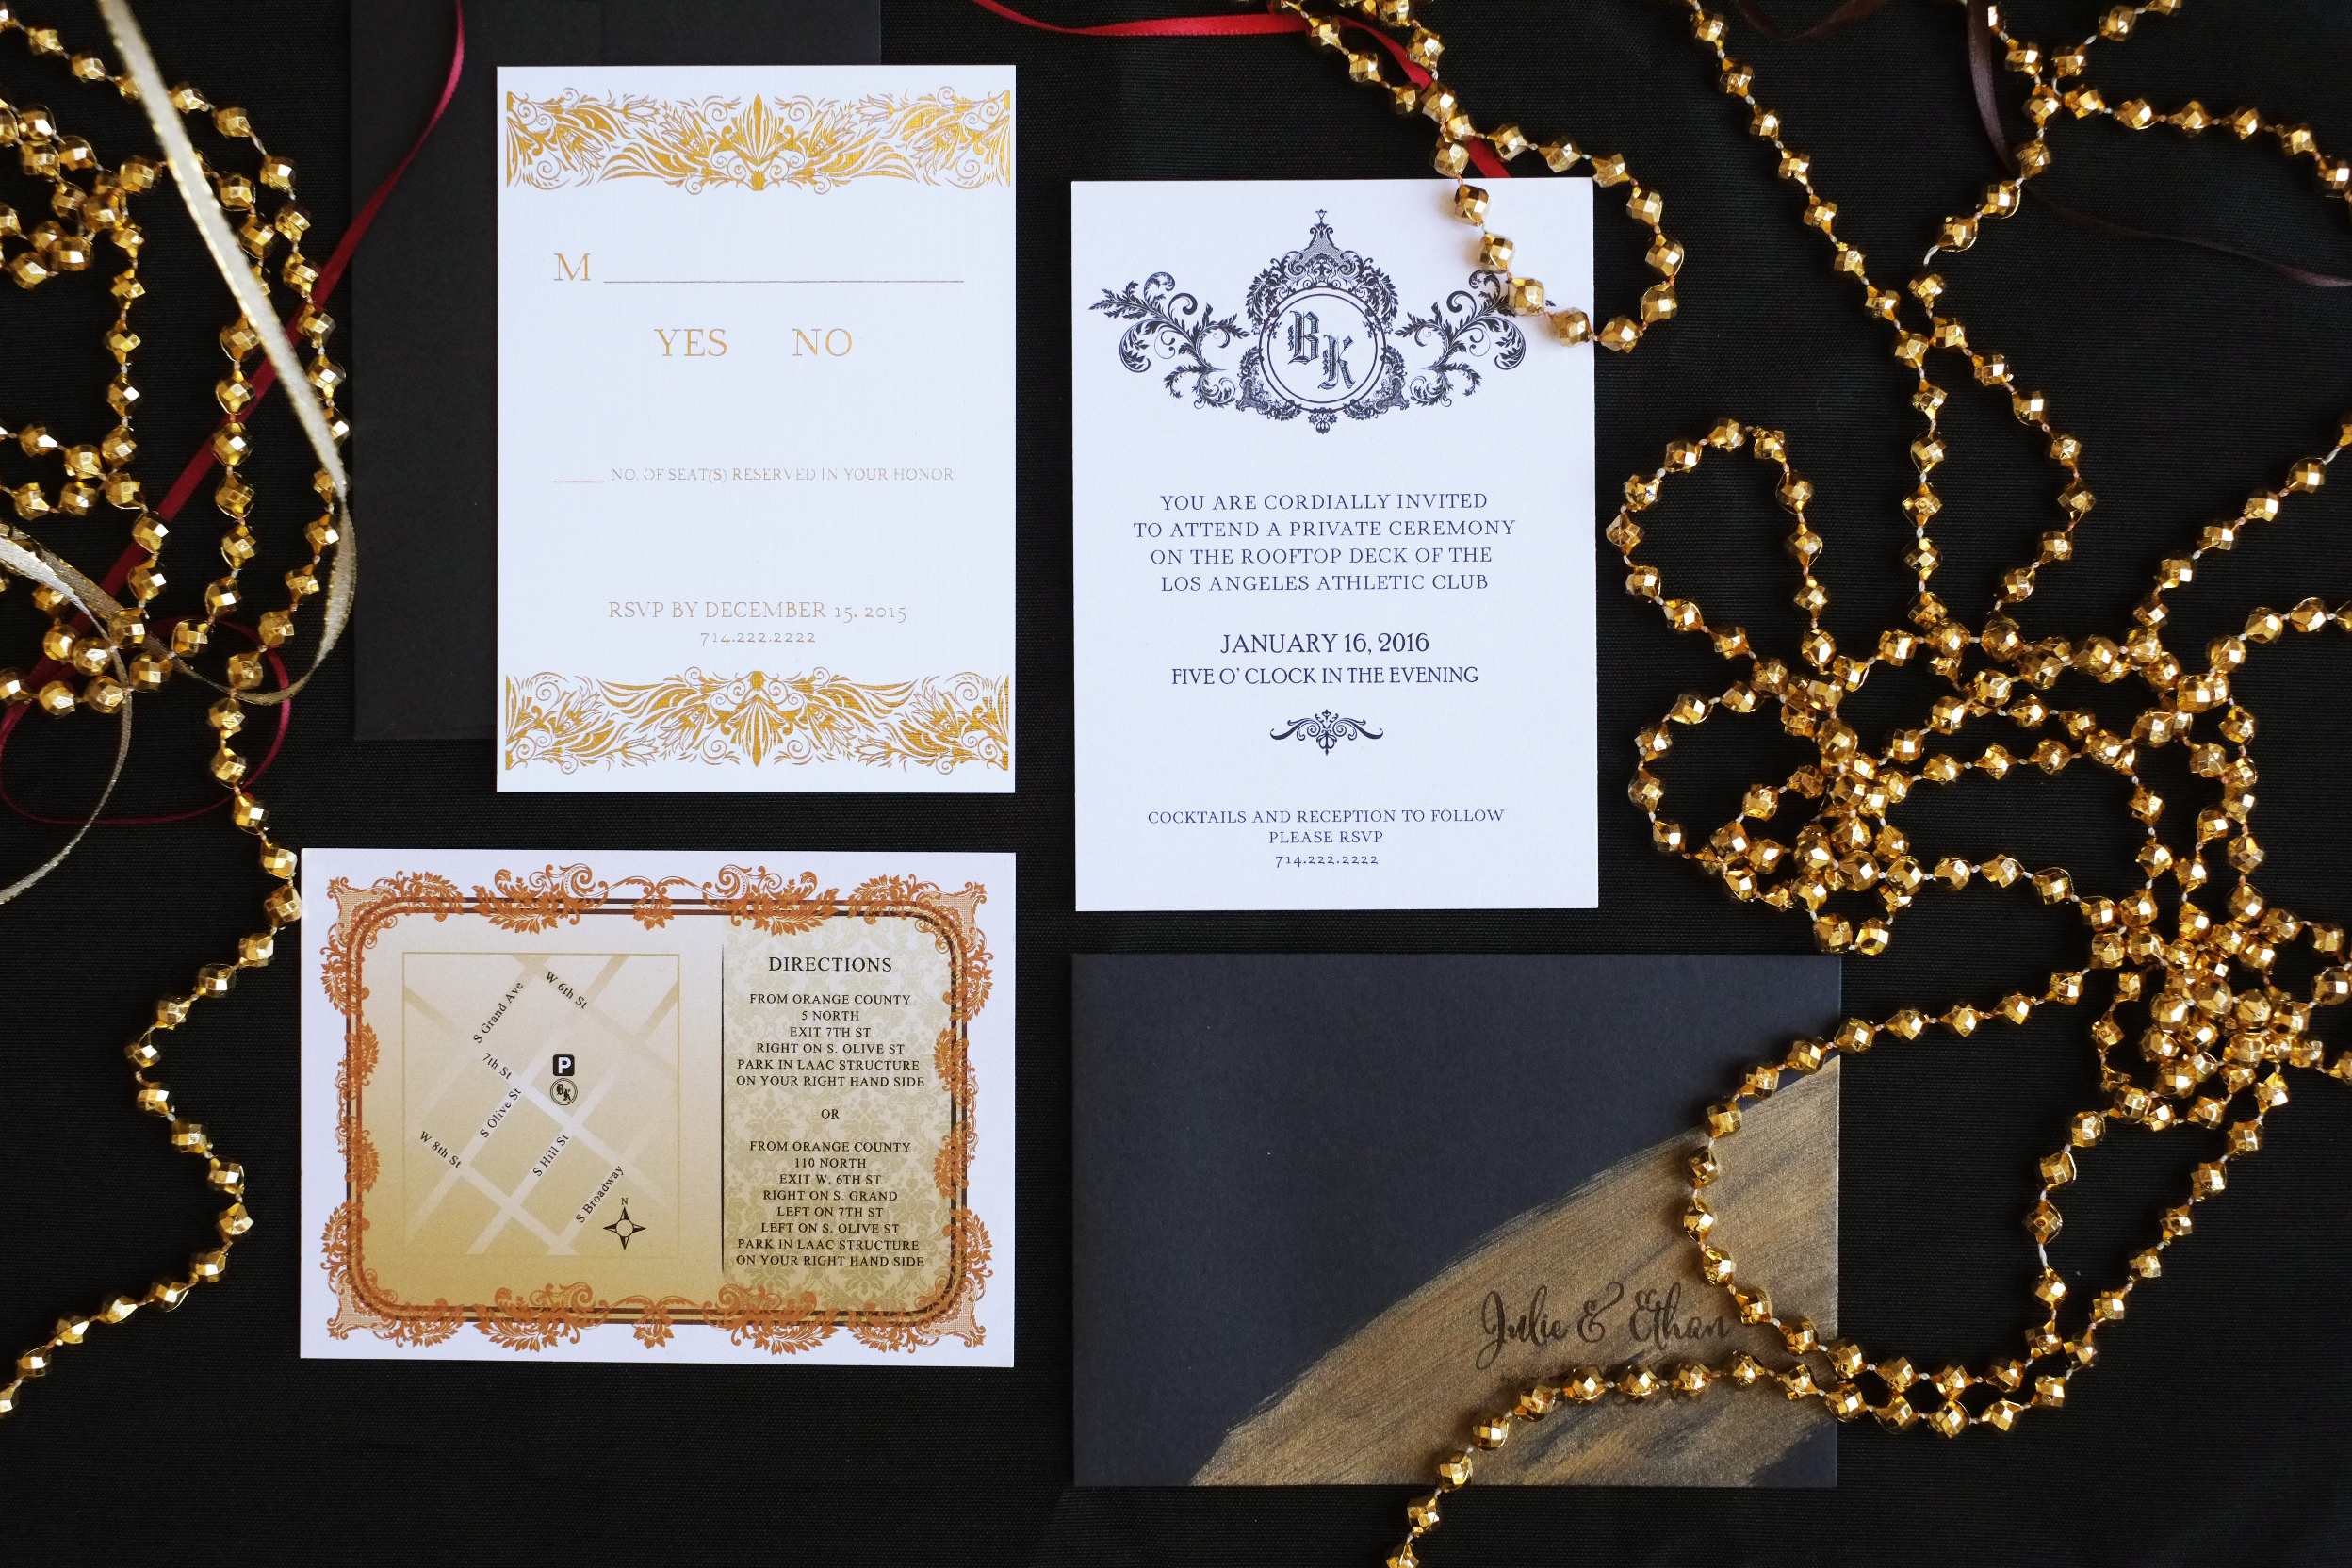
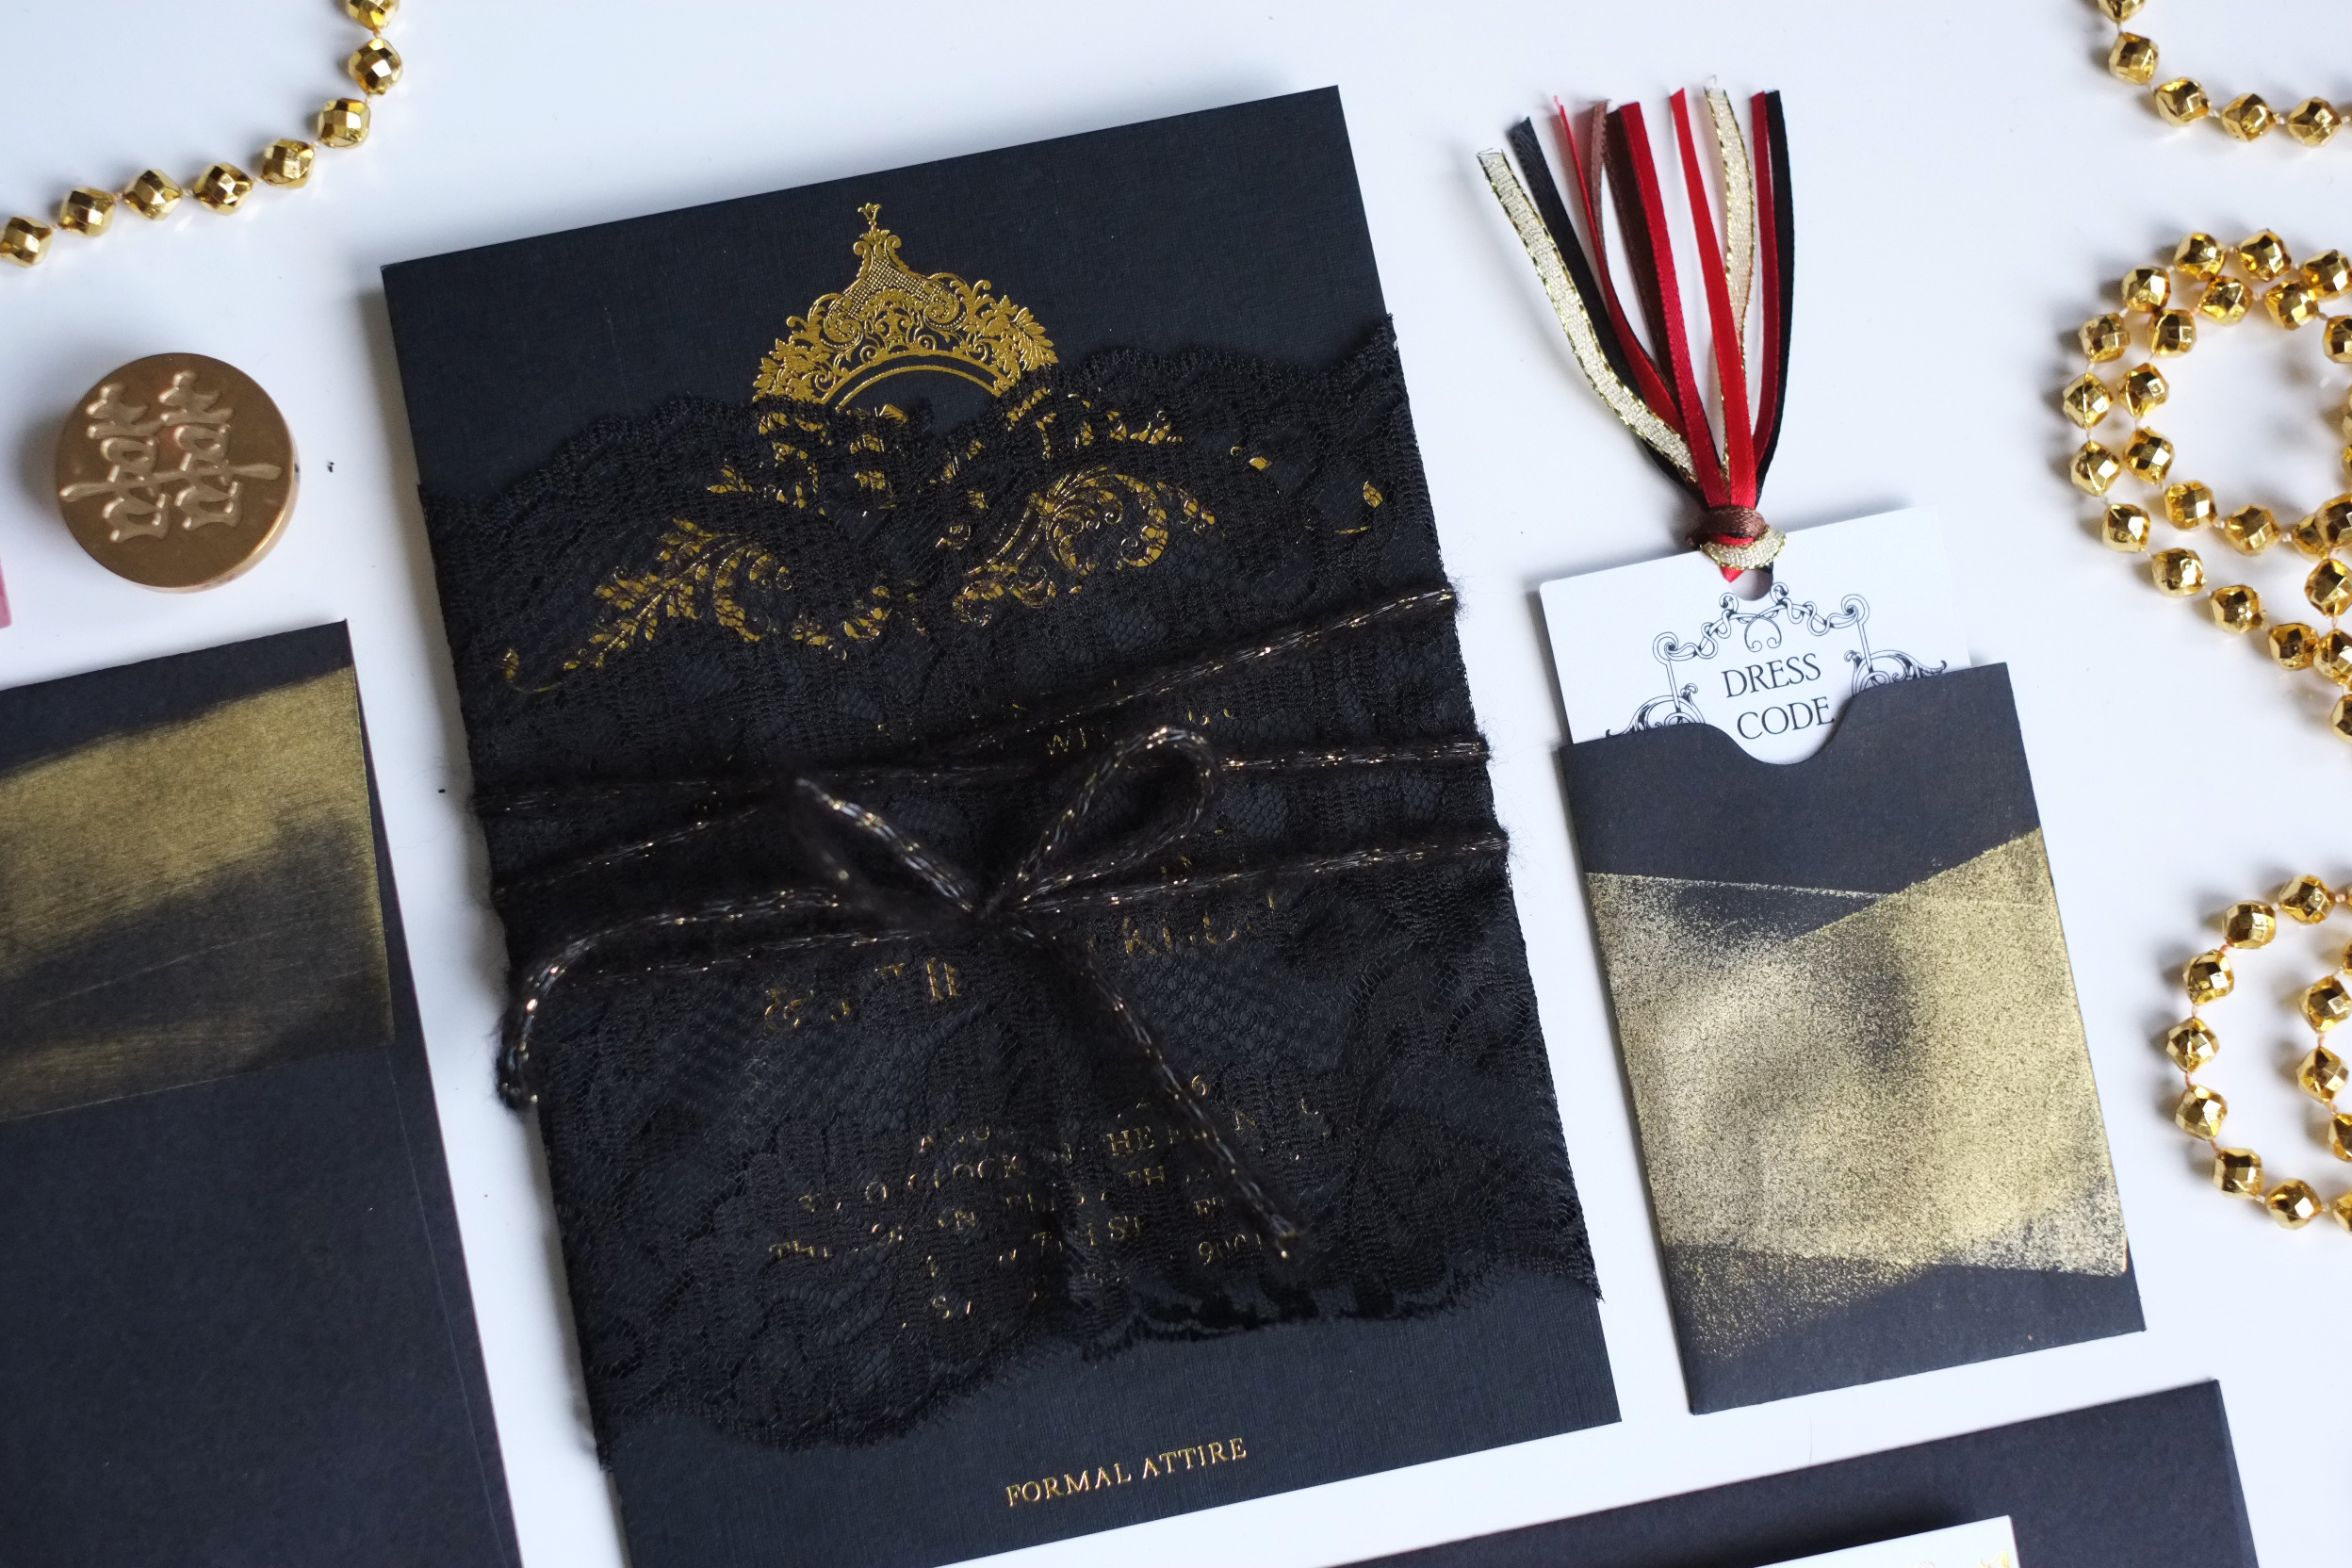
Our CUSTOM Wedding Invitations included the following:
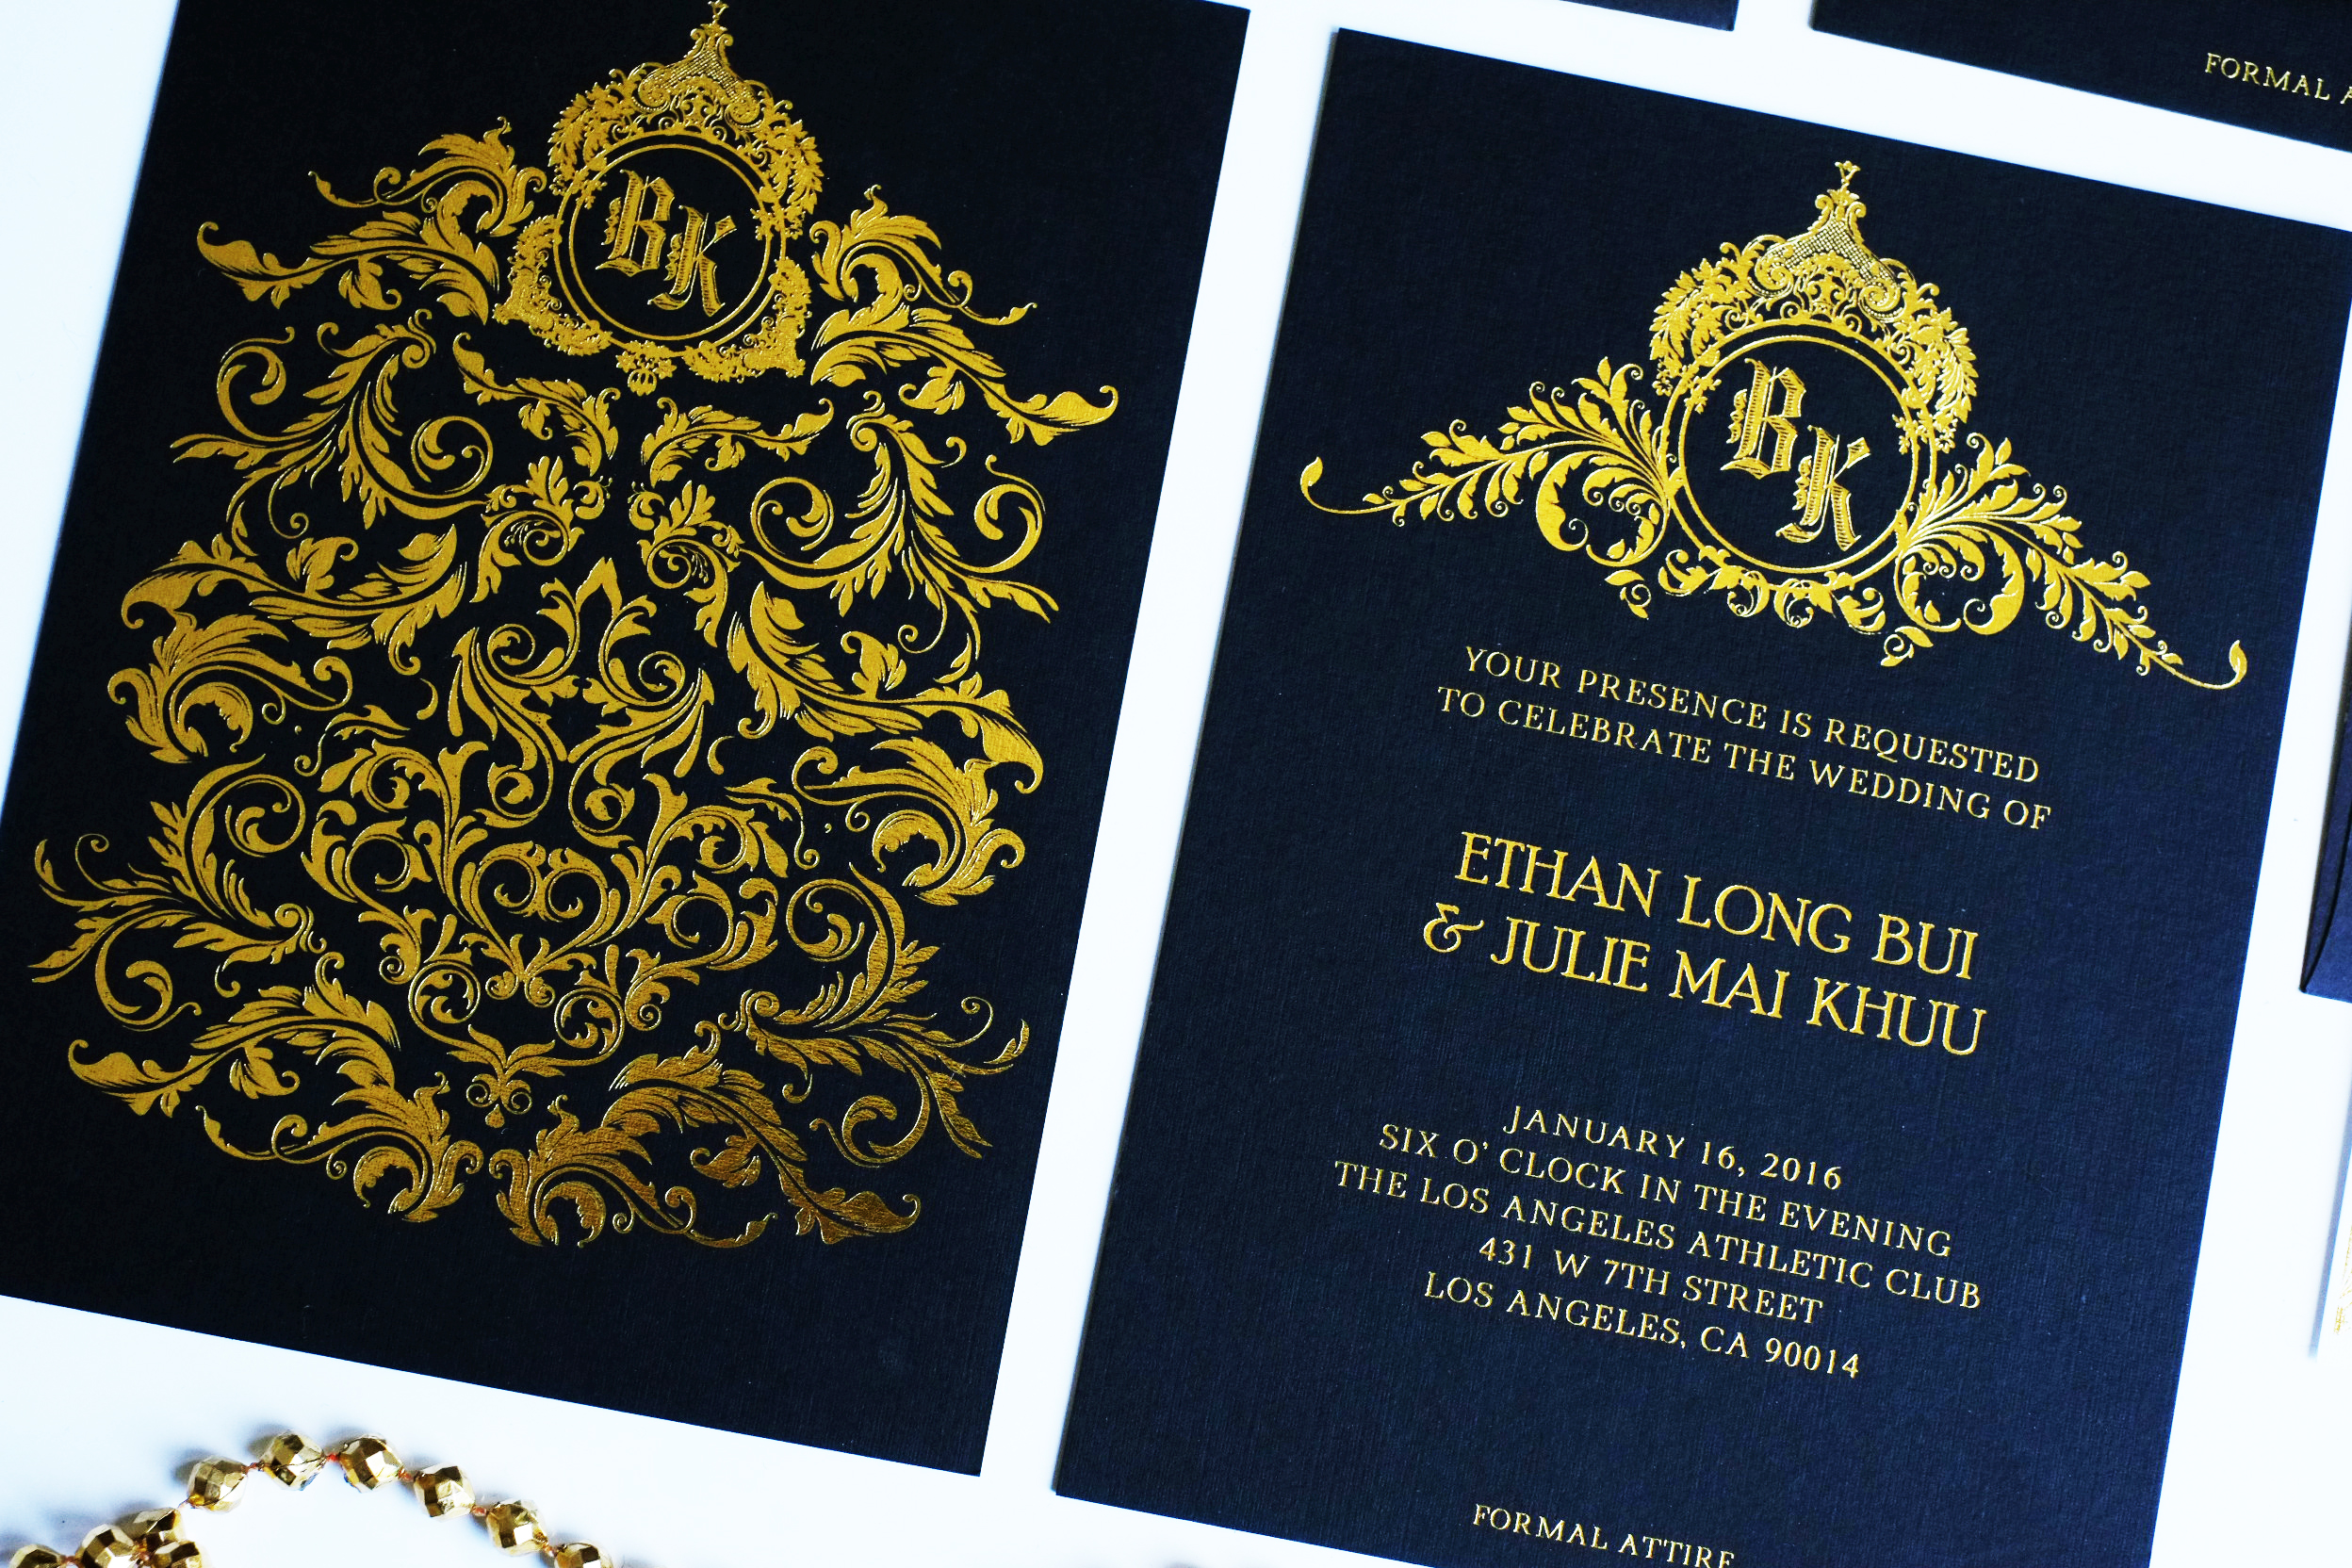
- Formal Invitation (gold-leaf print front and back) with handmade DIY envelope
- Ceremony invitation card
- Reply card with handmade DIY reply envelope
- Directions and map
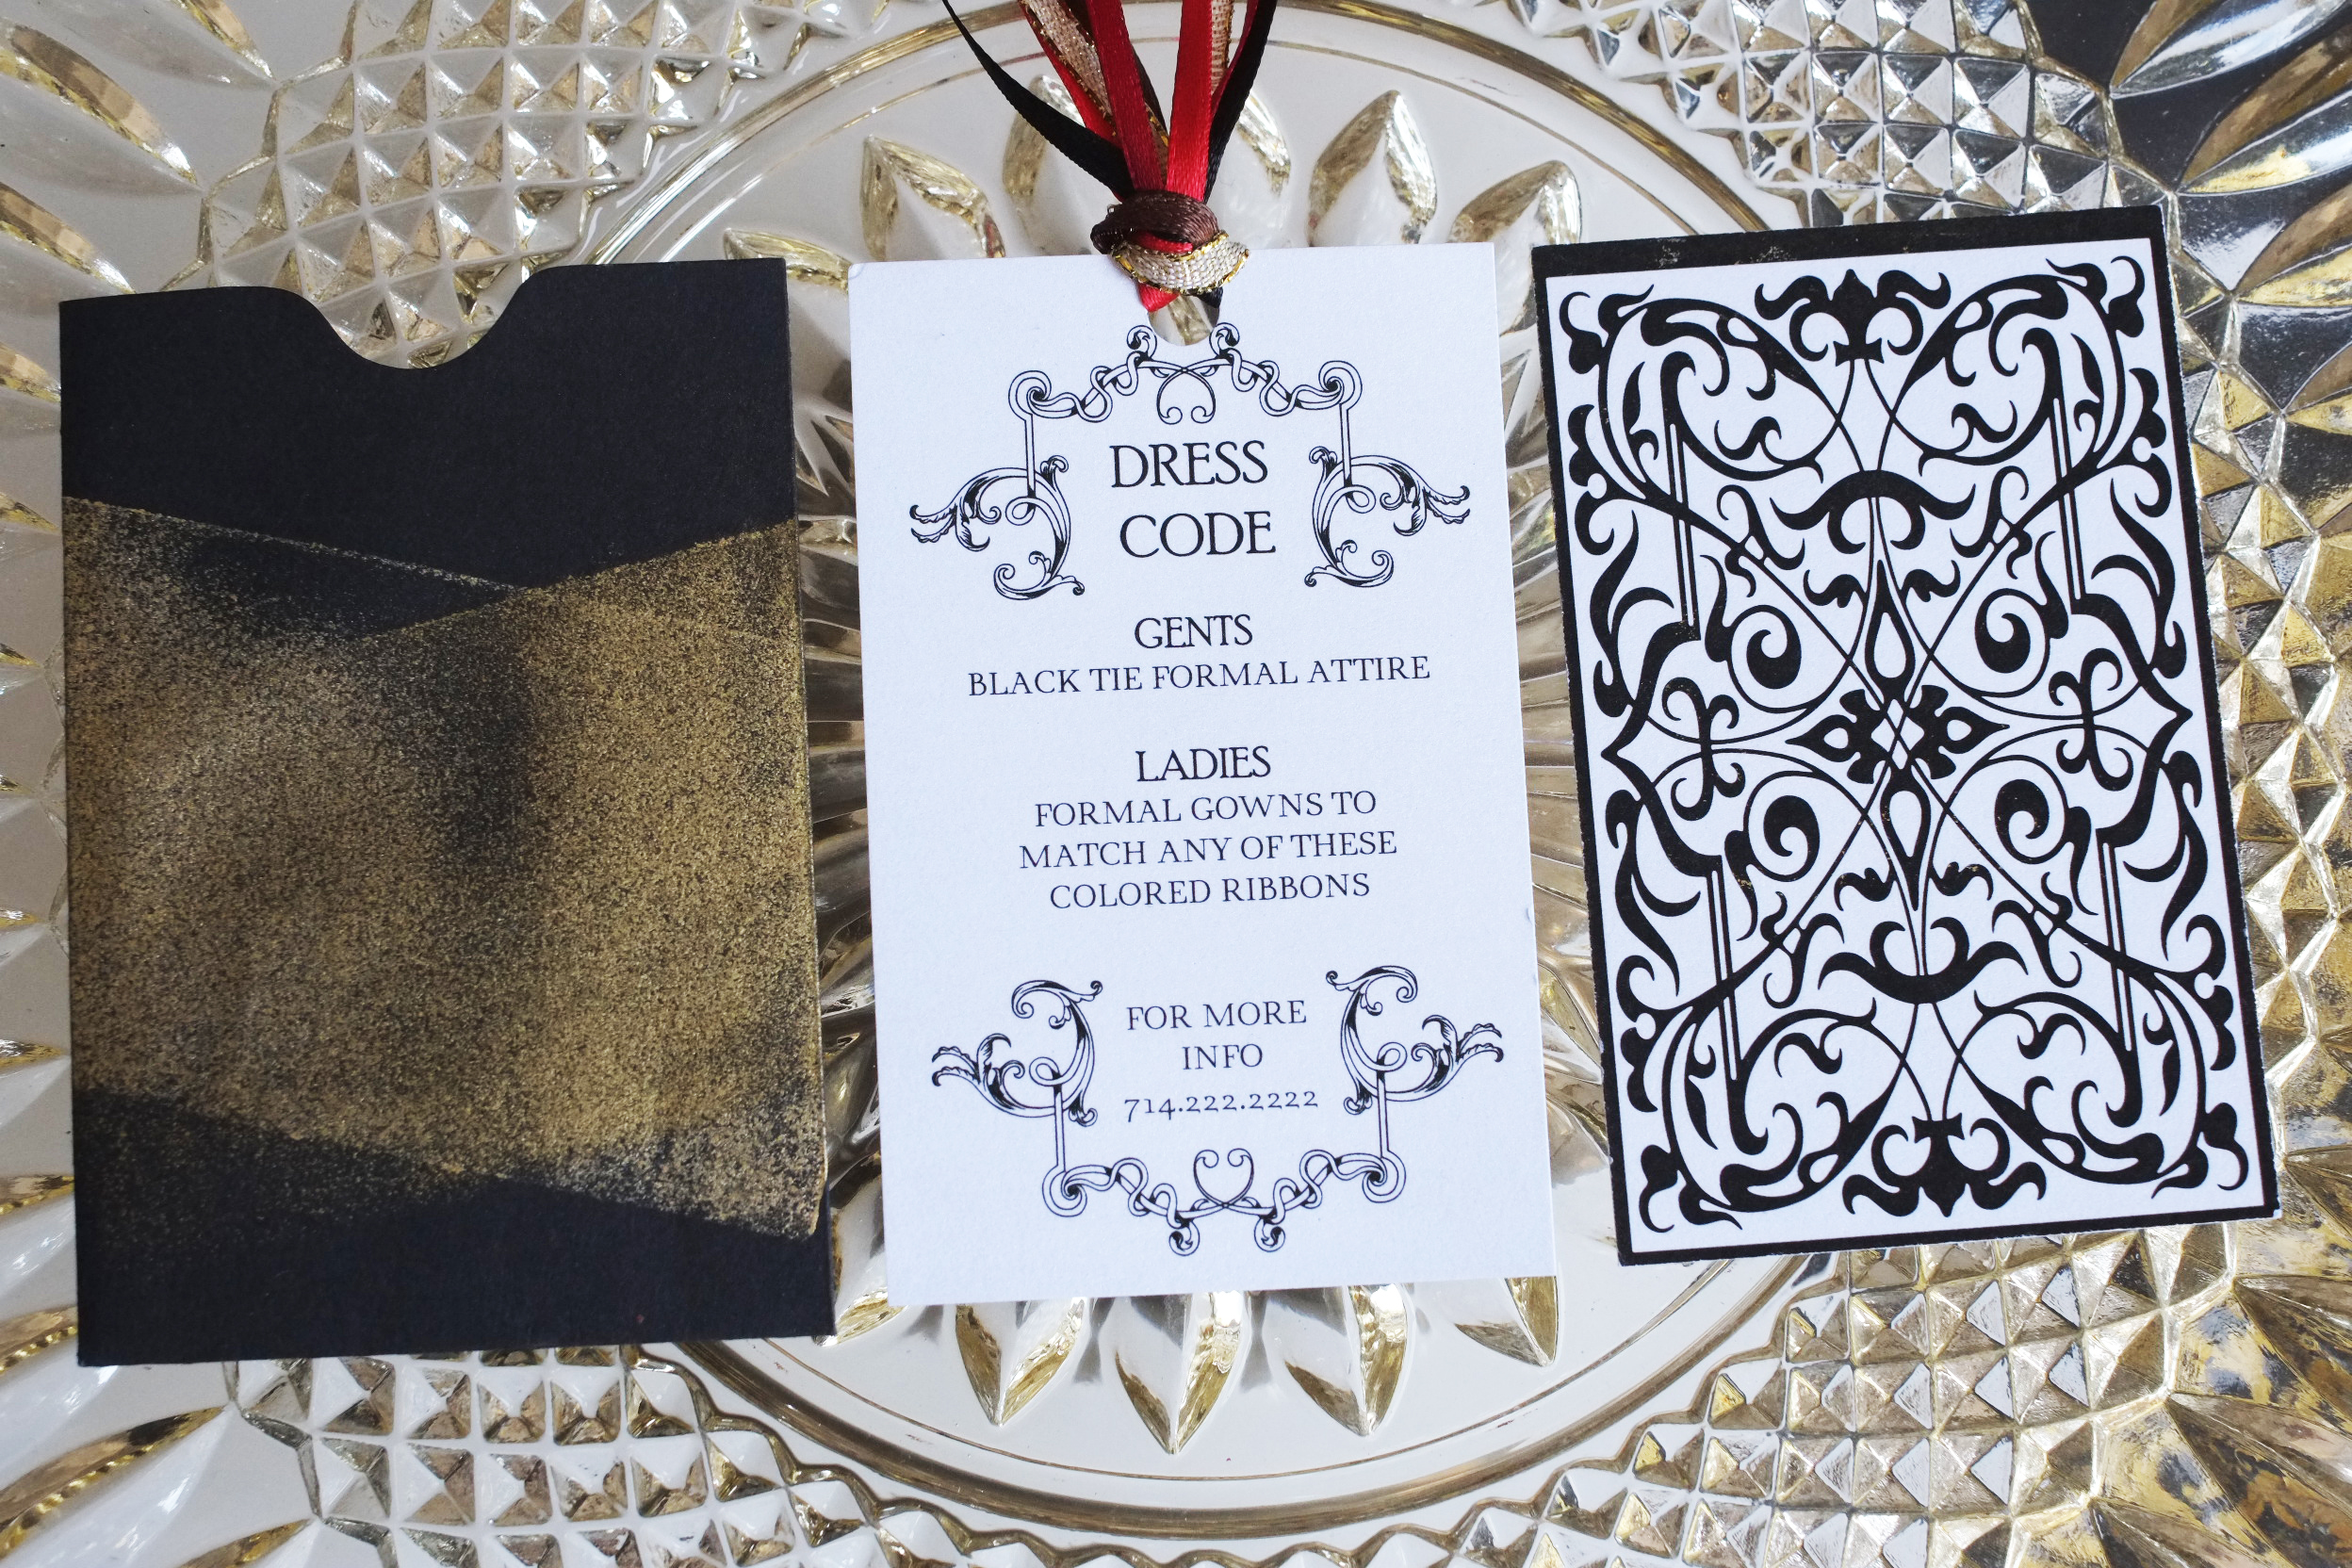
- Dress code card with handmade DIY envelope
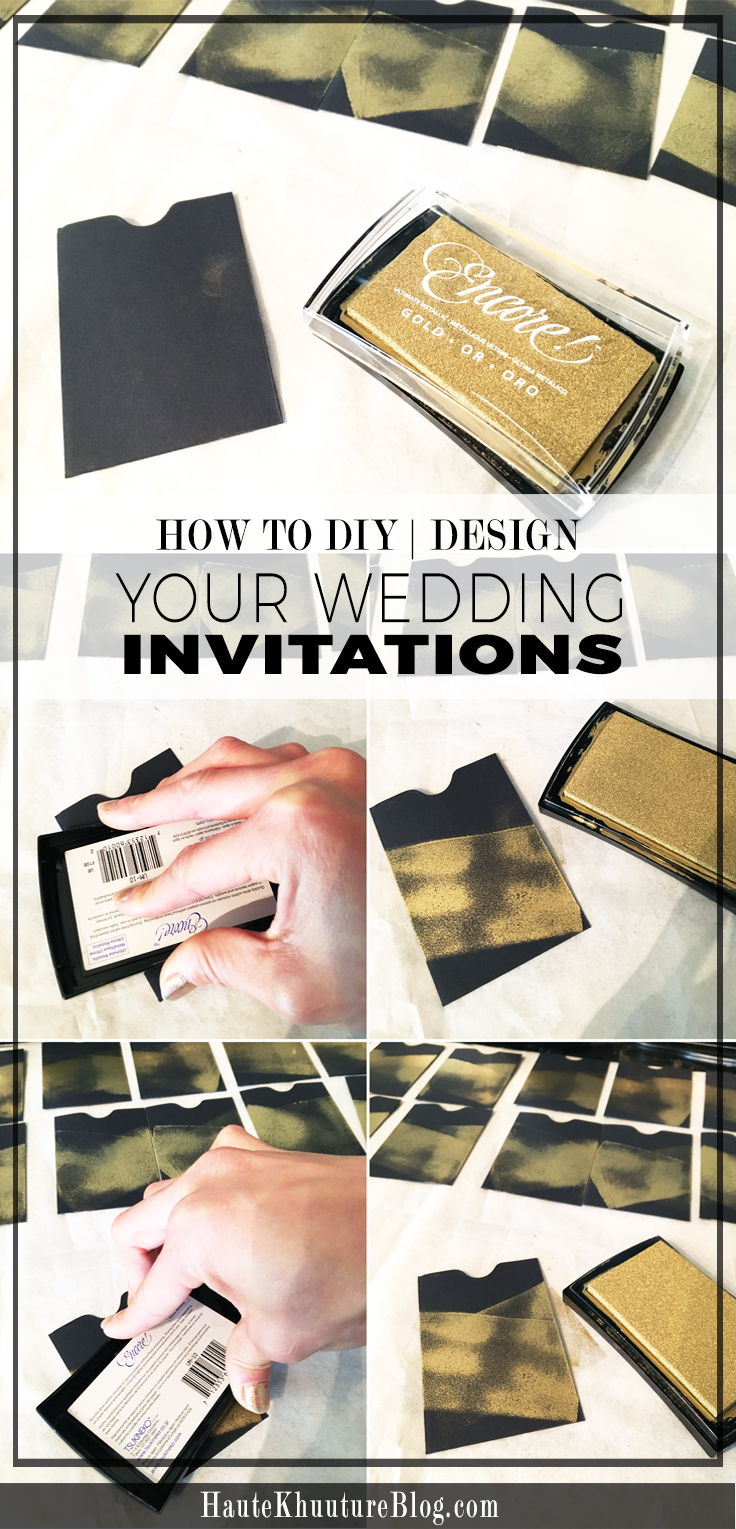
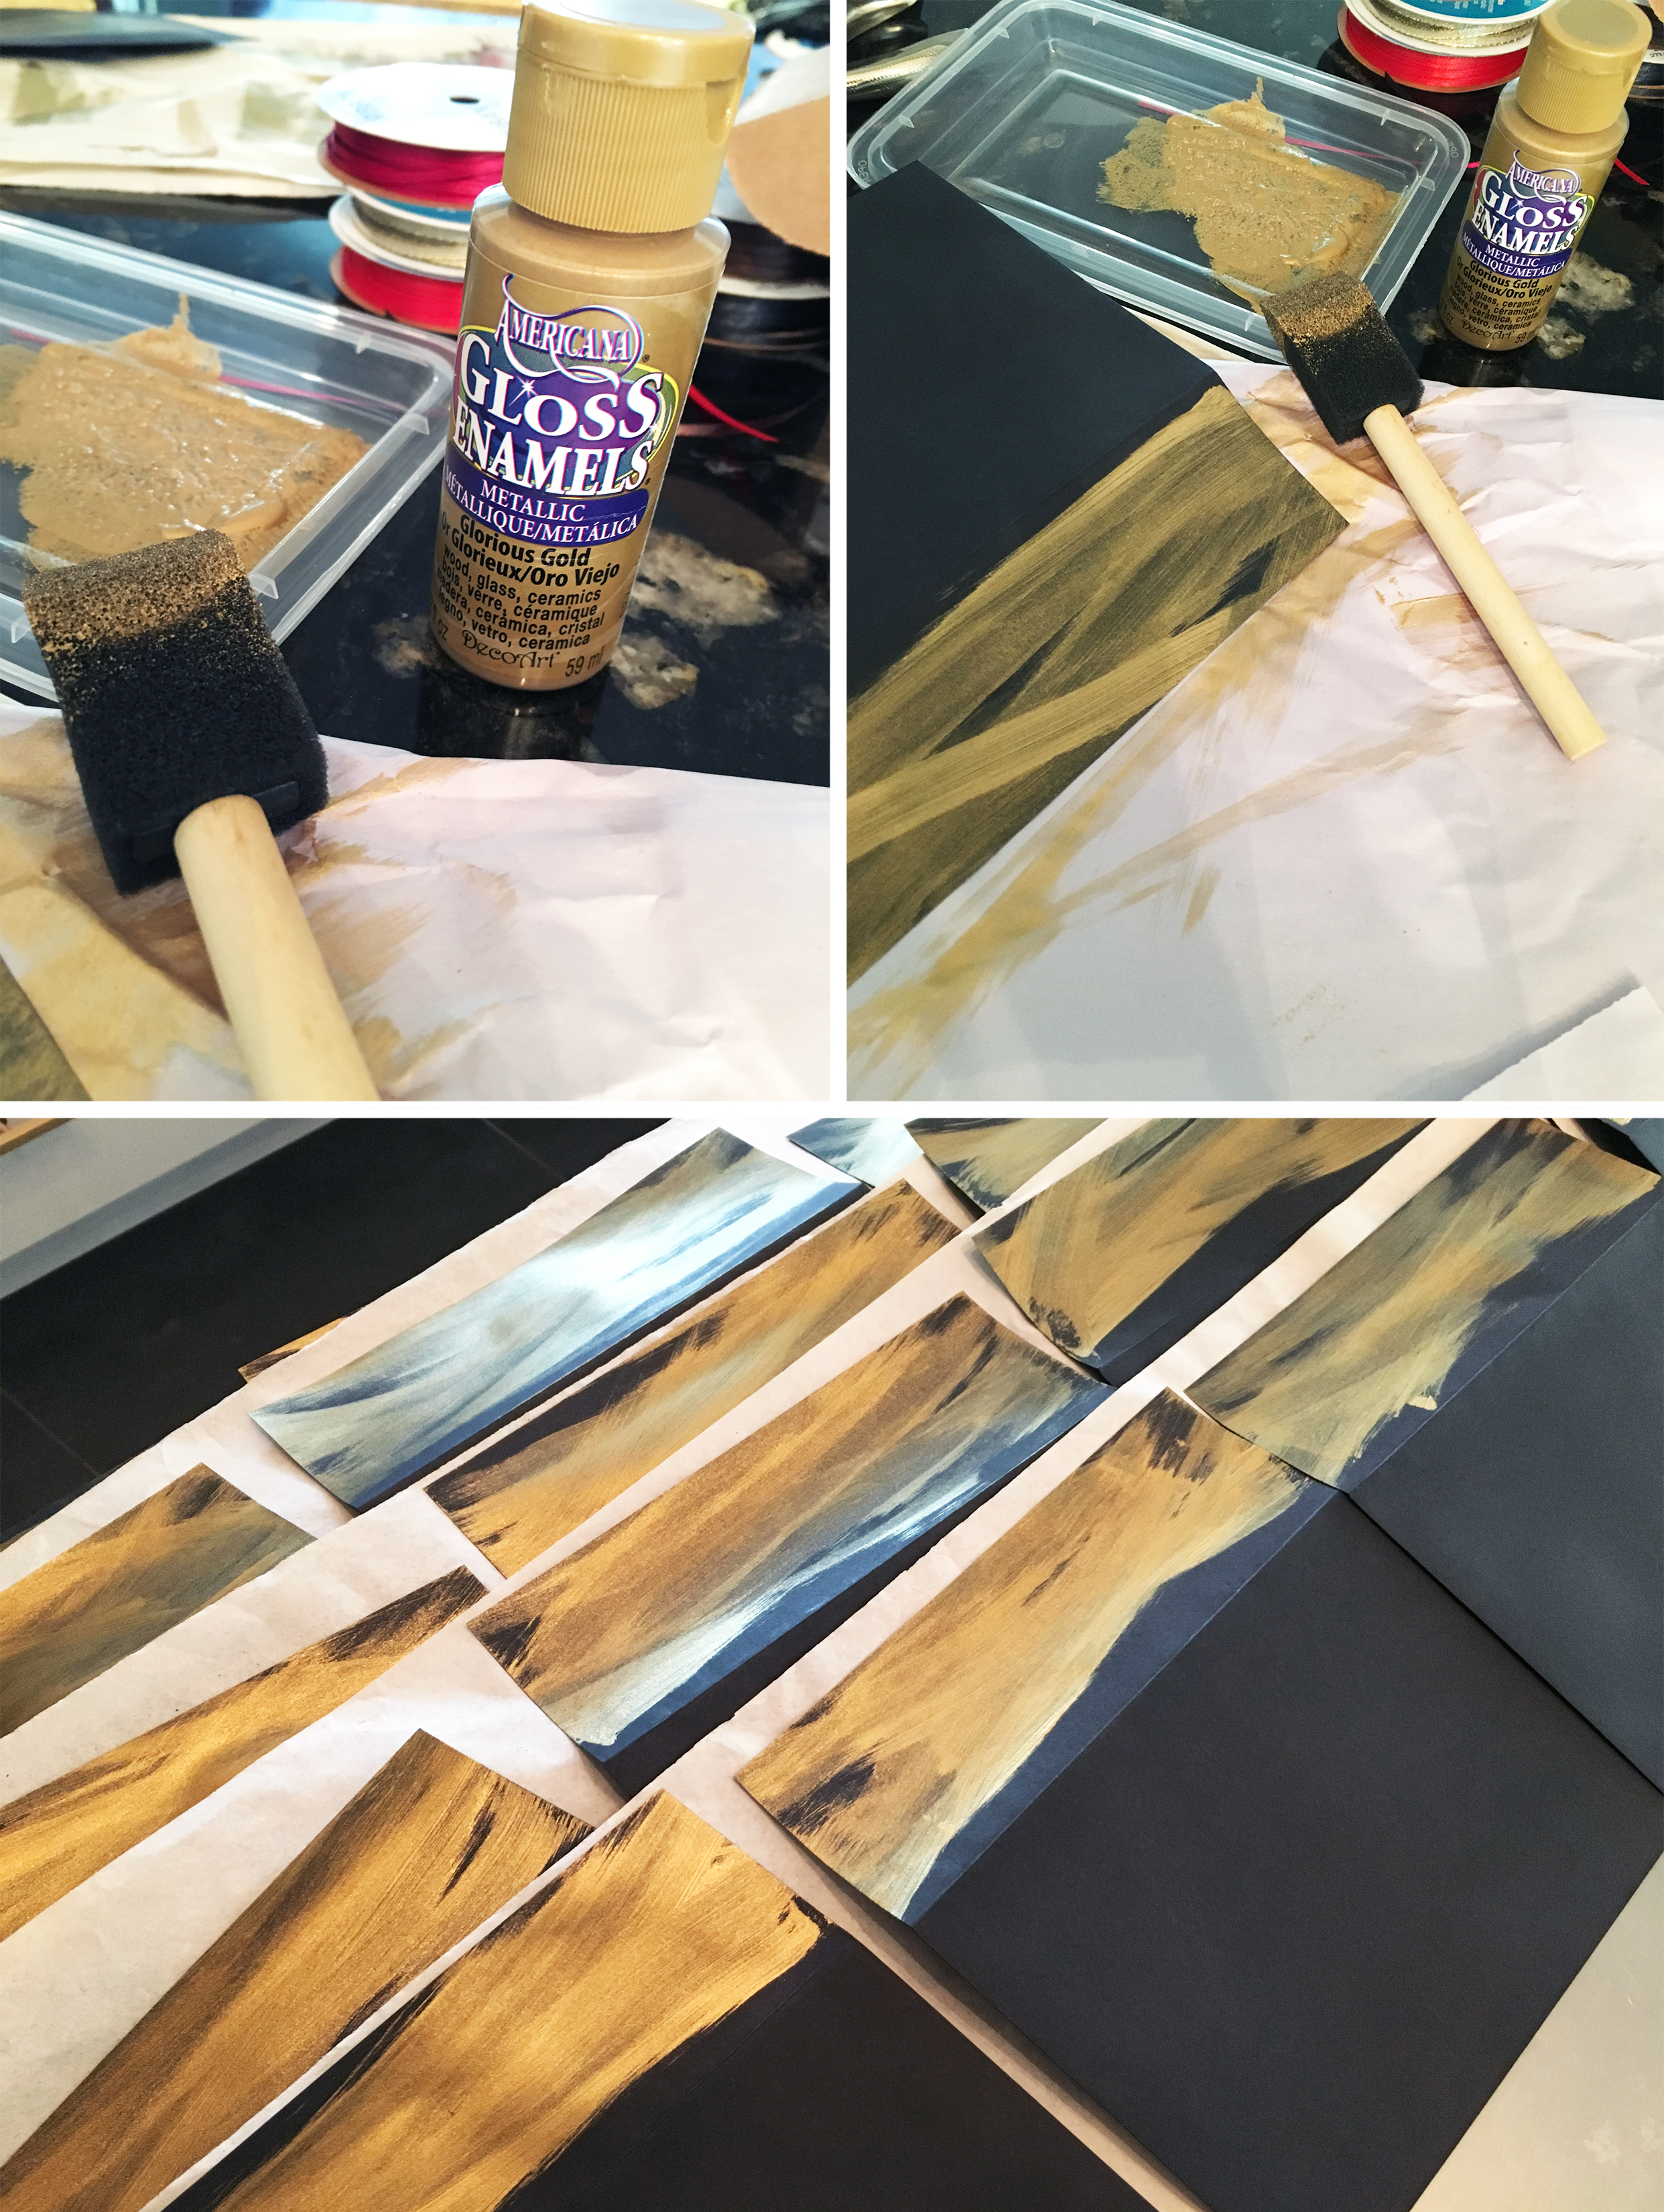
- Custom DIY invitation envelope
I sealed our envelopes with red wax and a Chinese Double Happiness stamp purchased on Etsy HERE. Keeping in line with our palette, RED was the obvious choice to up the glamour quotient.

The perfect gold background for our black address stamps!

Step 4 | Details, Details
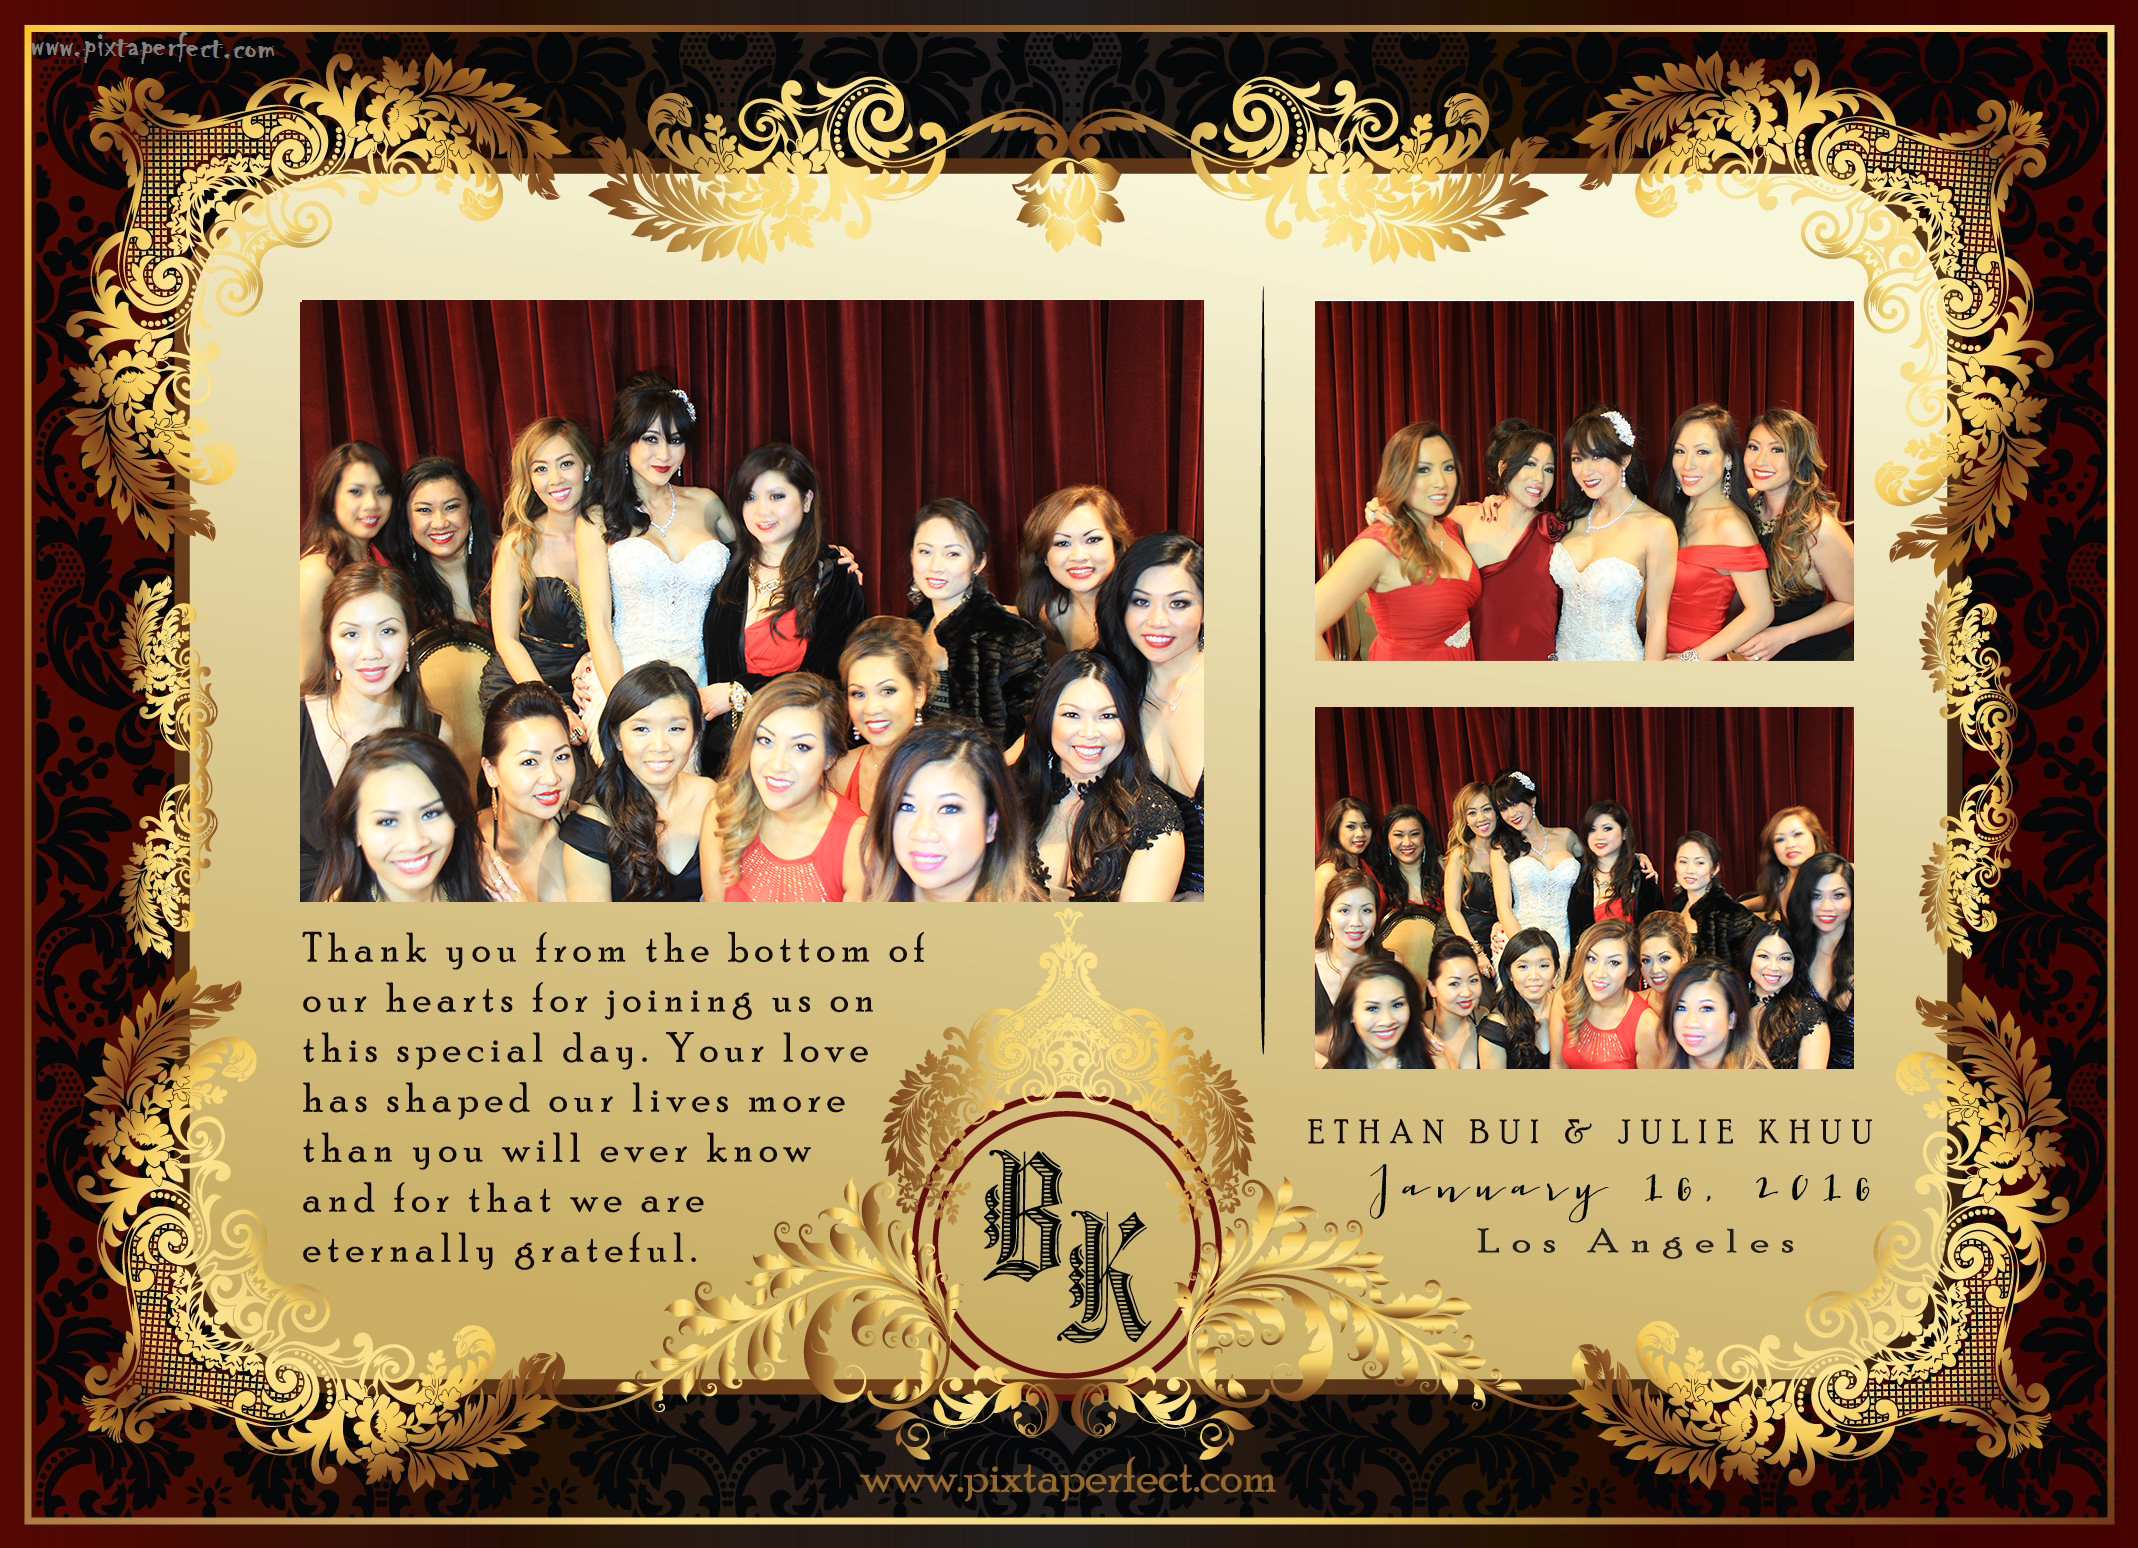
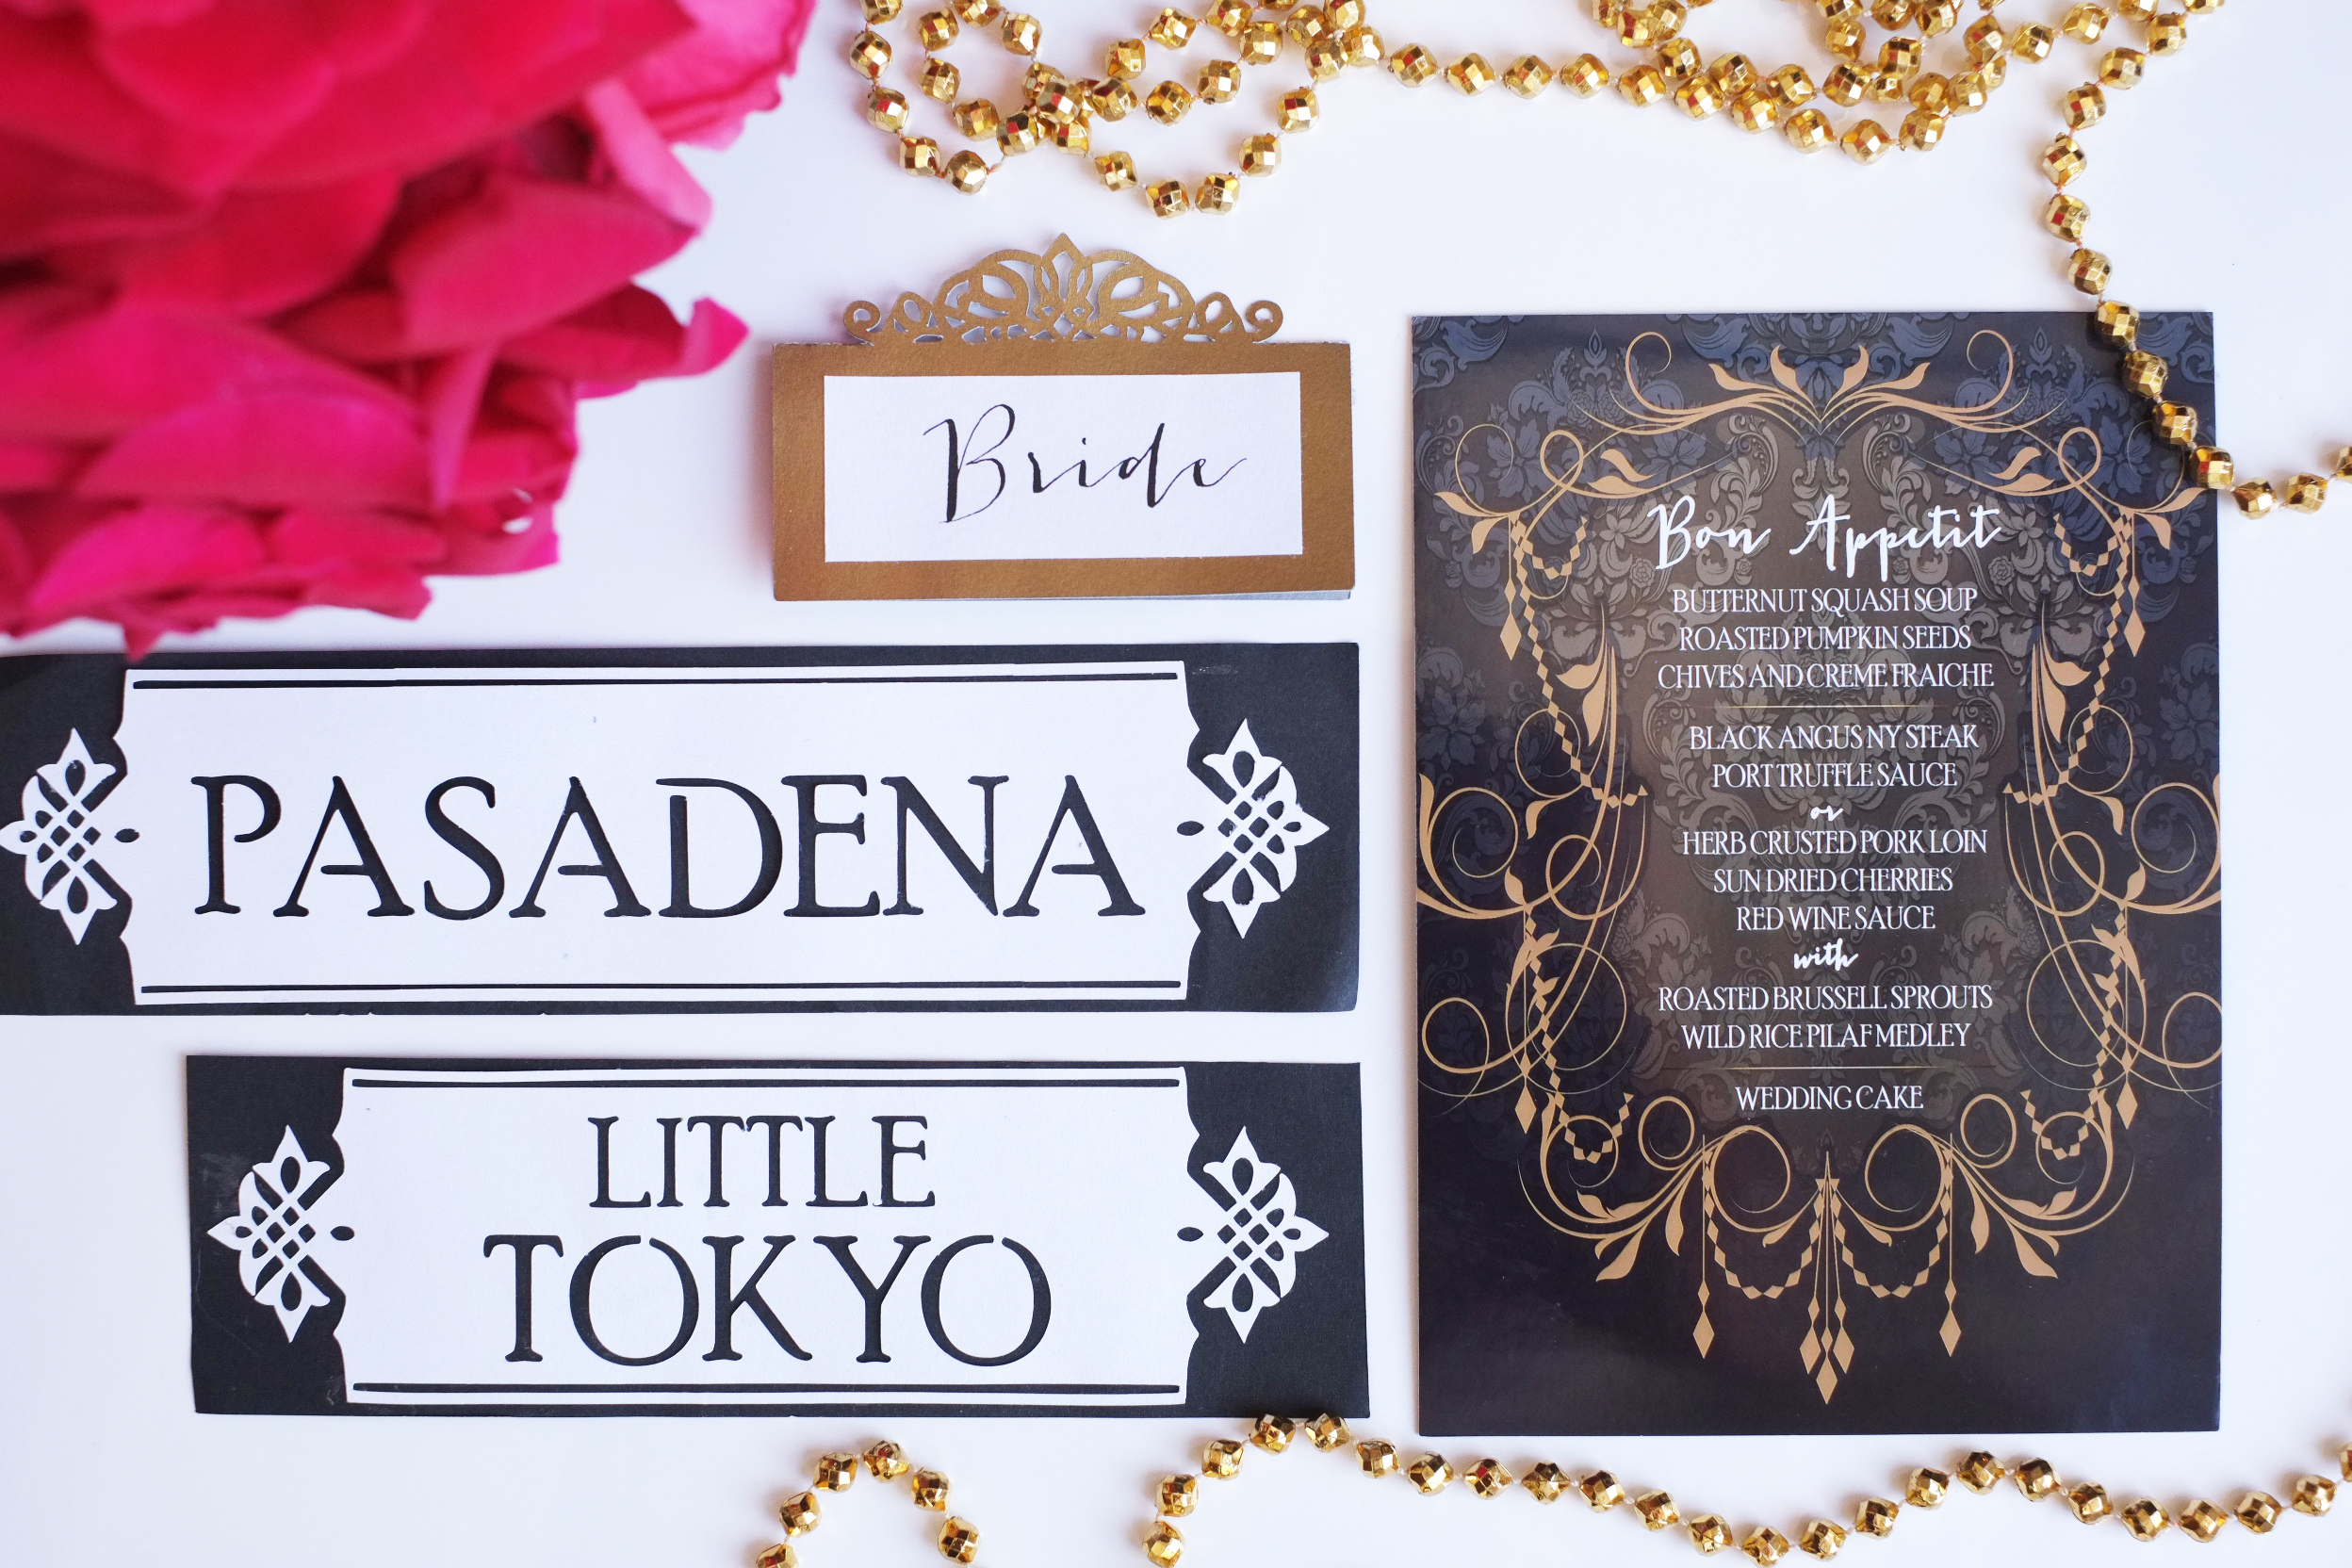
Dress code cards fit snuggly into my DIY handmade card sleeve with matching ribbons to dictate the approved colors. Guests remarked that they LOVED this idea and kept the card in their wallet and purses to reference when out shopping for their formal attire! Love it when a good idea comes in handy! Since I designed the invitation graphics and wedding logo myself, I modified versions of the design and extended it to every single facet of our event. From the flipbook cover (above) to our photo booth layout (below)… Photobooth vendor: Pixta Perfect
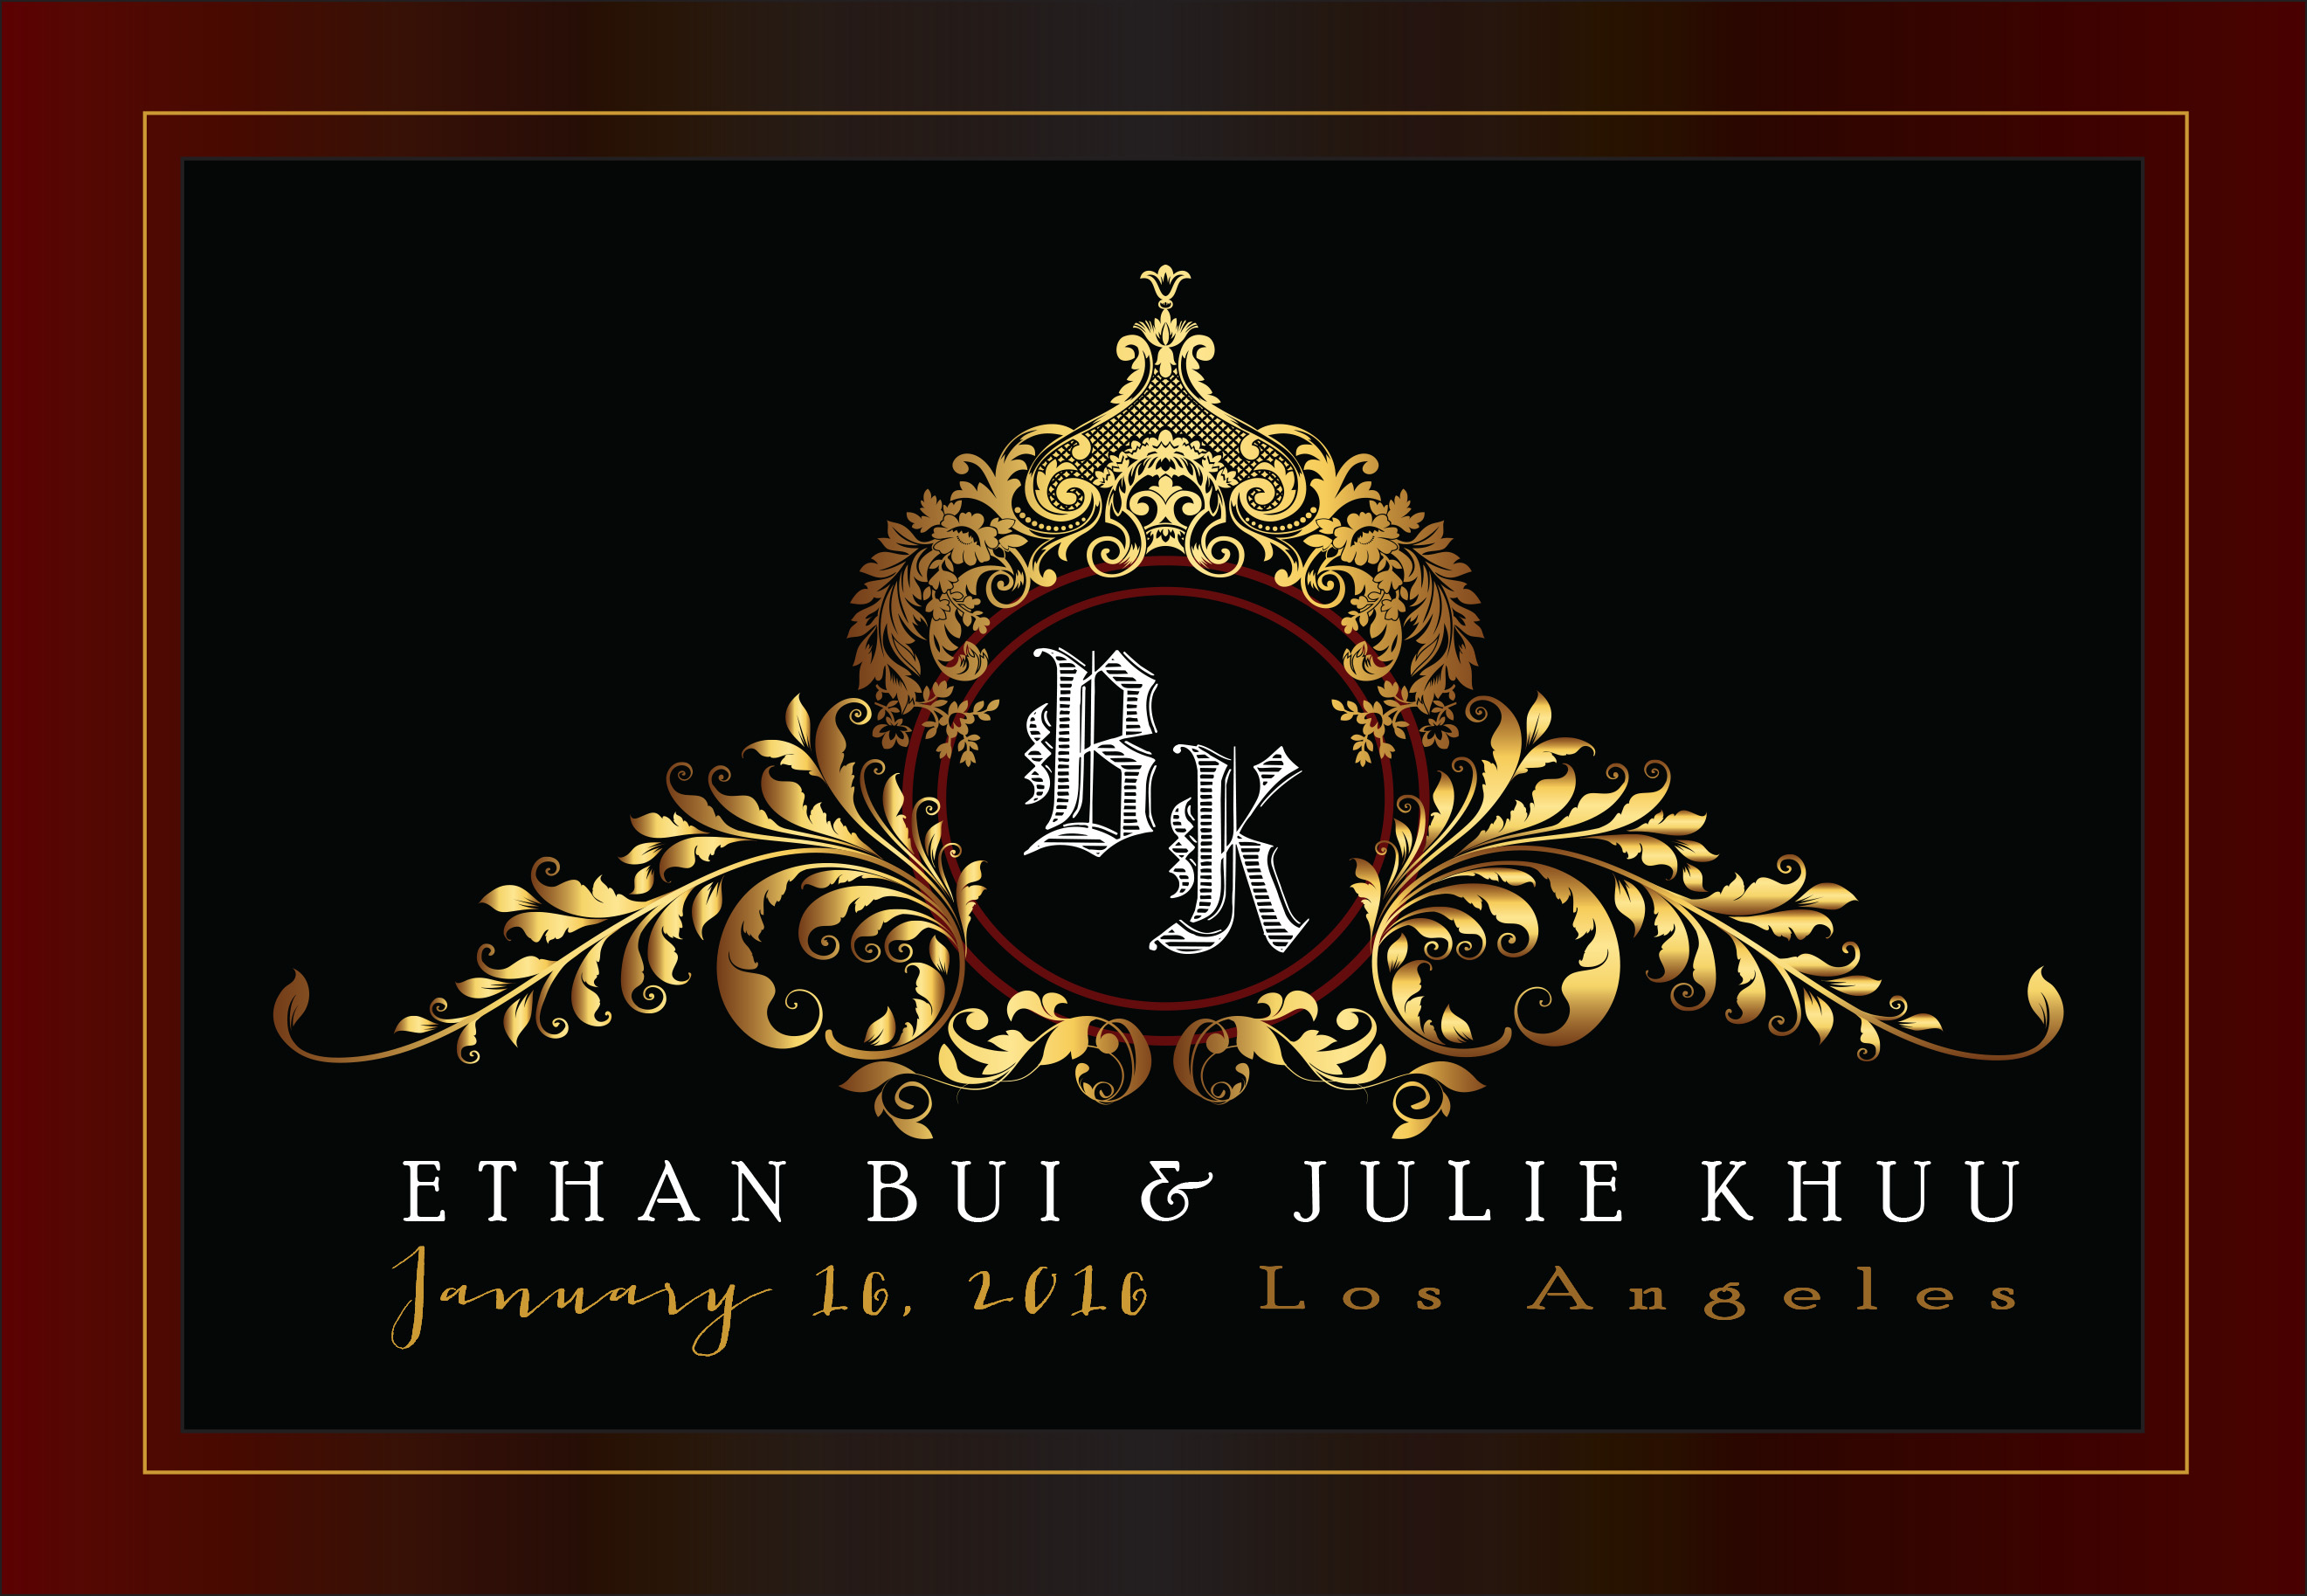
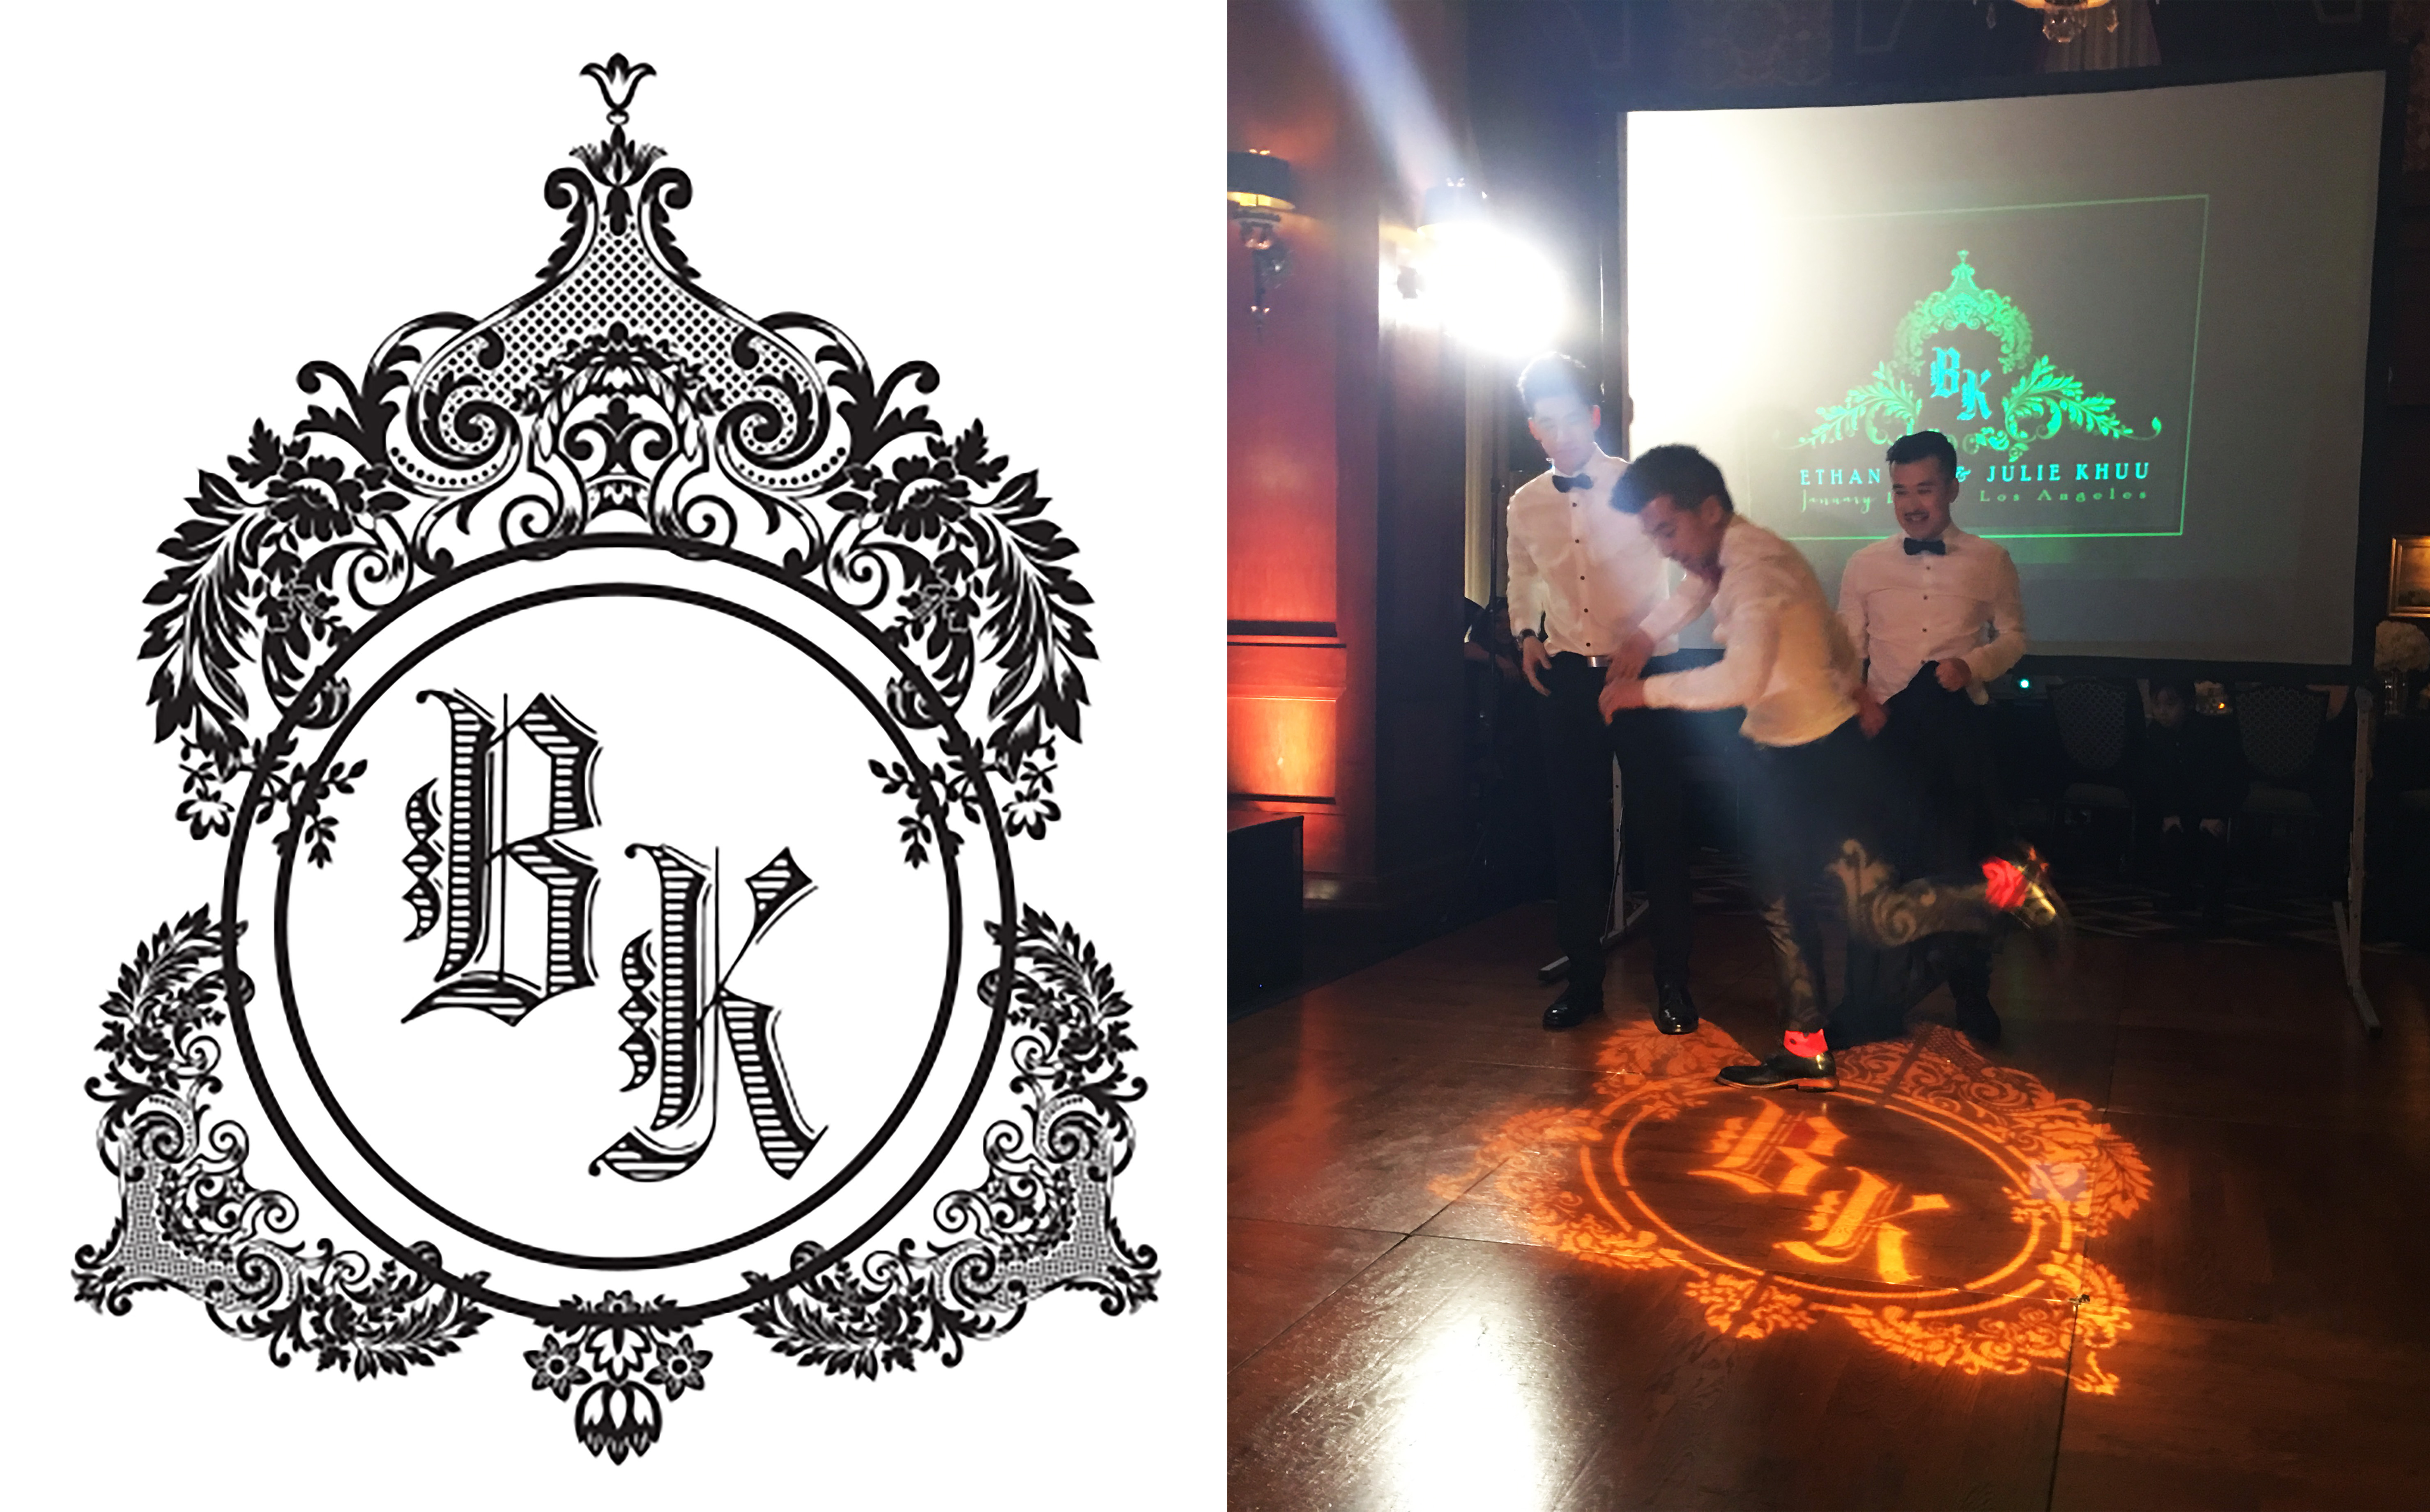
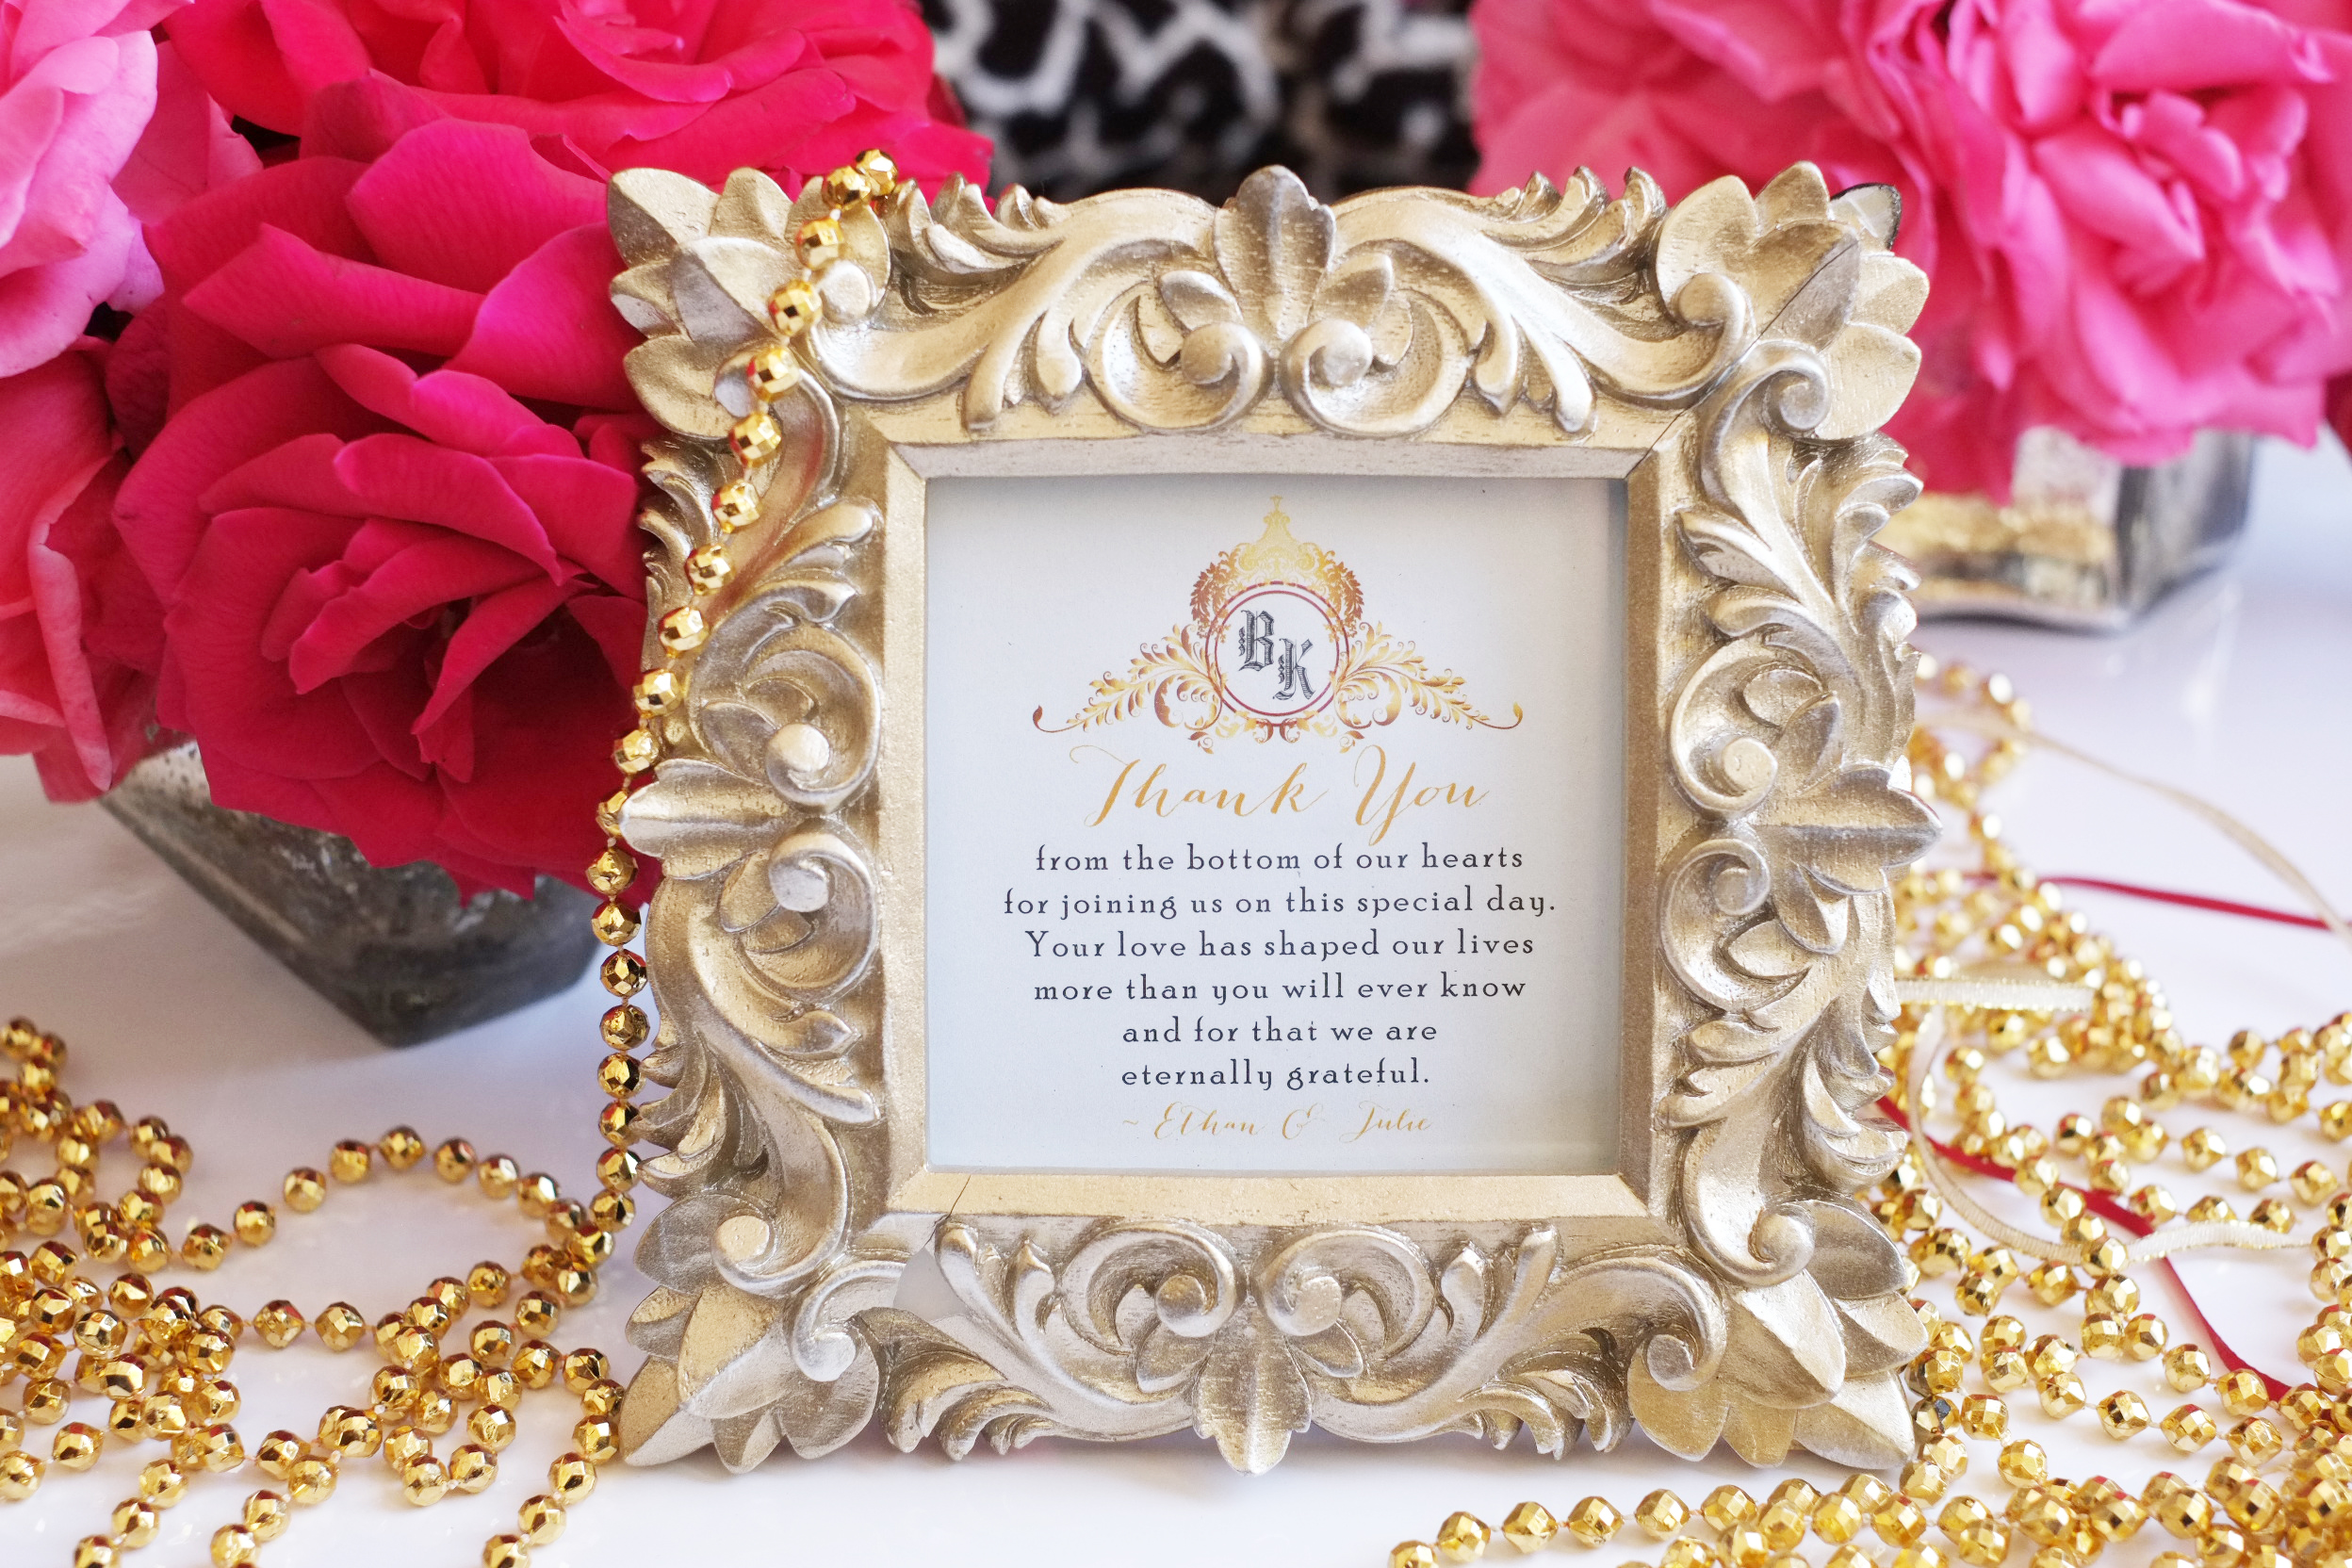
Every inch of the wedding just SCREAMED our style with all the custom designed graphics.
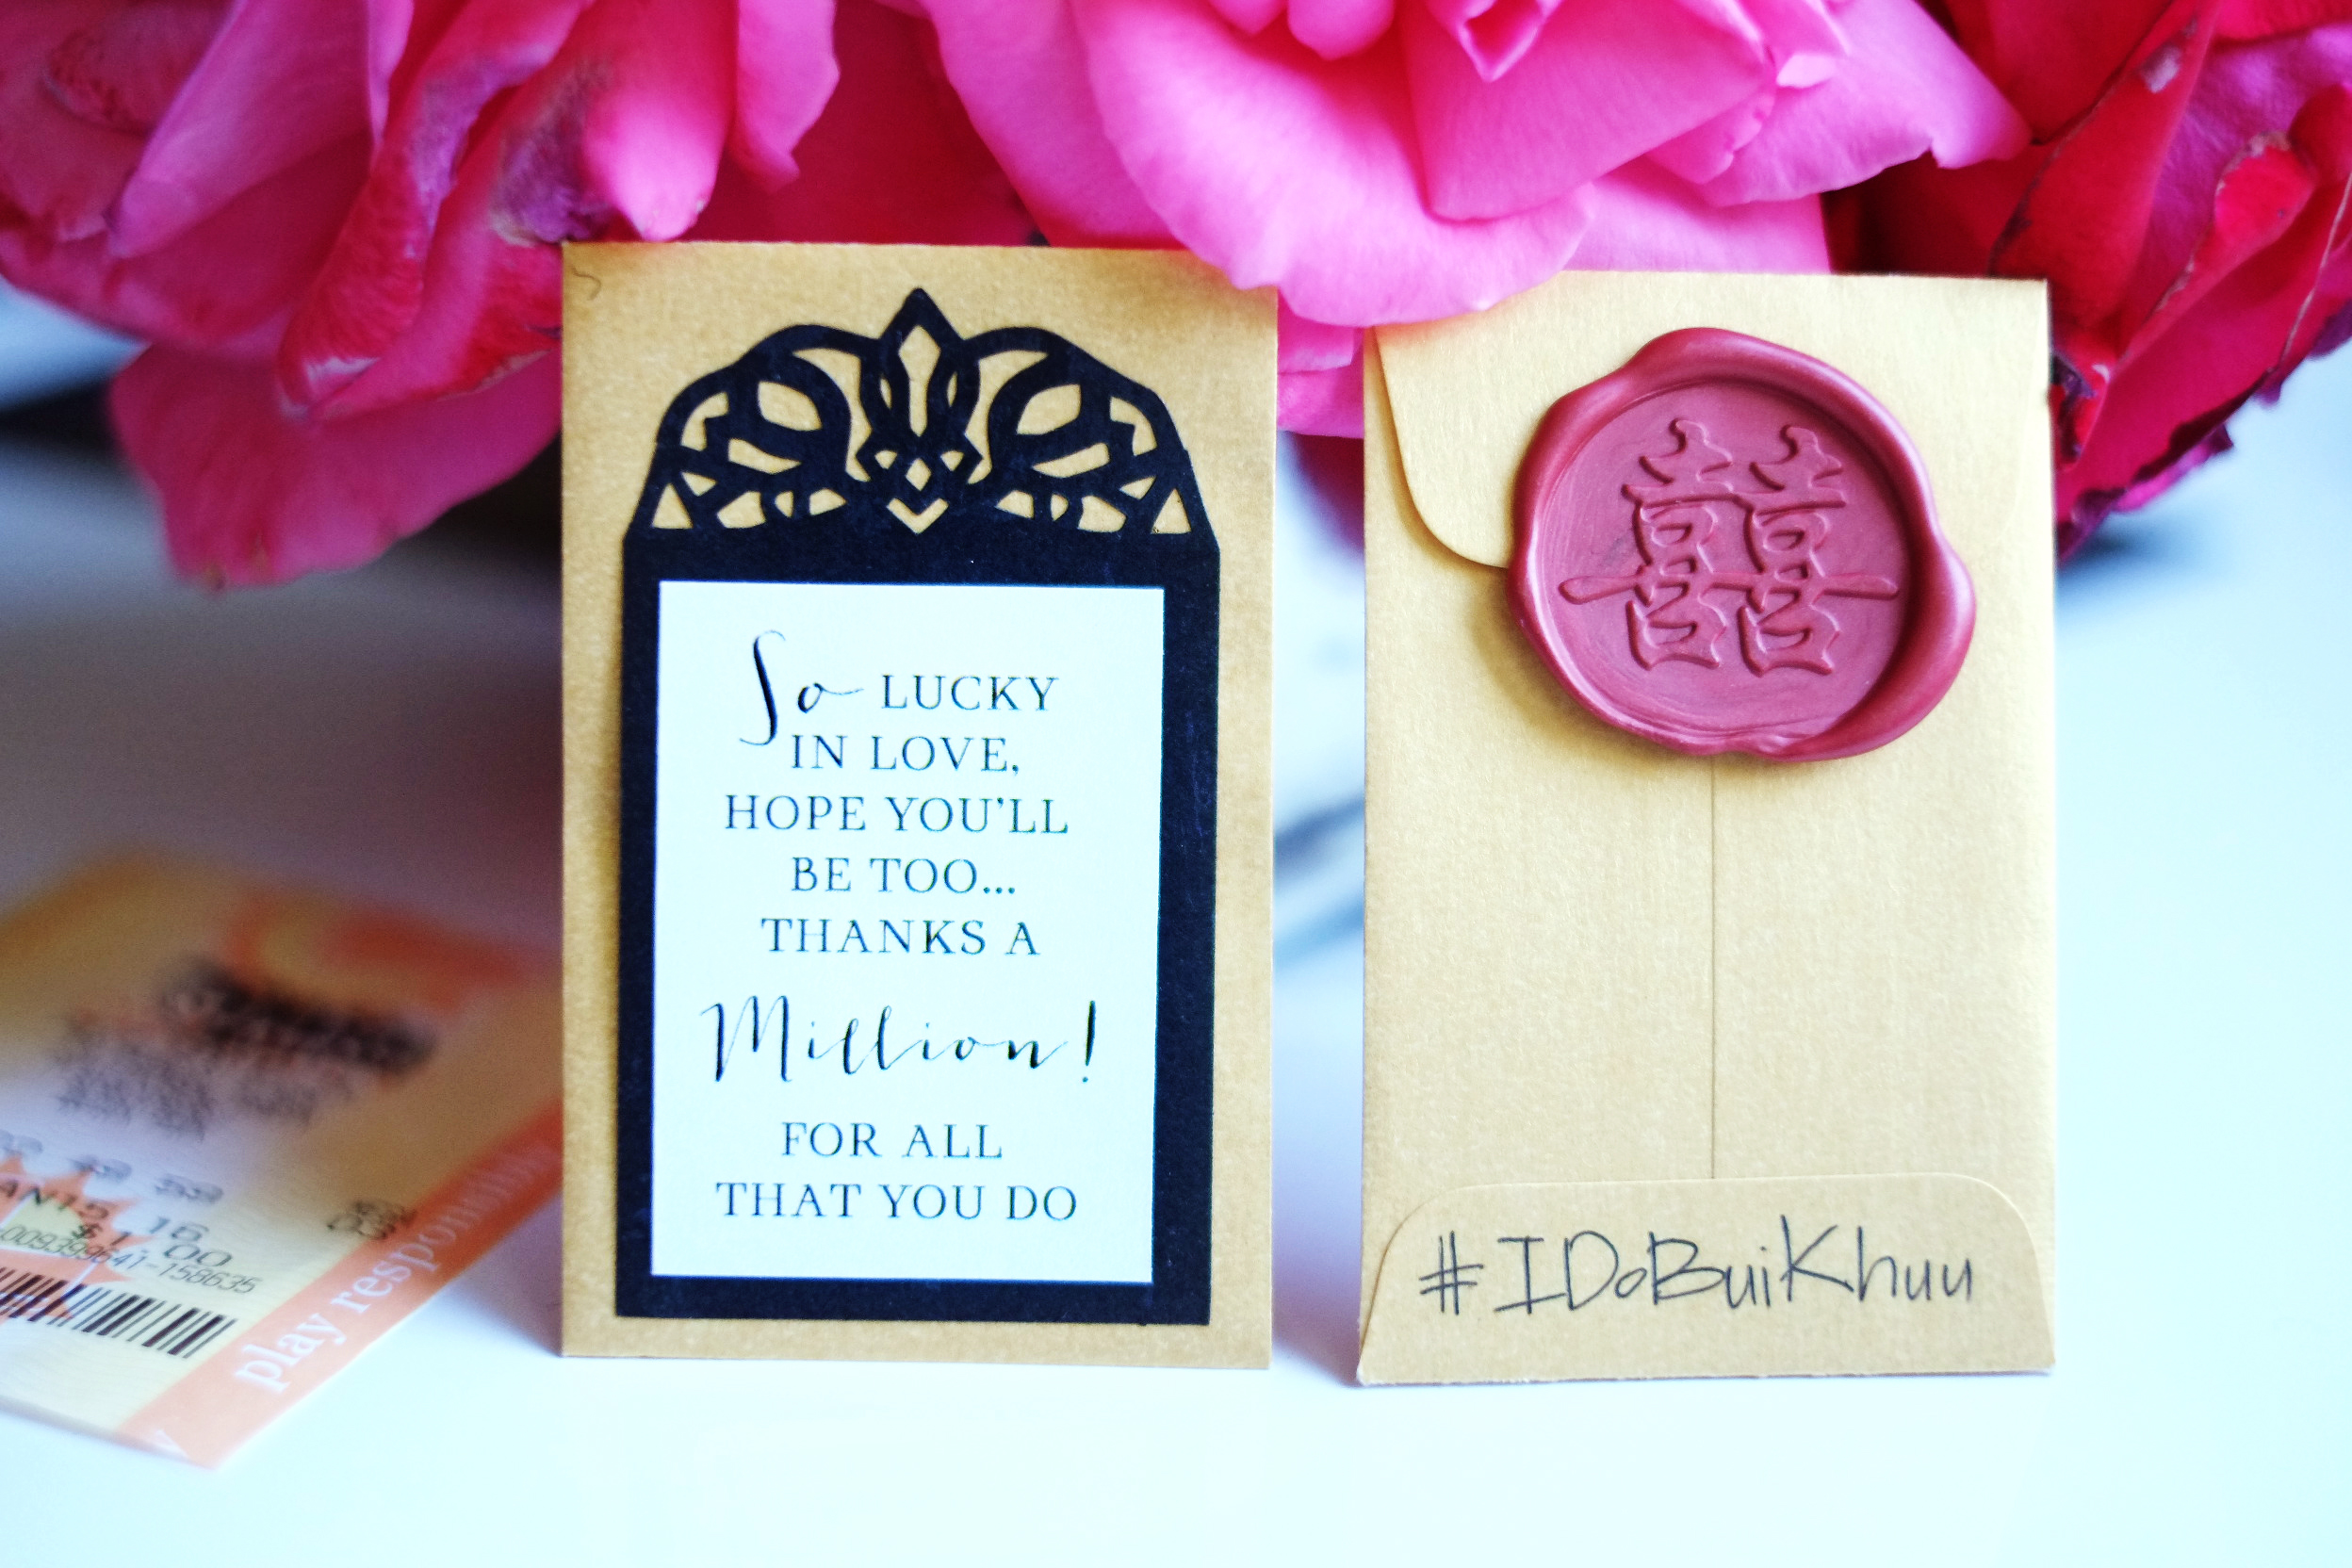
I placed Mega Million lottery tickets in more custom made envelopes I made as wedding favors for our guests…I’m a fan of practical gifts! And who doesn’t secretly dream of winning the lottery? lol…
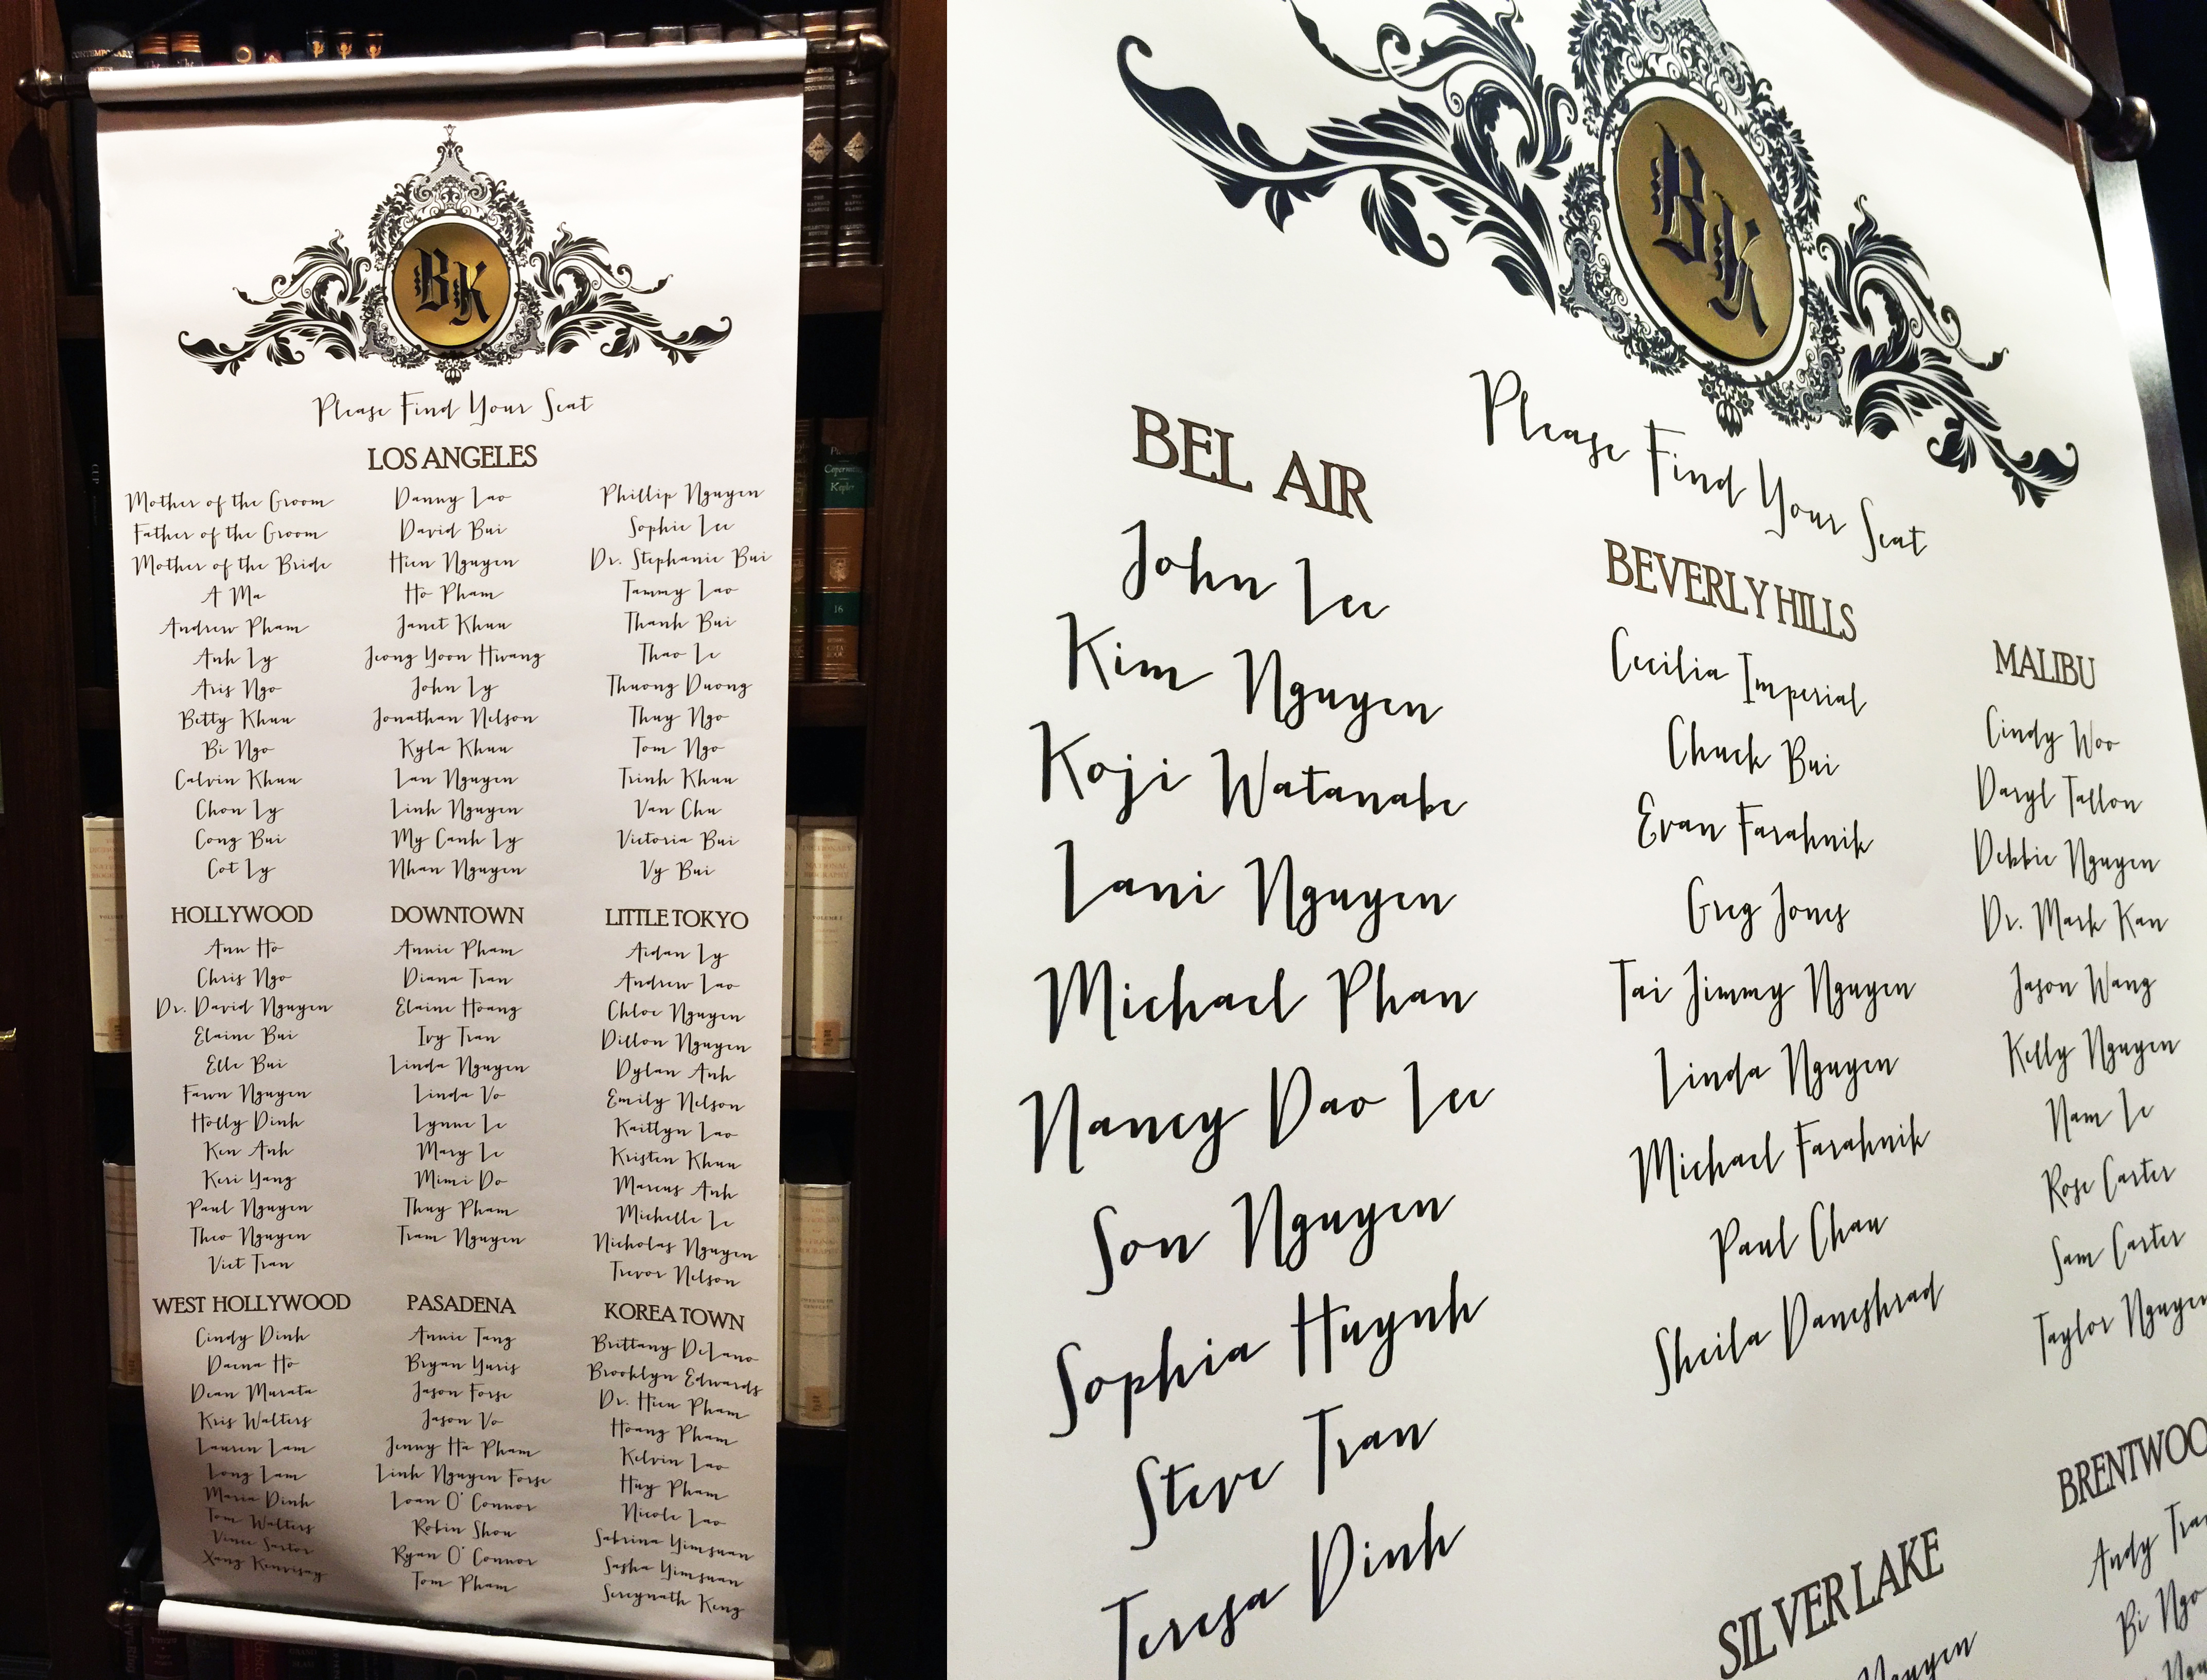
I also designed our seating chart in a scroll format with our custom logo on top and printed at Kinko’s. The scrolls were displayed right at the sign-in entry so guests knew where they were seated.
And there you have it! How to custom design your wedding invitations plus 15 additional DIY ideas to capture your wedding style, print by print. What do you think? Would you endeavor DIY invitations and graphics when it comes time to plan your wedding? Is the low cost worth ALL your personal time? Do tell!
Catch up on all related Wedding Wednesday posts BELOW:
GOING CUSTOM | The Making of My Engagement Ring Setting
HOW TO HIRE THE RIGHT PHOTOGRAPHER | Plus defining your wedding style
The FIRST 4 THINGS You MUST decide when planning your wedding
Wedding Planning 101 | Where to SPLURGE and Where to SAVE


44 Comments
Oh wow. Those are absolutely stunning! Your creativity is just so inspiring.
the-creationofbeauty.blogspot.com
Thank you so much babe! Love visiting your blog, your imagination is endless!
[ Smiles ] Impressive! You really know your craft!
lol I try!
Girllll – these are insane!! This level of creativity is so inspiring and it's great how involved you are in every aspect!! Keep at it doll! Xo
Nikki | http://www.nikkibstyles.com
It's what I do ;D Thanks for reading babe!
These are GORGEOUS!!! I'd love to get an invite like this!
I feel ya babe! I wanted to hoard all my invitations to myself! lol
These are stunning, that lace deco gave them such outstanding and luxurious effect!
d'star
*d'star*
That's my fave part <3…Well, that and the blinged out gold foil of course!
love this!
Daniel x
The Daniel Originals | Instagram: danielpoonvignez
New Post: The white cap and hoodie
Thanks for visiting D!
Wait, I love your blog! So glad i found it, Julie!! These invitations are everything! Love times a mil!
Xox Dana Ivy // http://www.iadorewhatilove.com
Thank you for the feedback love!
love your blog! follow on GFC?
http://www.therunwhy.com/
Thanks for visiting Carolina! Following you now hun…great blog!
These are lovely!!
Florals&Smiles
Thanks loves!
These are beautiful!
xx
Mademoiselle Coconath
http://mllecoconath.com
Thank you hun!
Such a beautiful post, Julie! Love the lottery ang pow! xoxo
Sadly no one won the big Mil! Boooooo…. lol
I can't wait to get mine in the mail. Lol. These are amazing. I love how it represents your style. So special and well planned. It sets the tone from the minute it arrives. Congratulations.
Sharon
Thank you for the visit Sharon! Total labor of love!
You did an amazing job designing your wedding invitation!! So pretty!
Tina
http://www.justatinabit.com
Thank you love! xx
Lovely post Hun! I've just updated a new post on my blog: THERMAL & GEL NAIL POLISH REVIEW! Stop by when you have the time.
OHIAMIHT BLOG | BORN PRETTY STORE USE CODE OHIX31 FOR 10% OFF
Kisses,
Mai
Awesome thanks for stopping by, I'll check it out!
Lovely post! I also managed my own wedding cards 🙂
Meet My Lovely World
So labor intensive! But we do it all outta love <3… Plus I'm a control freak! lol
I would definitely make wedding invitations like this for my wedding! the gold on black is so chic!
http://www.samanthamariko.com
Can't resist a little regency redux…thanks for stopping by sweets!
very nice your post, the gold on black is so cute.
stunning!
xo
http://www.cherry-mag.com
Cool post. 🙂
Do you want to follow each other? If yes, please follow me with GFC, write a comment and I follow you back 🙂
http://vesnamar.blogspot.rs/
Such a great idea to have the dress code in color coding ! I have never seen that. Veru creative J.
Wow, I like the custom designs!
xx from Bavaria/Germany, Rena
http://www.dressedwithsoul.com
WOWOWOWOWO!!!! Your invites are NEXT level gorgeous!!!! WOWO! Totally just blew me away! Stunning, gorgeous, obsessive!!!! Your little tokyo theme is the BESSSST!!!! U r so talented .I lovvvve the gold brush marks and tassels!
kisses
xoThe Beckerman Girls
http://www.BeckermanBlog.com
great post
http://www.queenhorsfall.com/
Wow I love all the invitations! Great post! xx
angiespana.com | Instagram
Oh wow, what a talent… truly awesome!!
♥
Amber
All the Cute ?
Today's Post: Jag Jeans: Sheridan Skinny
so wonderfully crafted! wow!!
Nice!
Florals&Smiles
Looks stunning! Amazing talent!!!
Xoxo,
Love from http://www.trangscorner.com {a lifestyle, fashion, beauty, and food blog}