

Do y’all remember that time I took you on a brief tour of my bedroom HERE?
Well you get to see her all fancied up and gussied out, but what you rarely get to peep is the process behind the madness preceding the final phase of installation.
On the Hunt
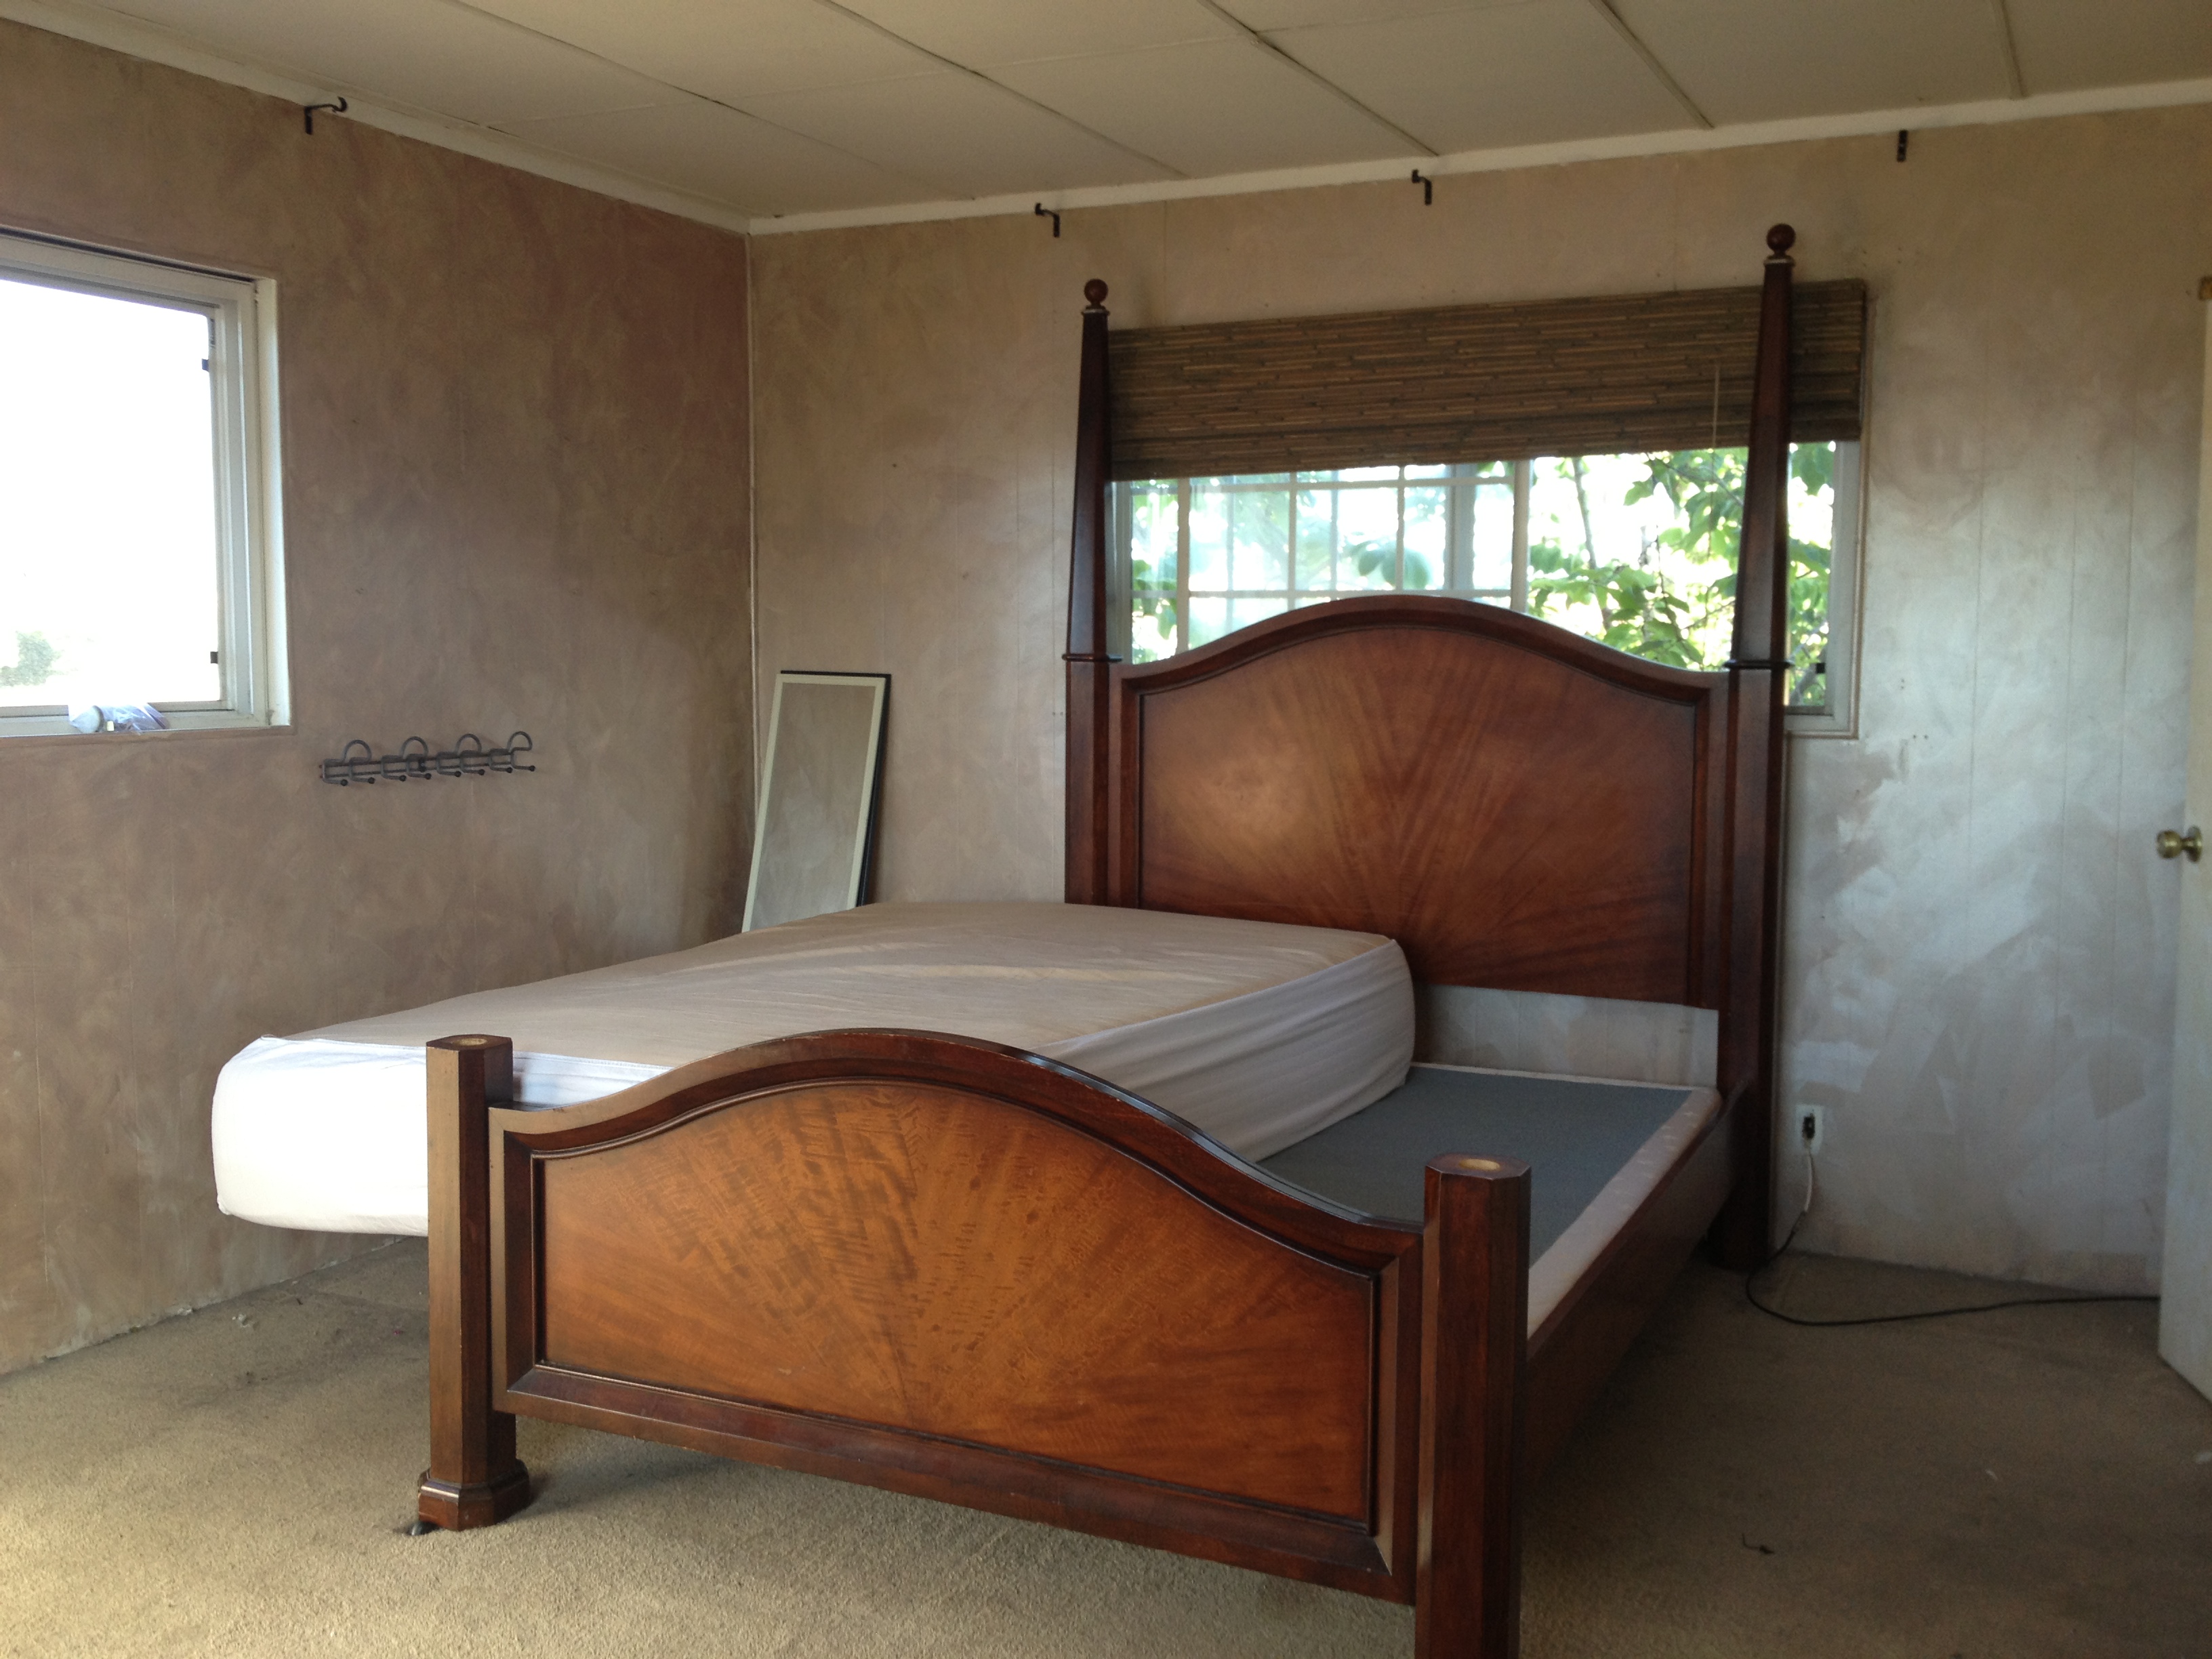
Start with an existing piece of furniture
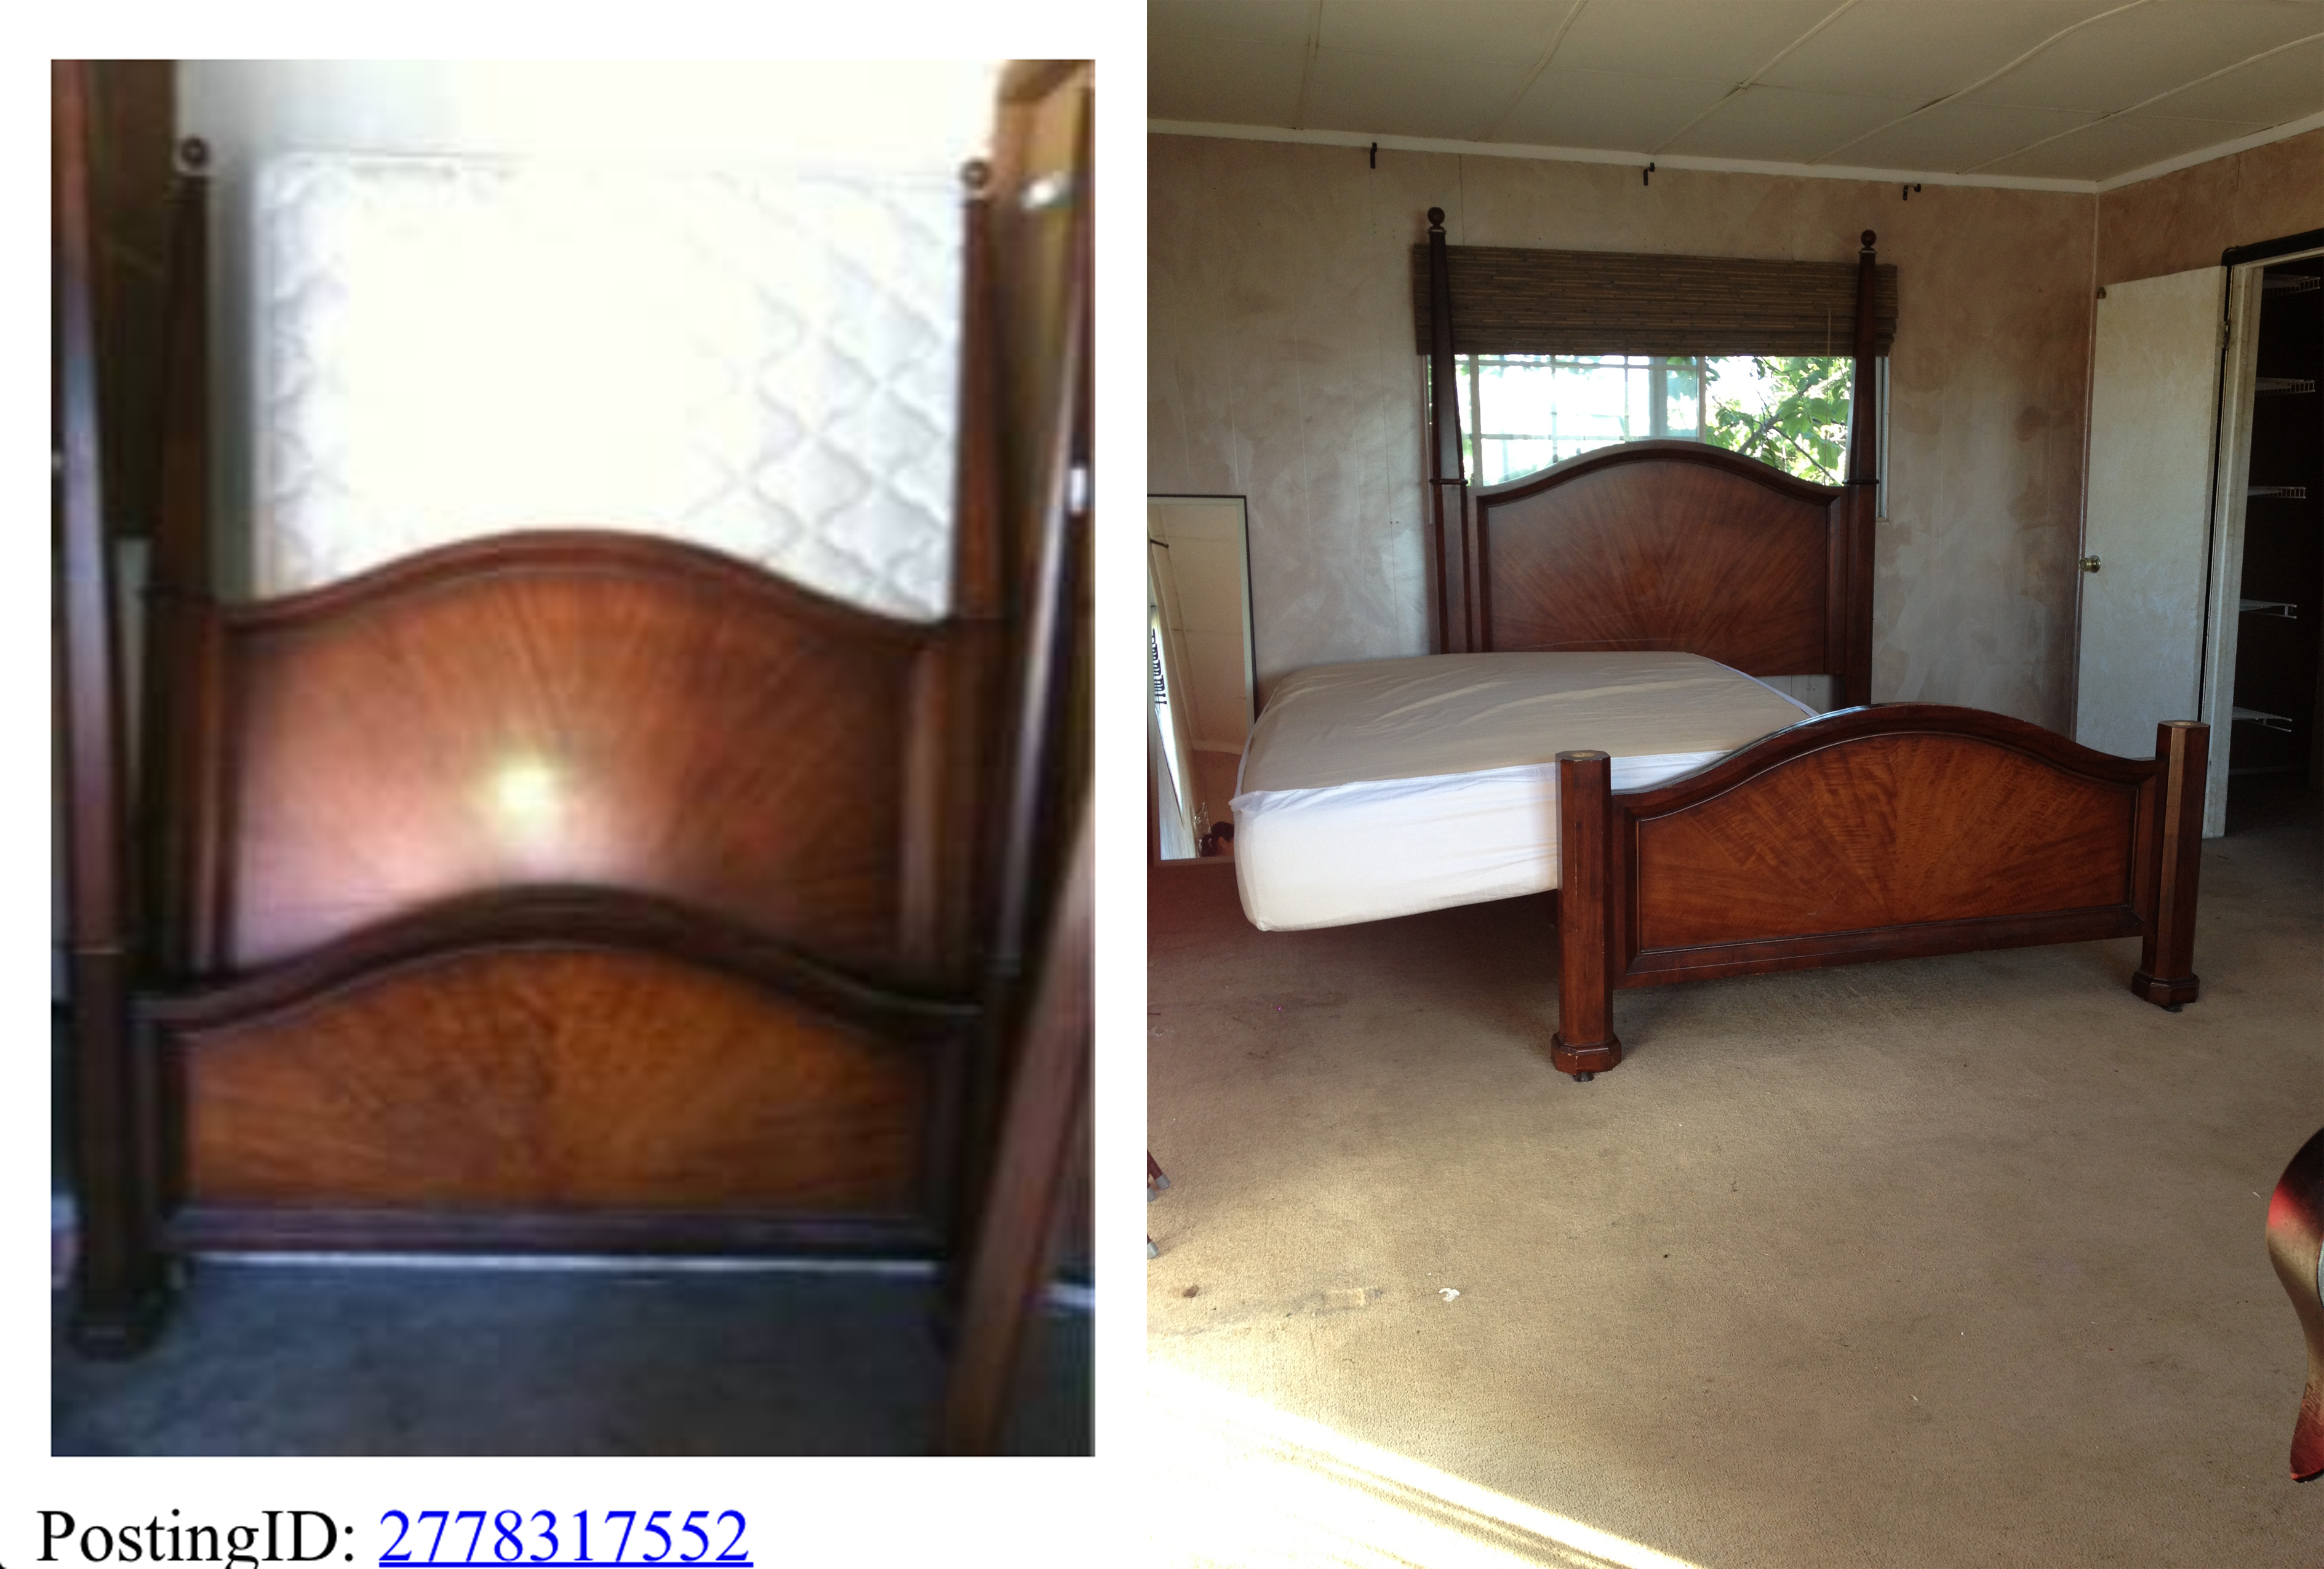
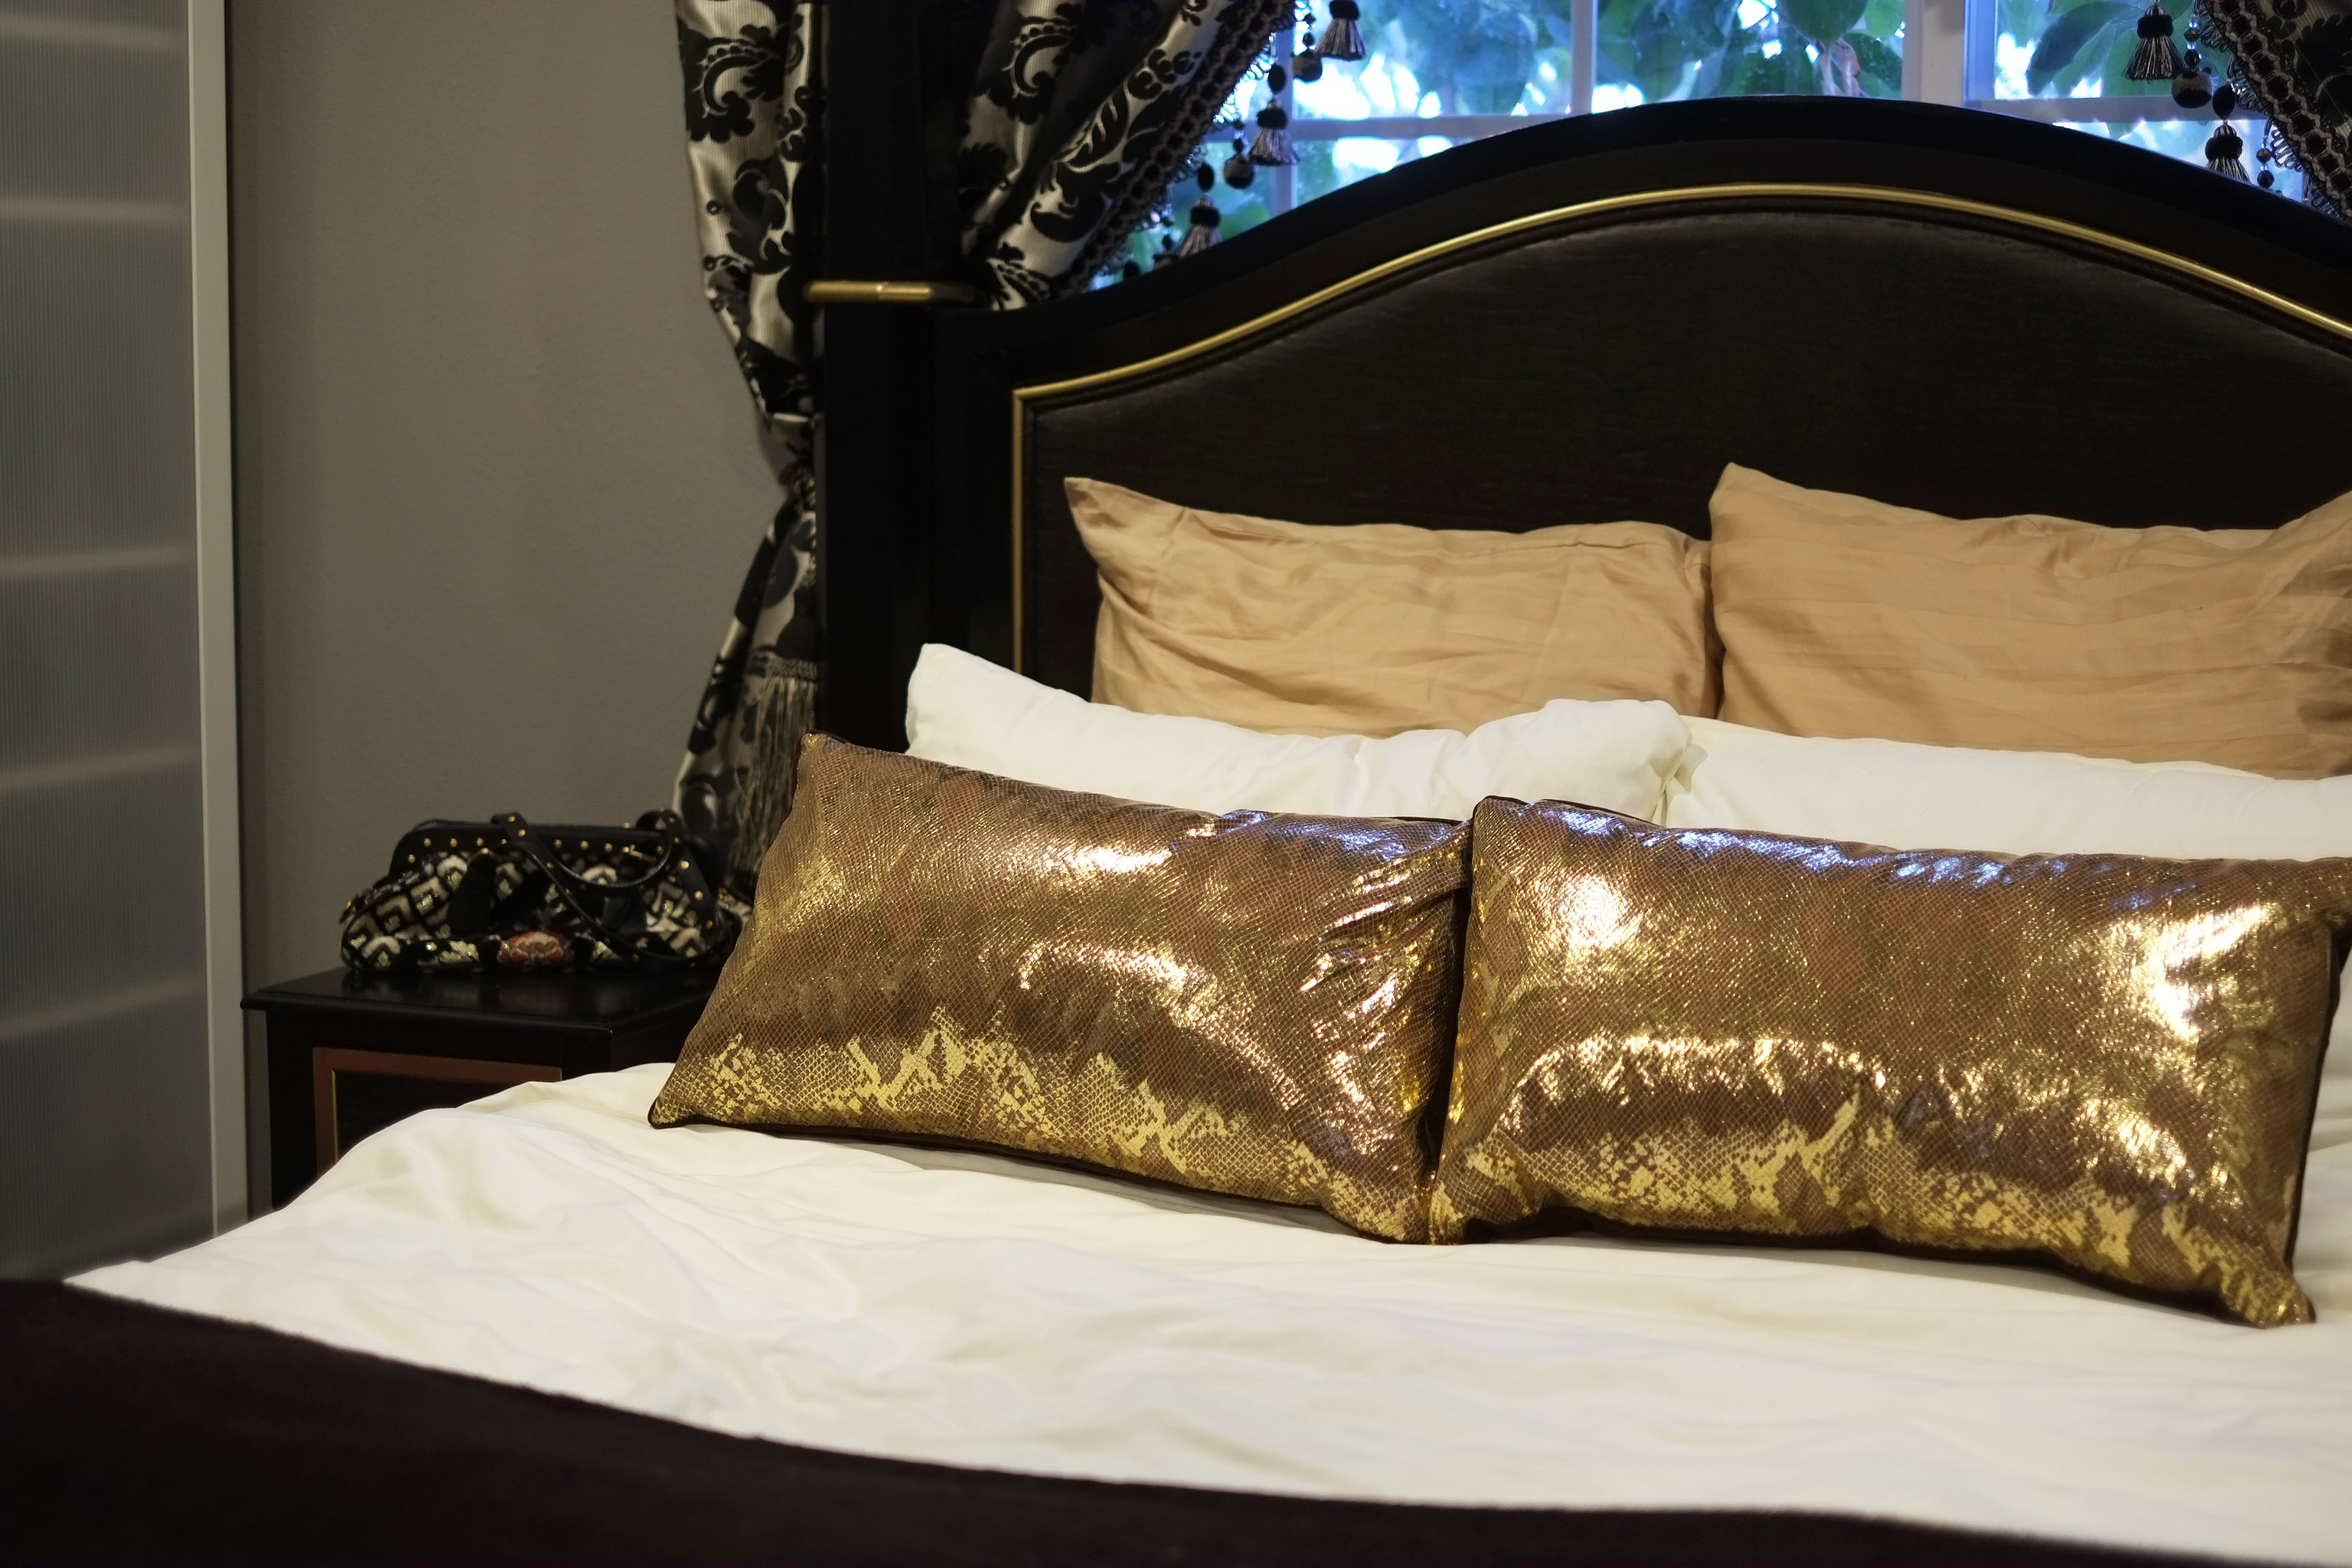
I found this 4-poster bed (above) on OC Craigslist for $150 and promptly negotiated her down to $100. *NOTE: NEVER ever accept the first price listed. Buyers (on CL) expect you to talk them down since this forum is priced so low, so DON’T disappoint!* Although the existing wood grain/stain was quite gorgeous, it didn’t go with the Hollywood Regency redesign I was going for when planning the renovation.

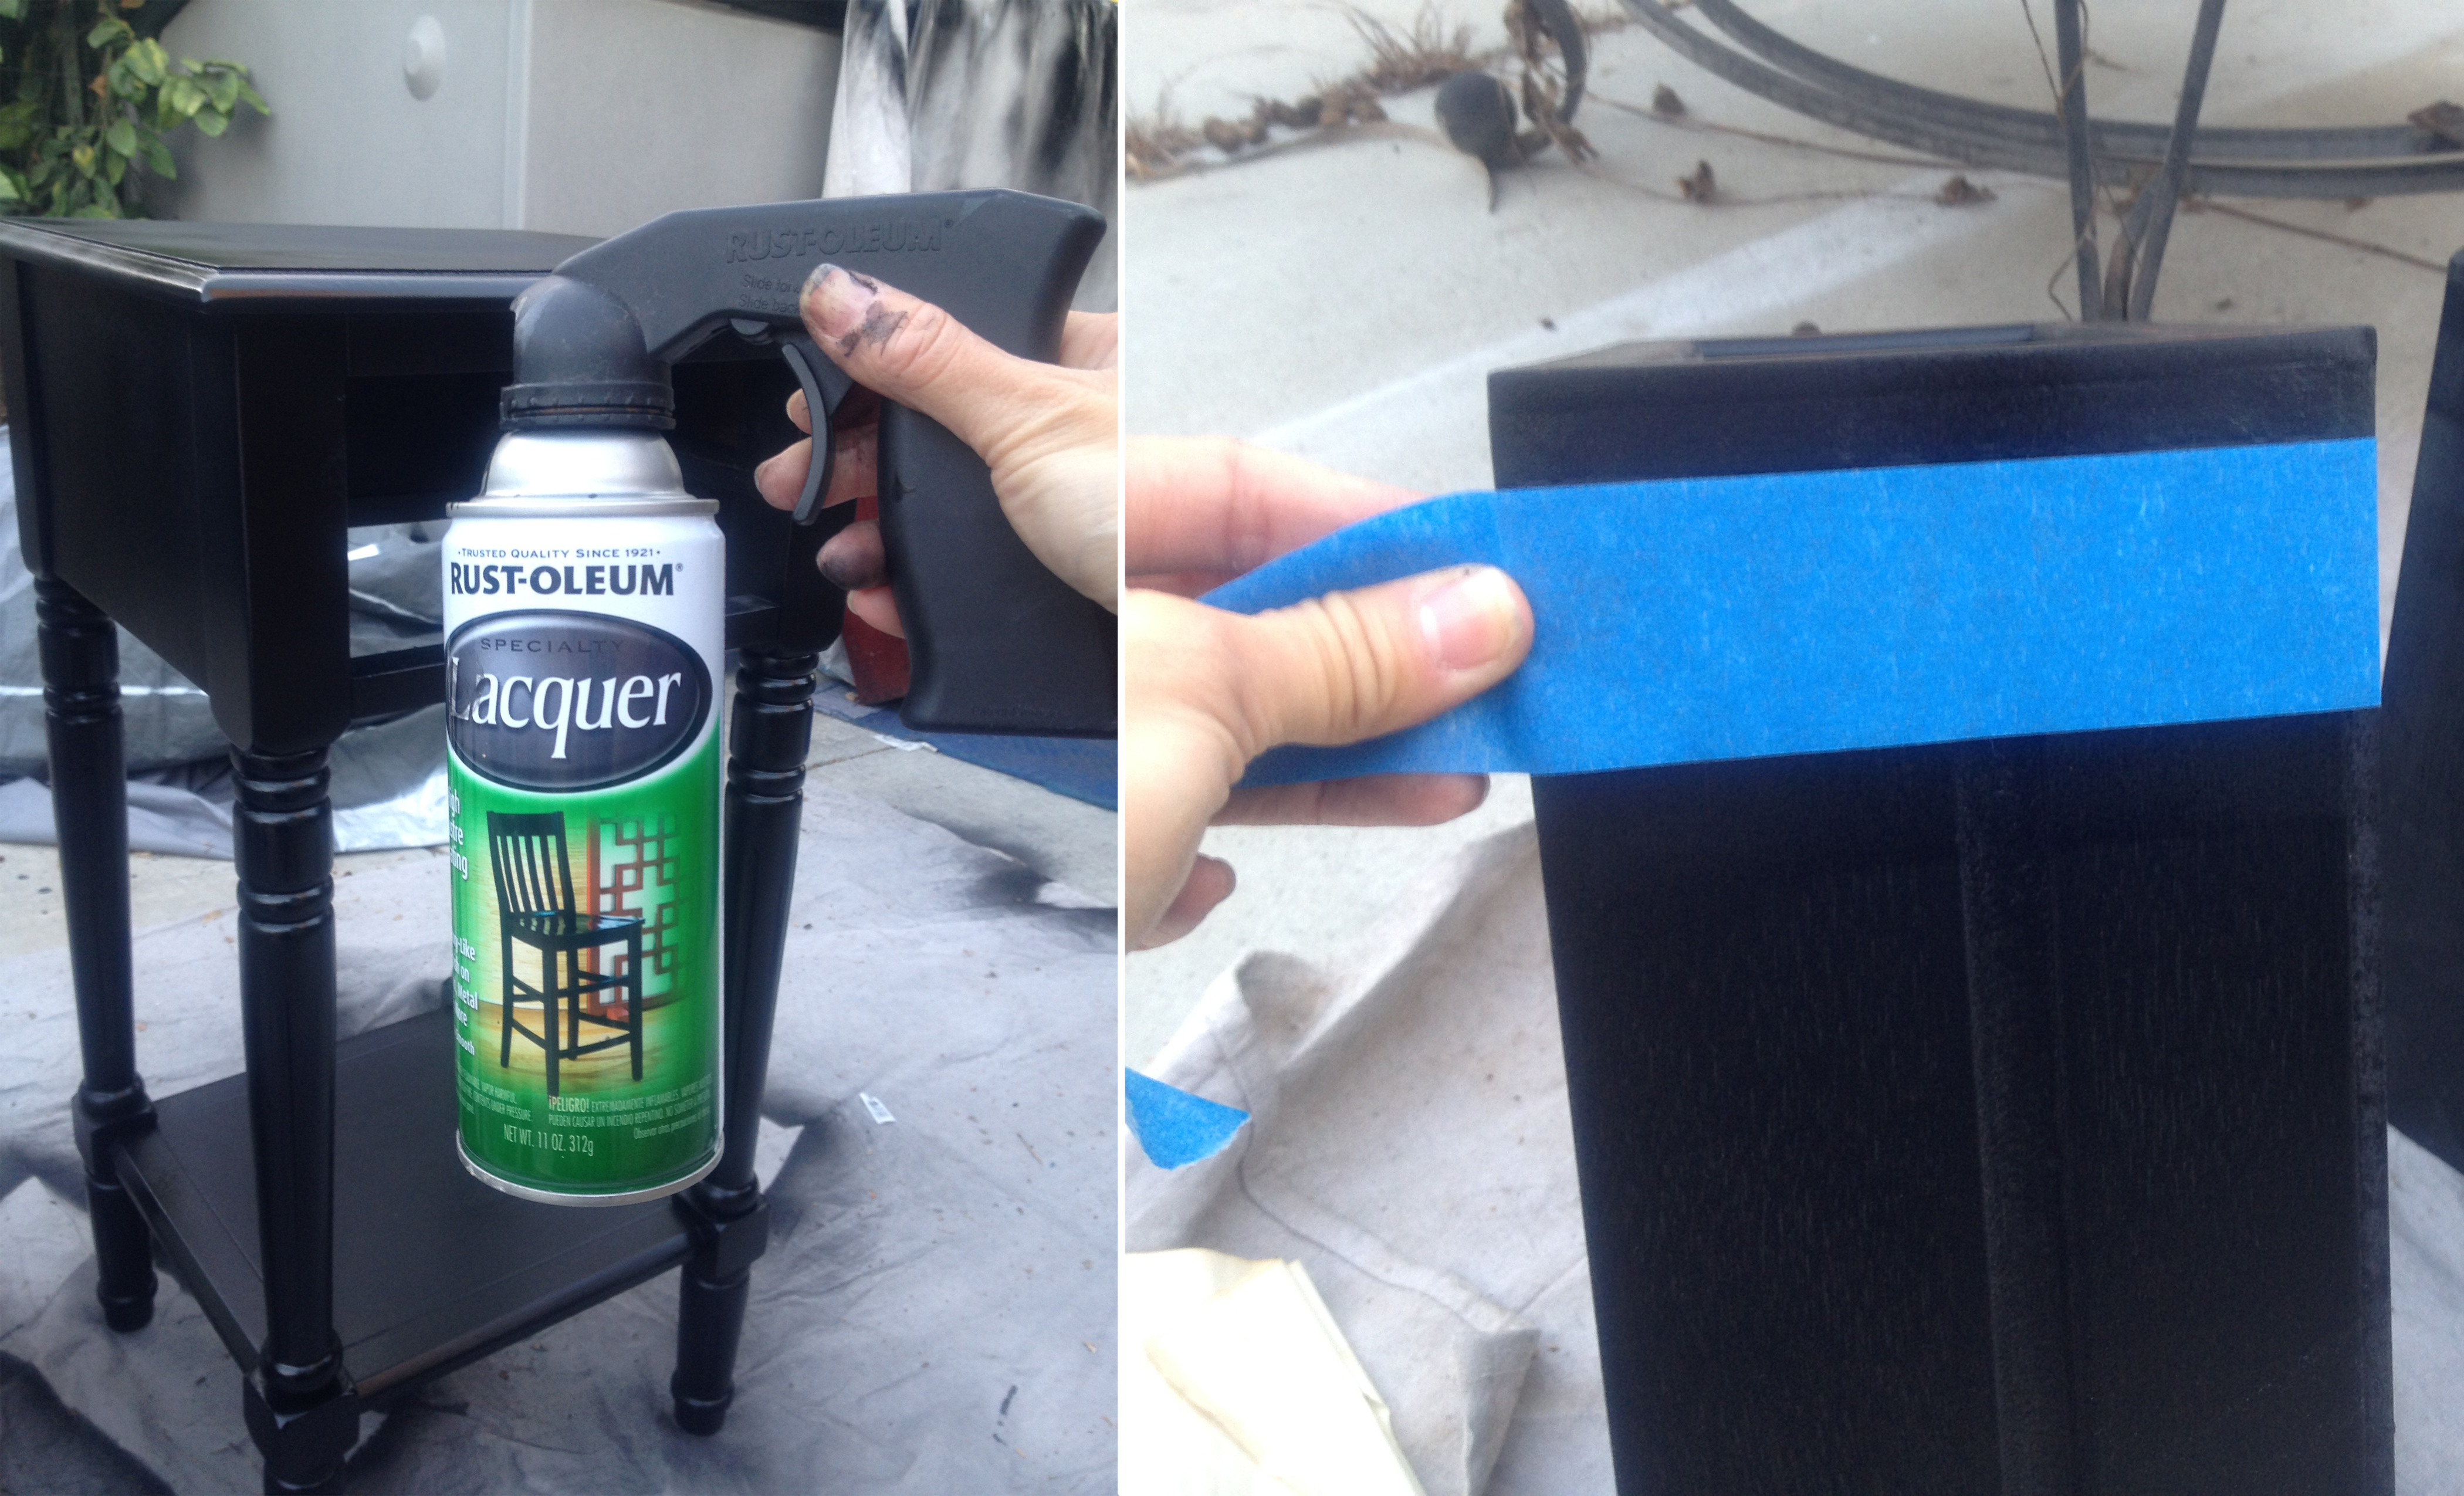
Materials
Enter my go-to design tools for refinishing wood furniture: Sand block | Clear lacquer | Black lacquer | Work gloves
Prep Work
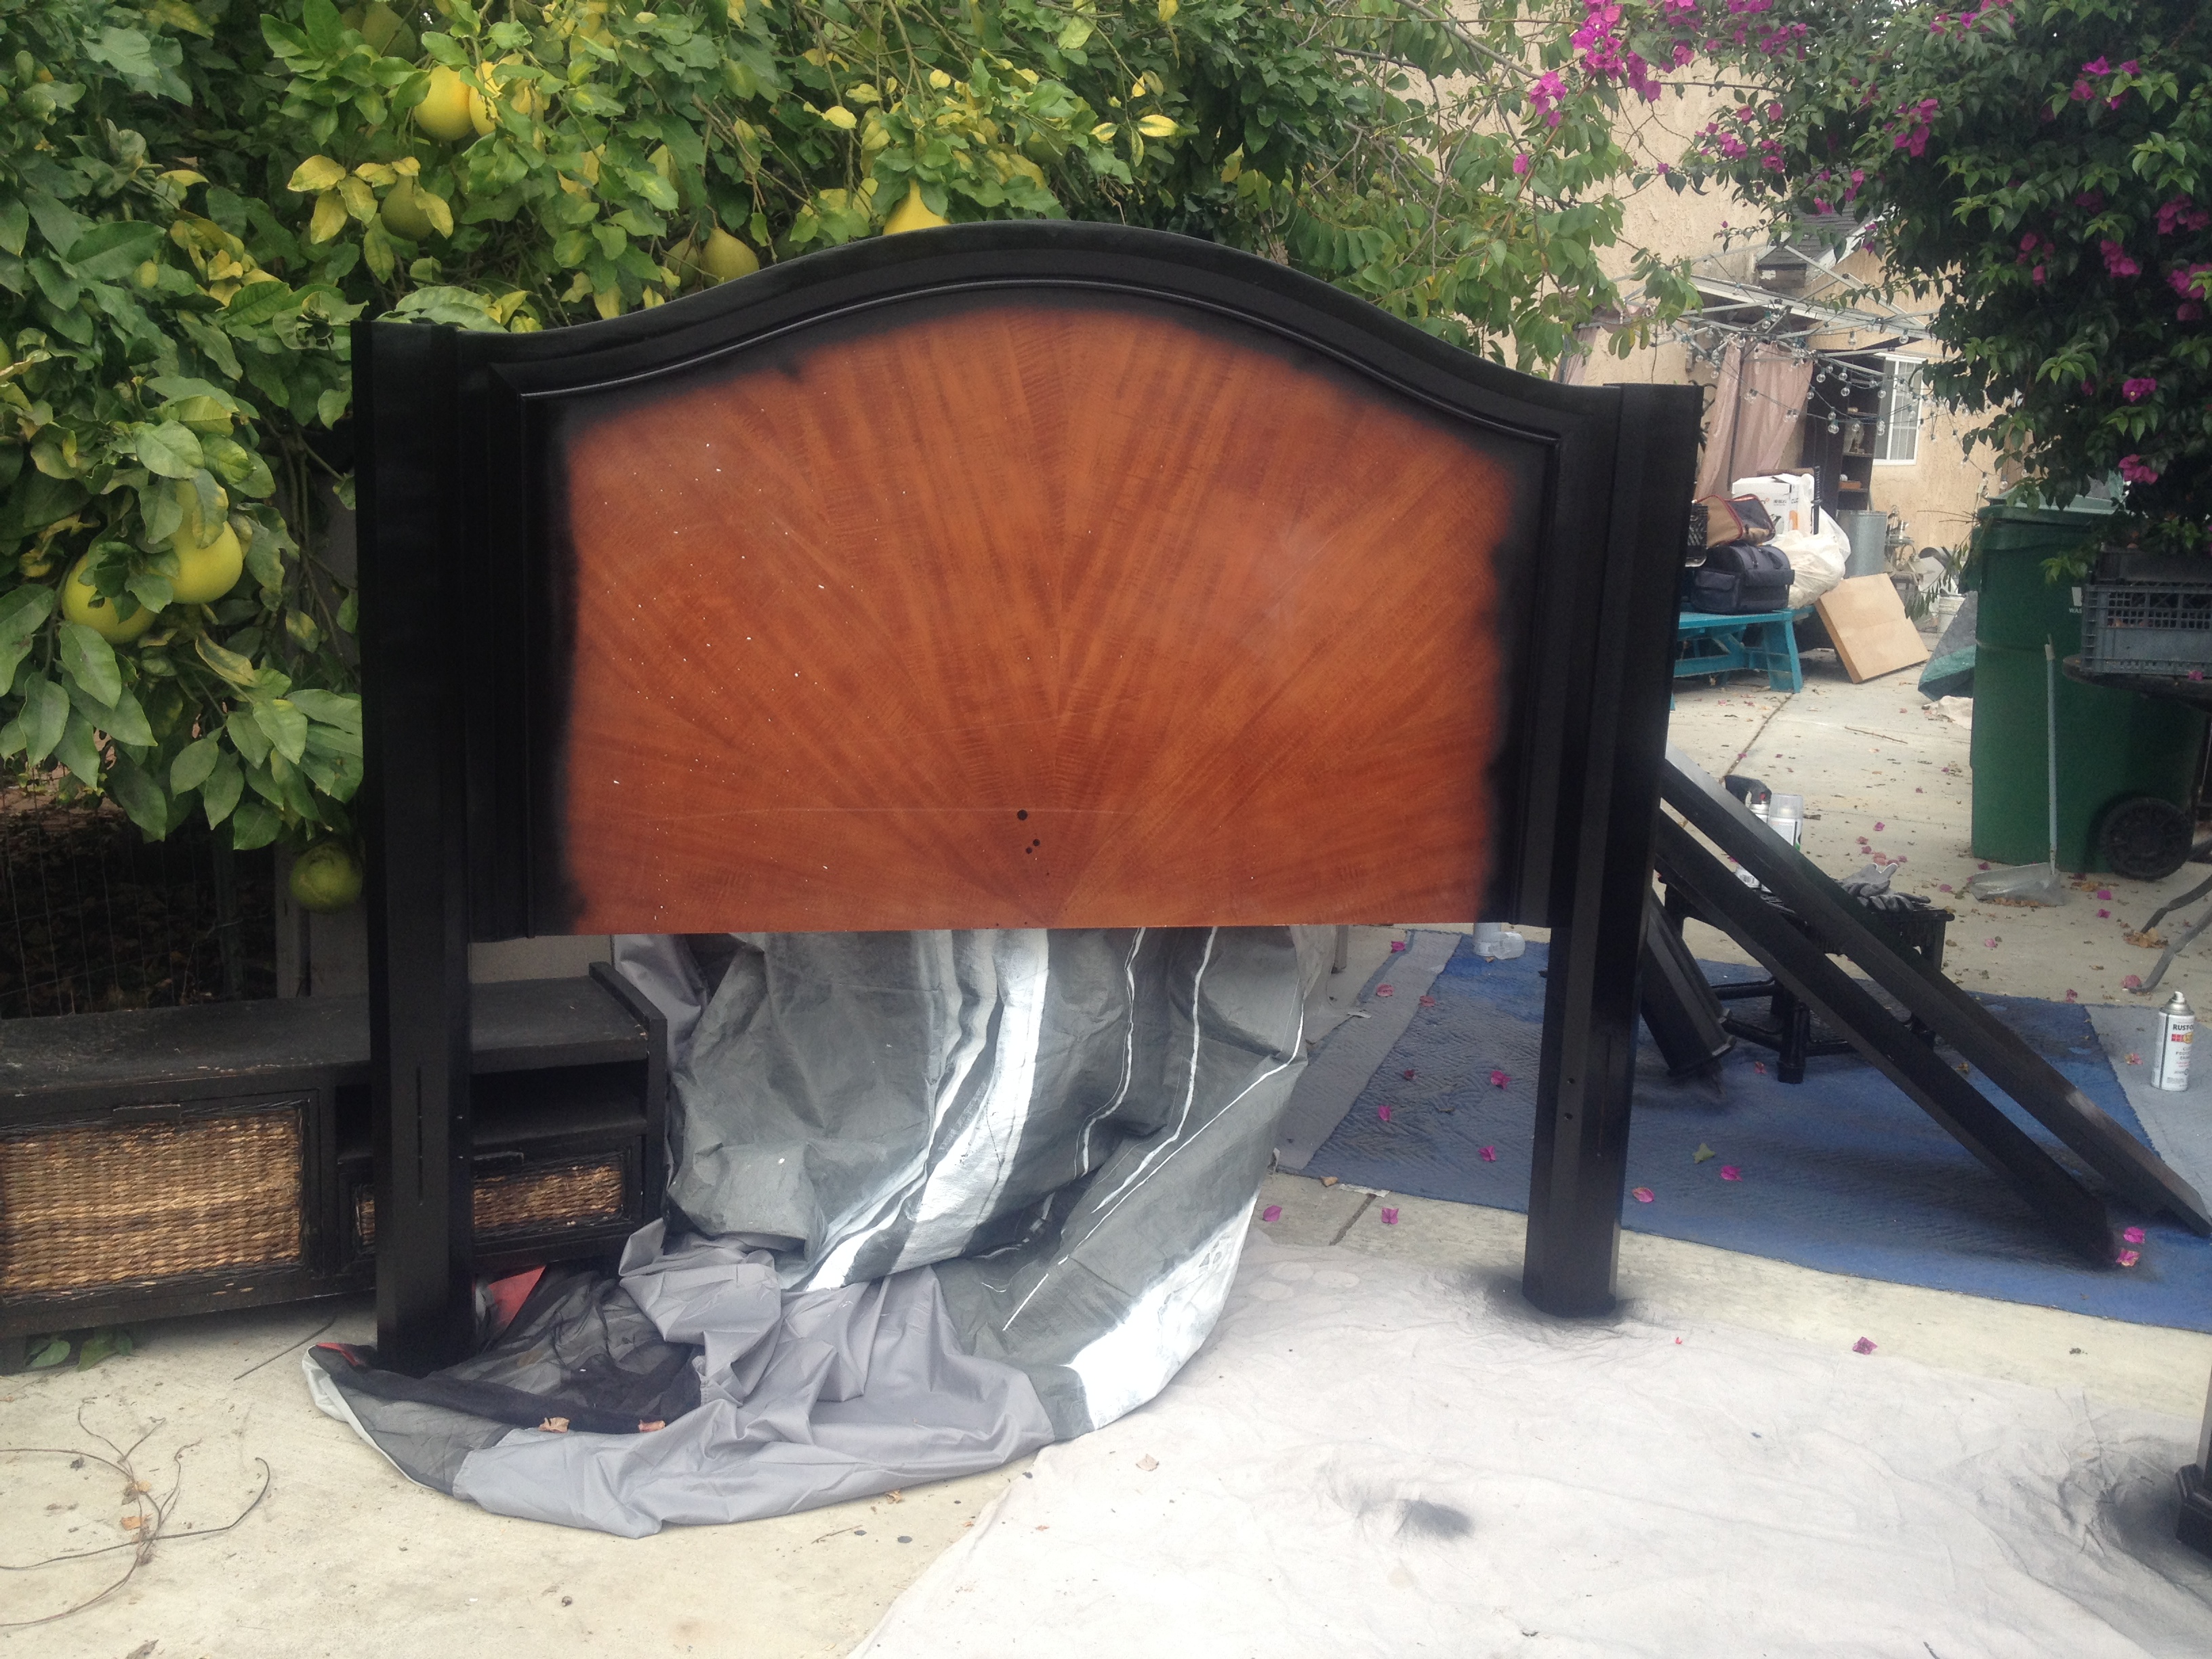
Start by sanding the entire thing down. Since this bed had so many curves and trim, I opted to sand her down by hand since machines tend to like flat surfaces. Once she’s completely sanded down, wipe down dust and particles with a clean cloth. Proceed to spray paint/ lacquer the parts you want to cover.
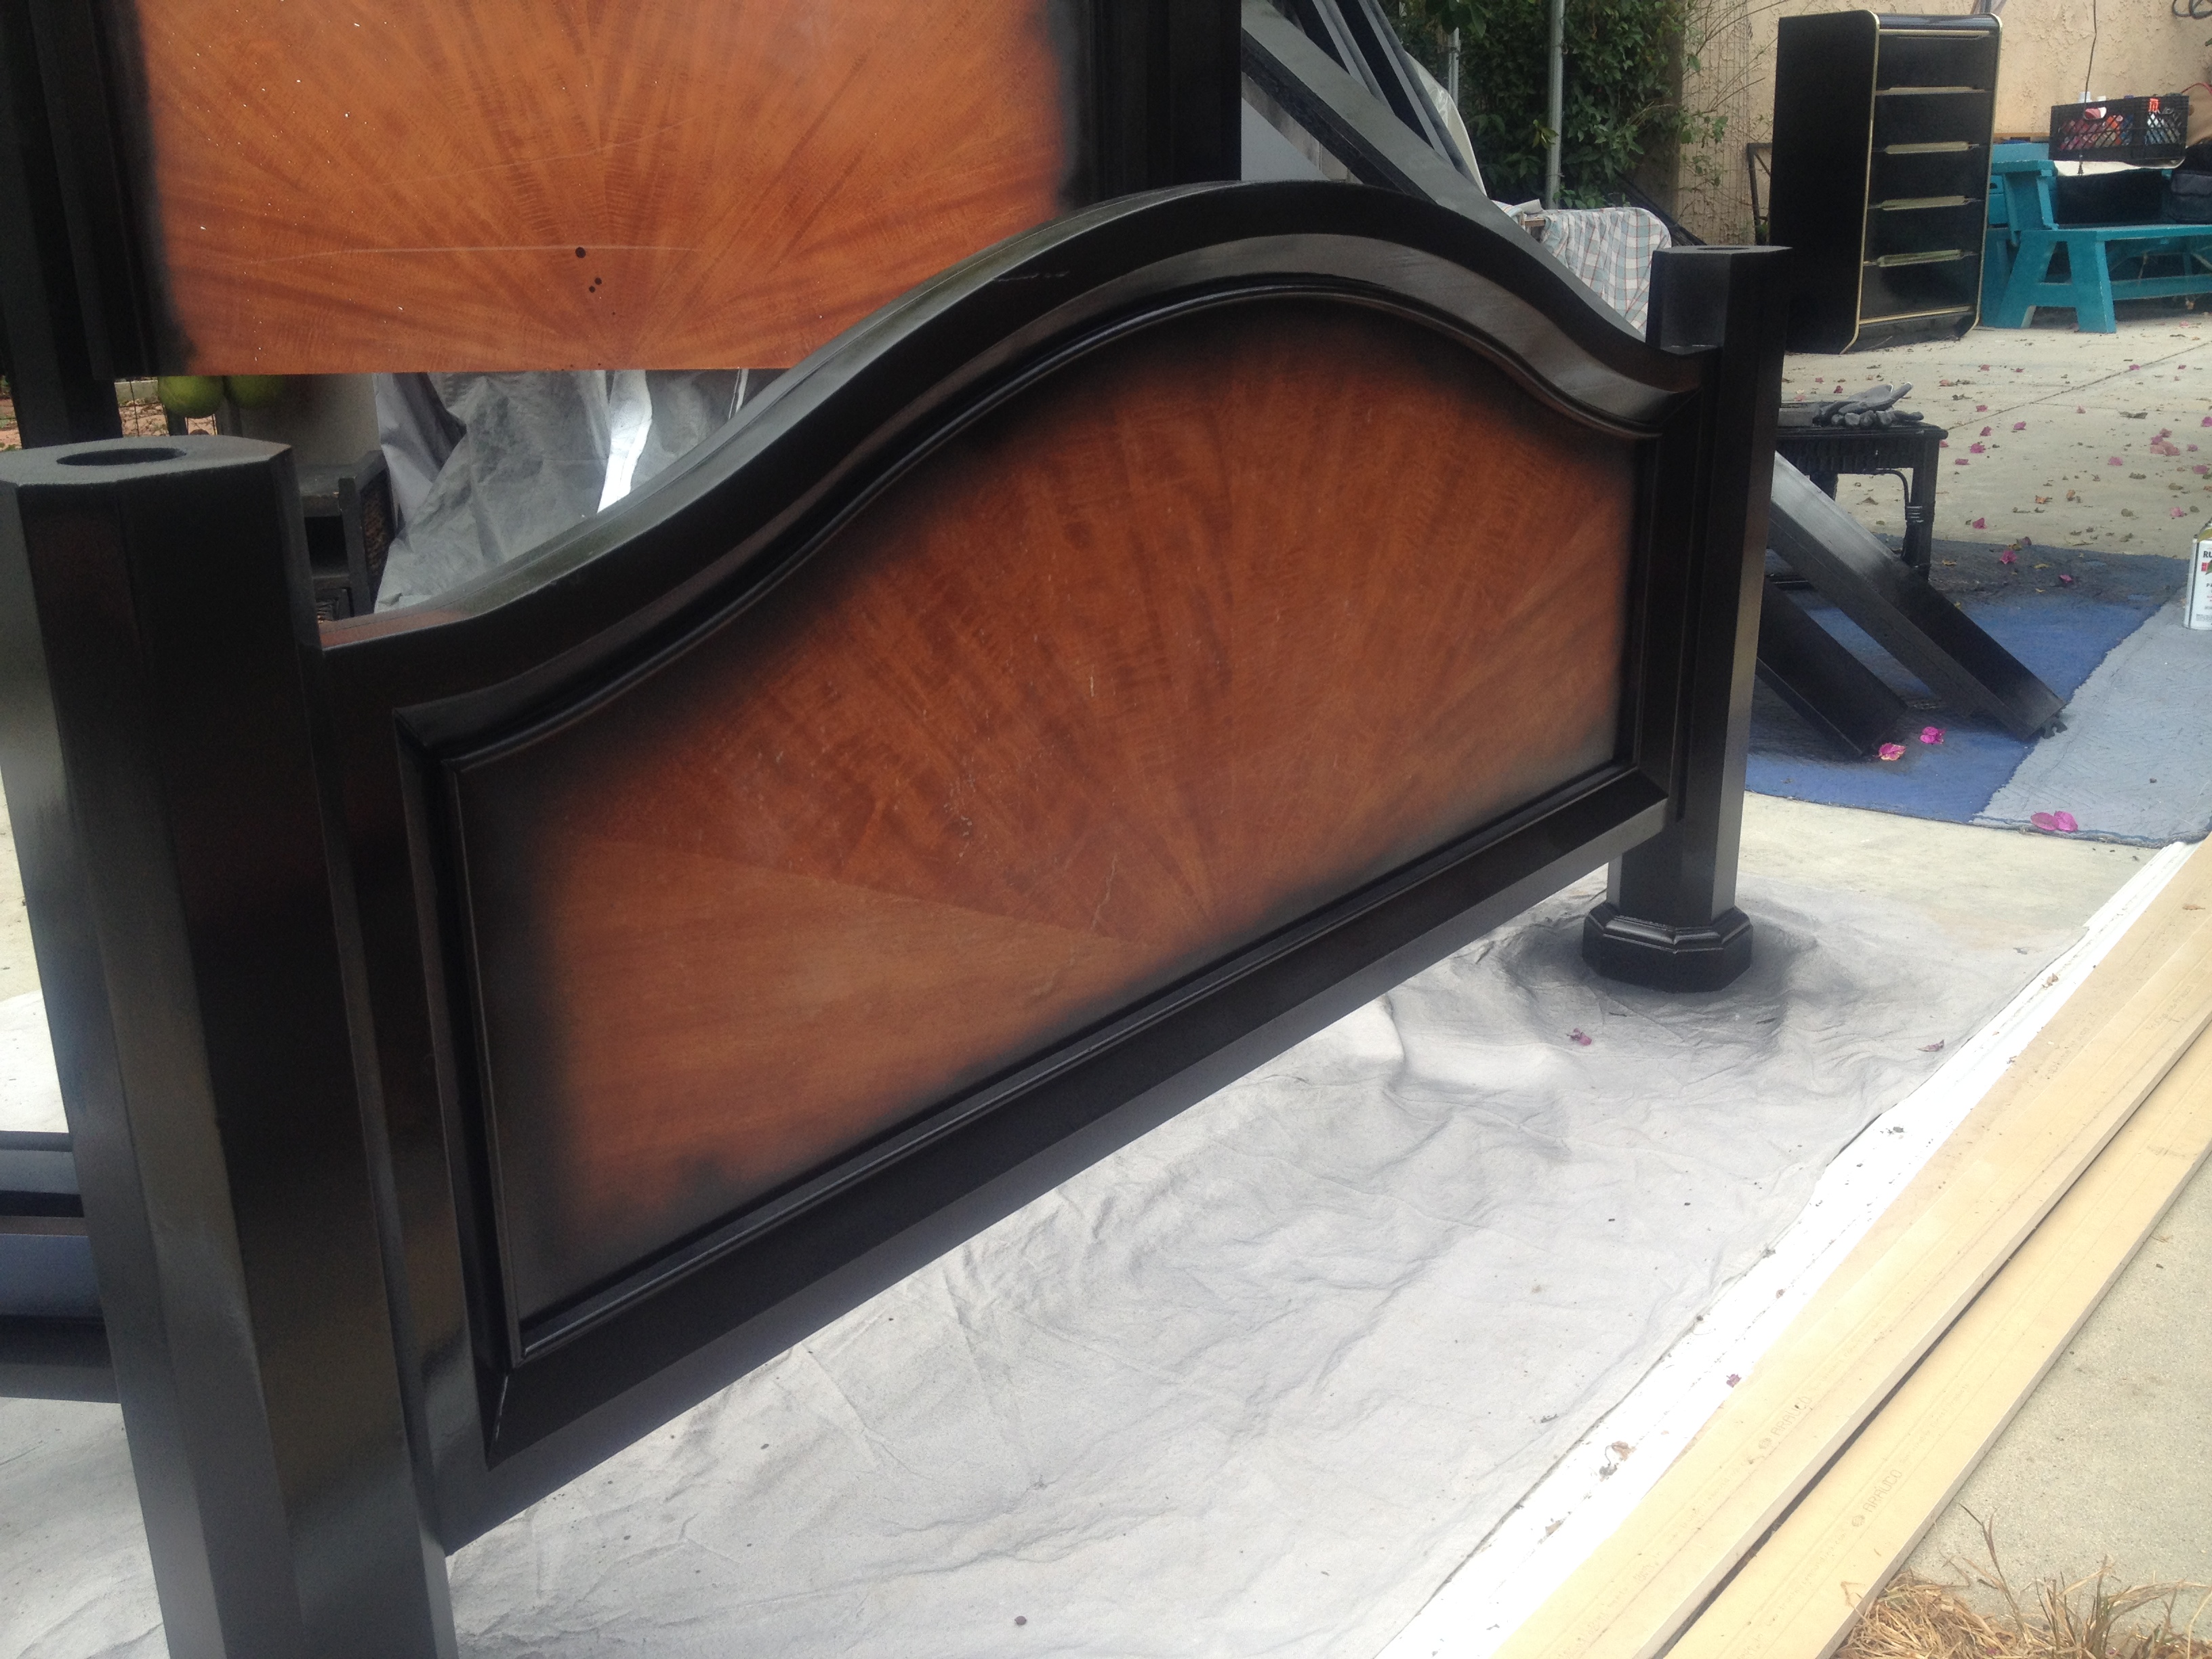
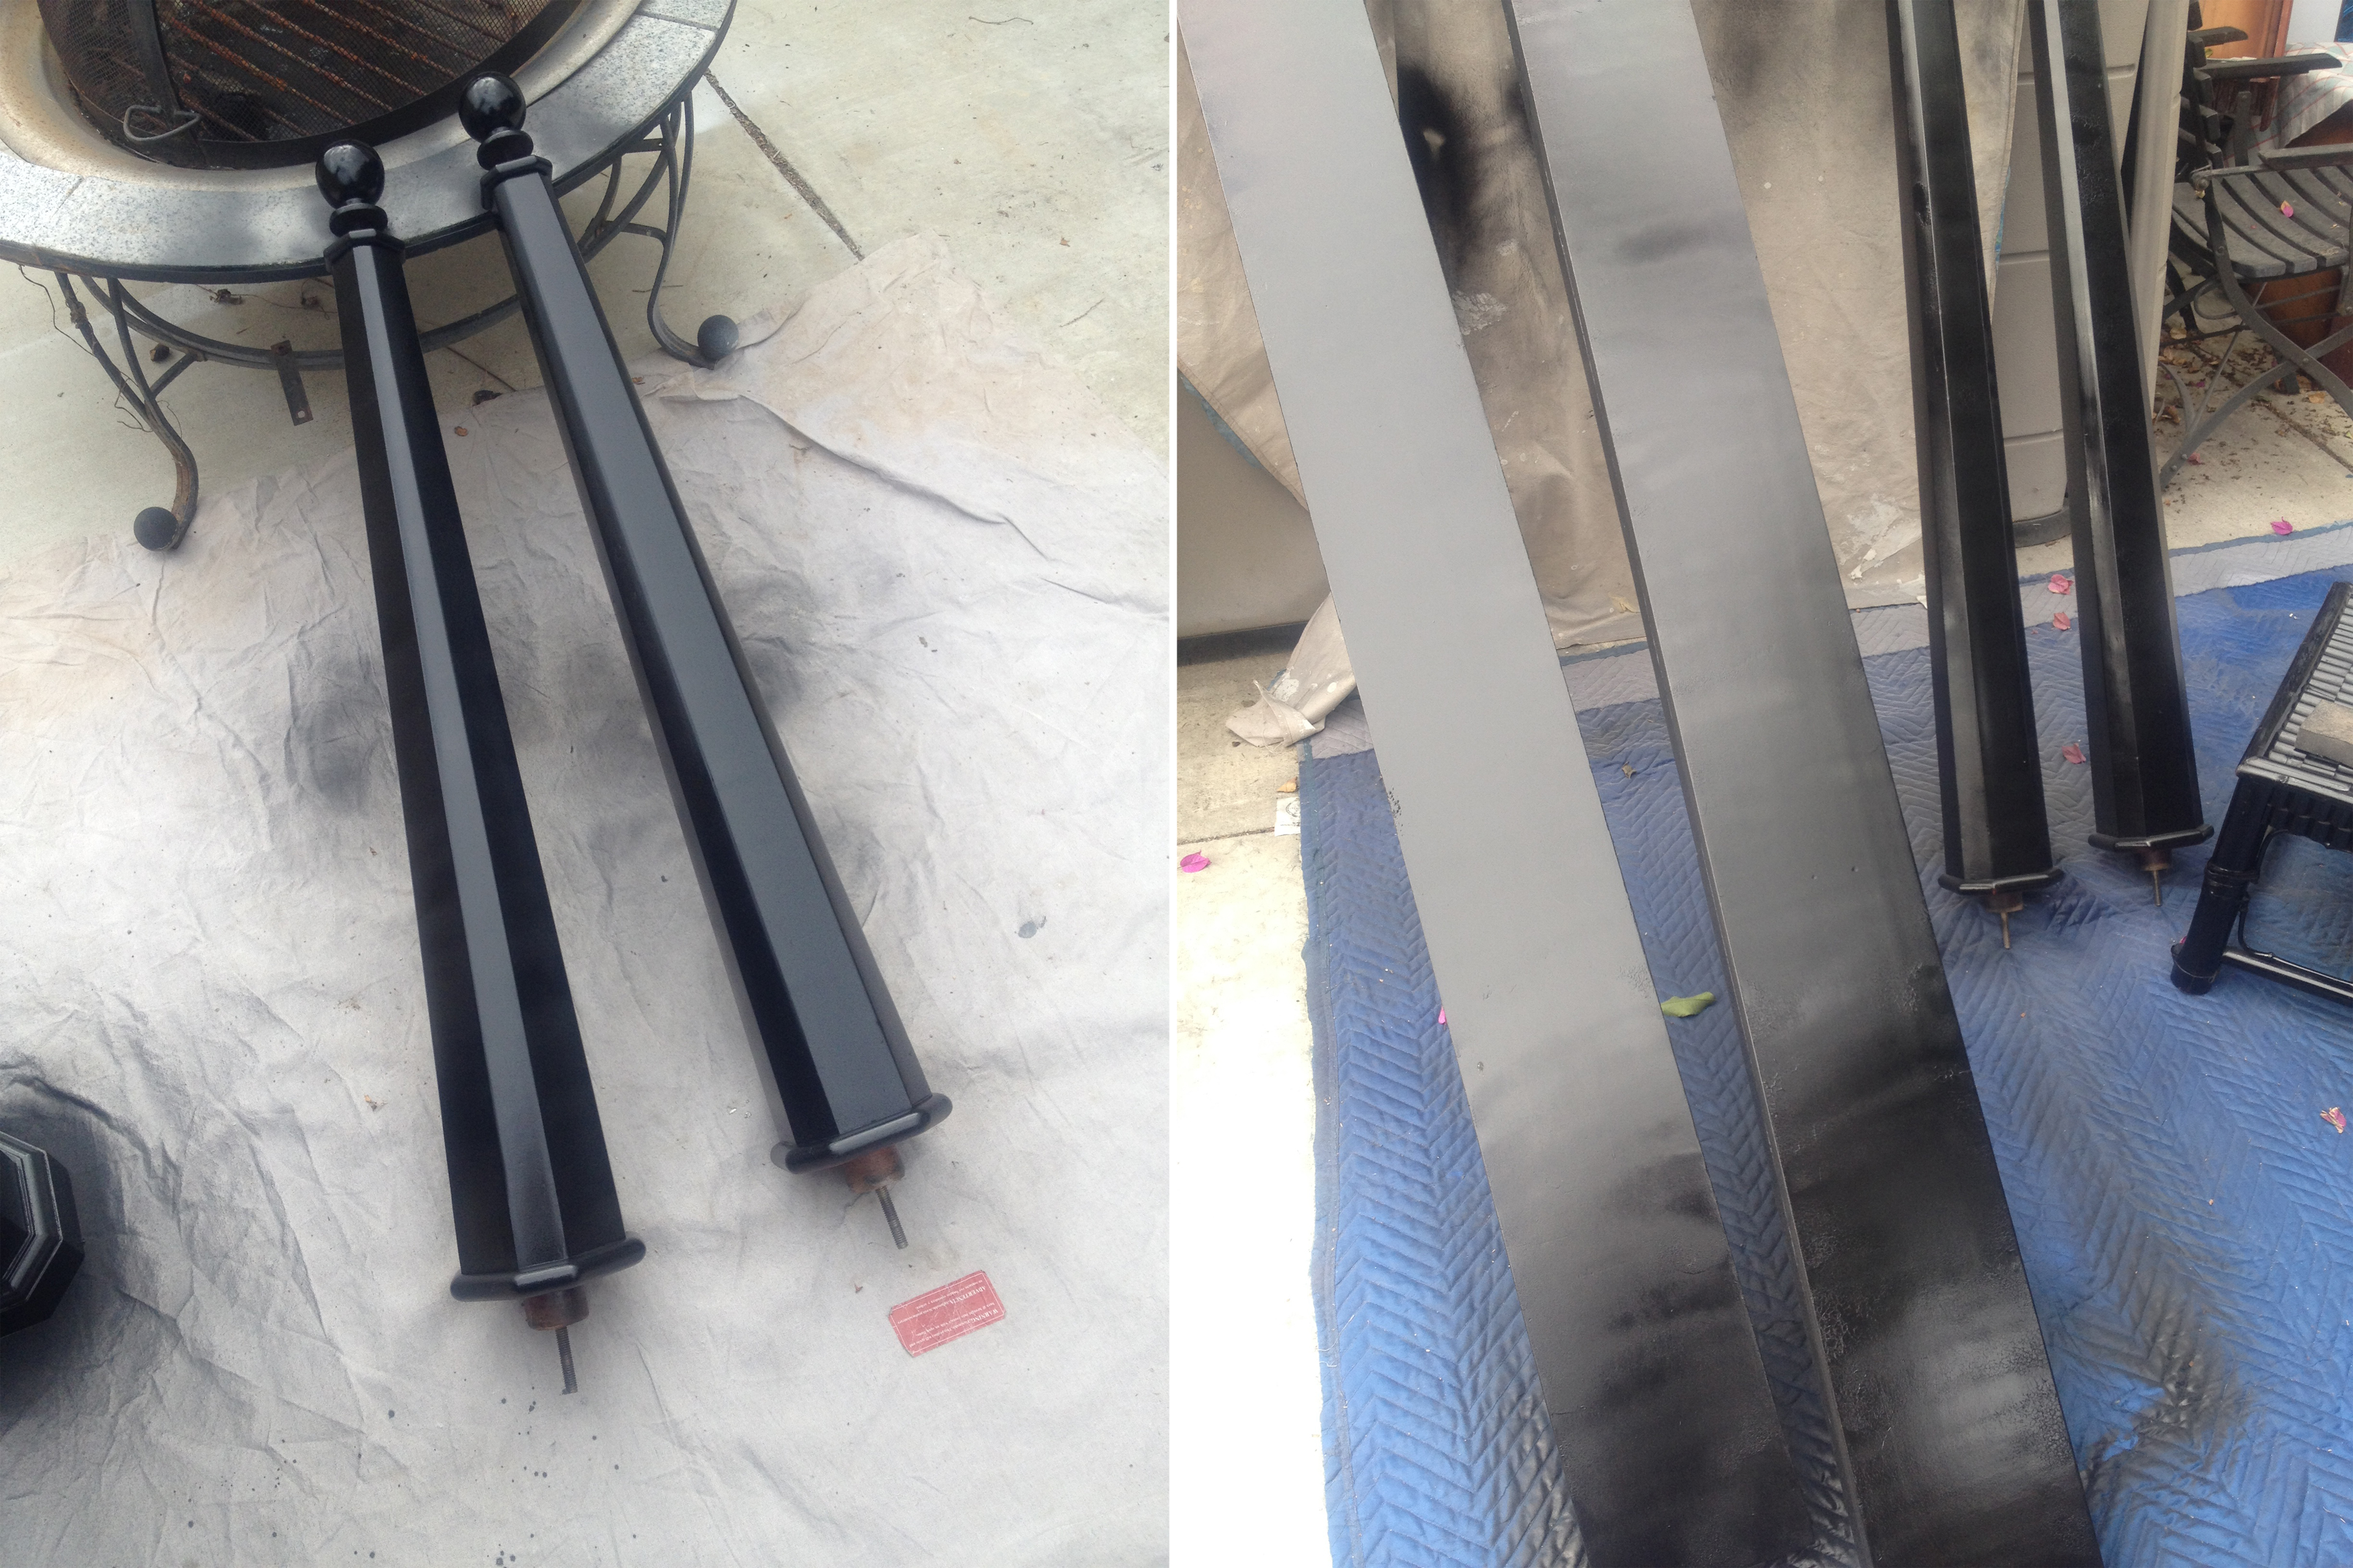
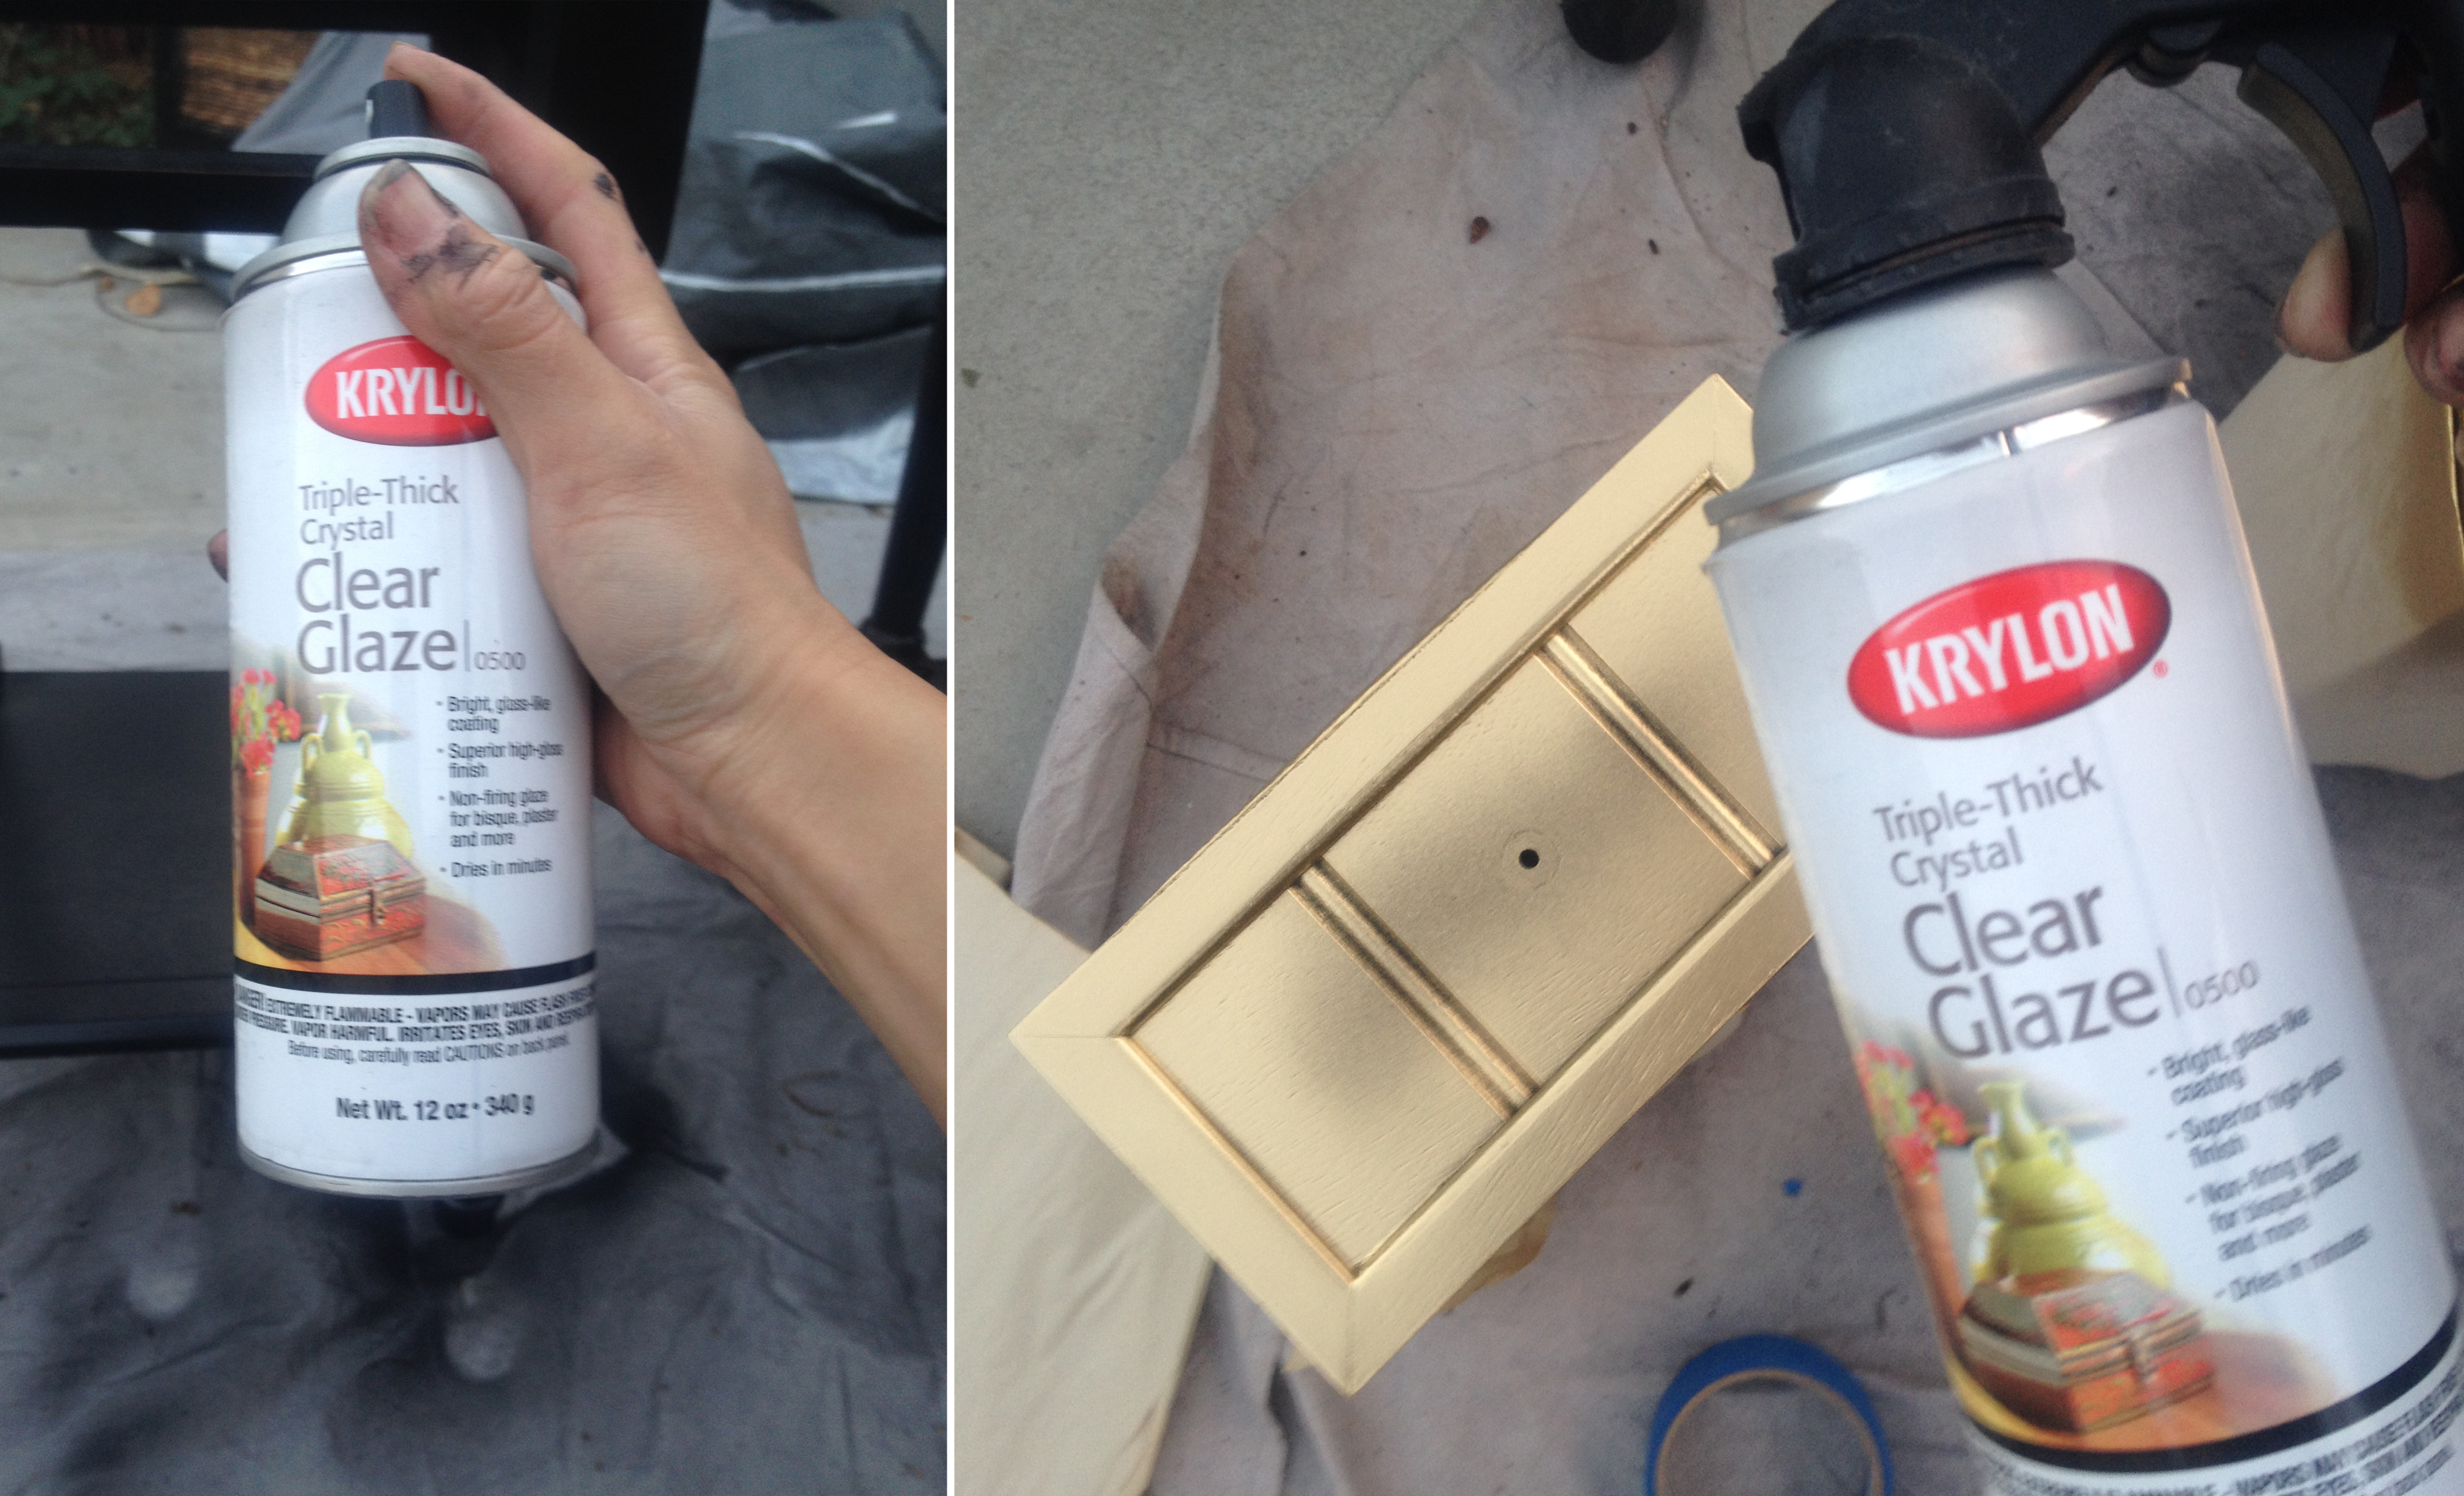
I removed the 4 posts for ease of painting. You see all those little trim parts surrounding the posts and head/footboard? I wish I took images of the process but they got gilded y’all. Gleaming gold to add a bit of glamour to an already high-fashion home piece. I then took the headboard and footboard to my factory upholsterers to add a bit of fabric and padding. I am NOT an upholsterer by any means so I find it best to leave this part to the pros.
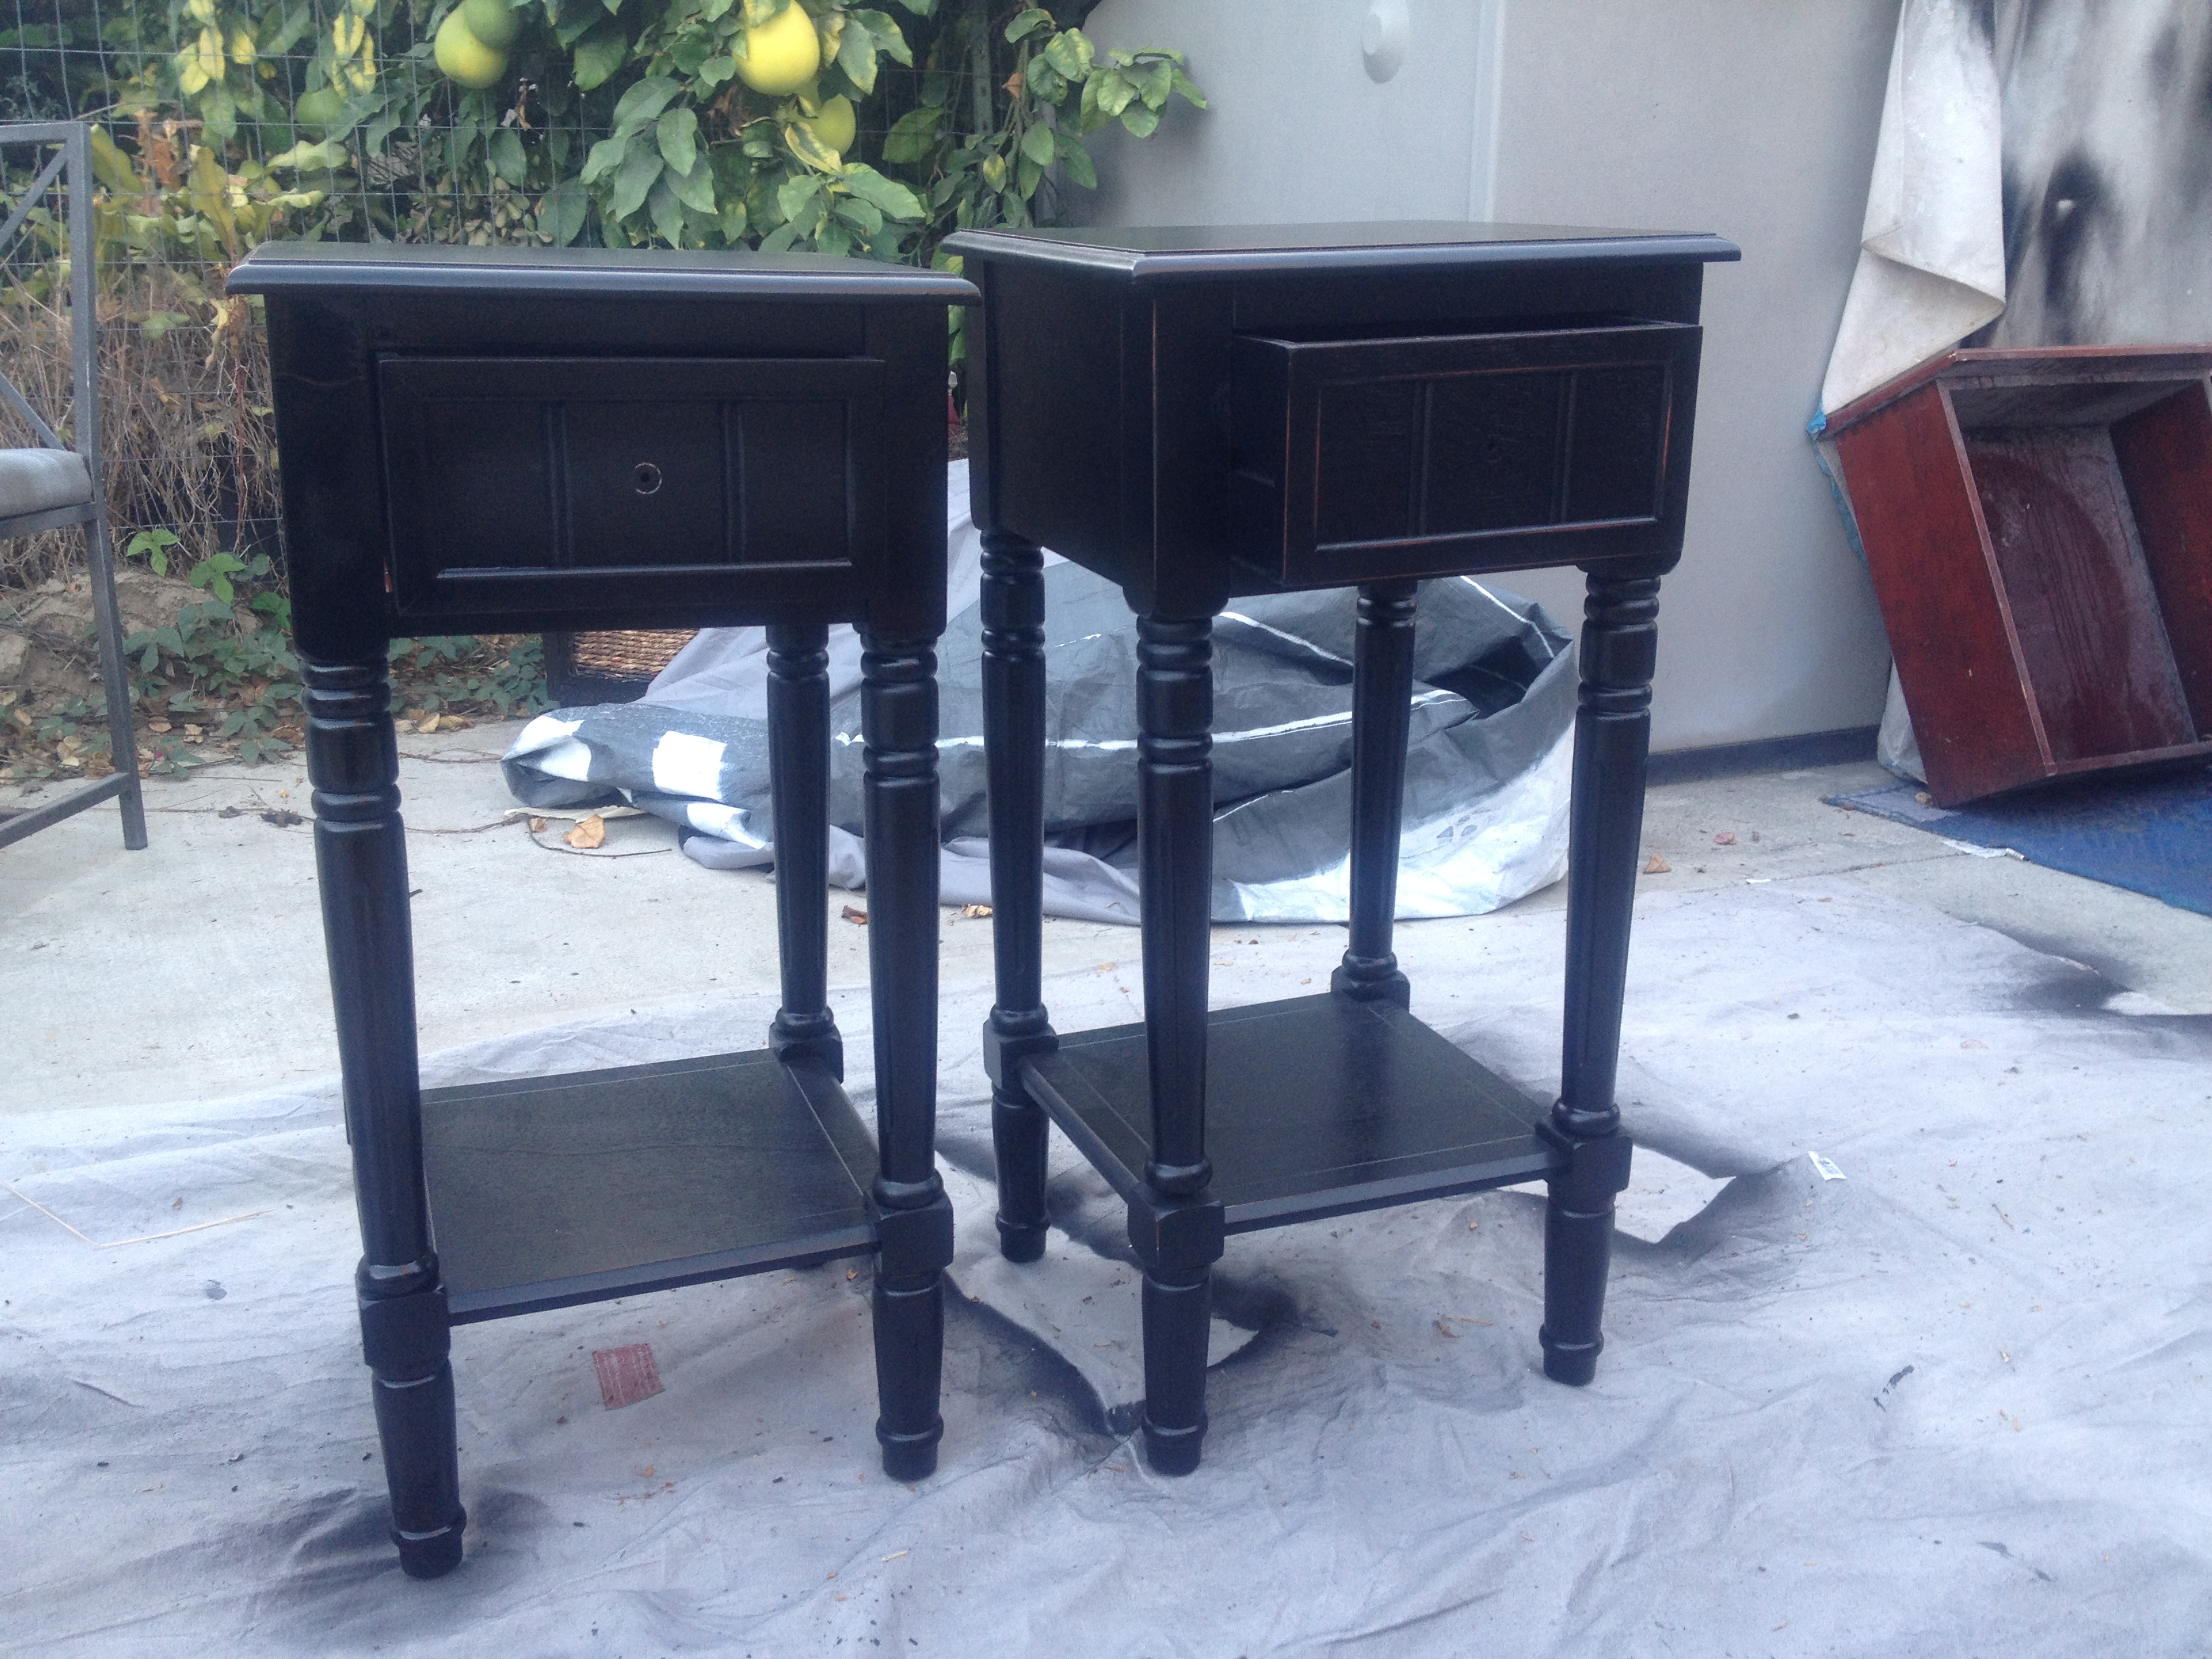
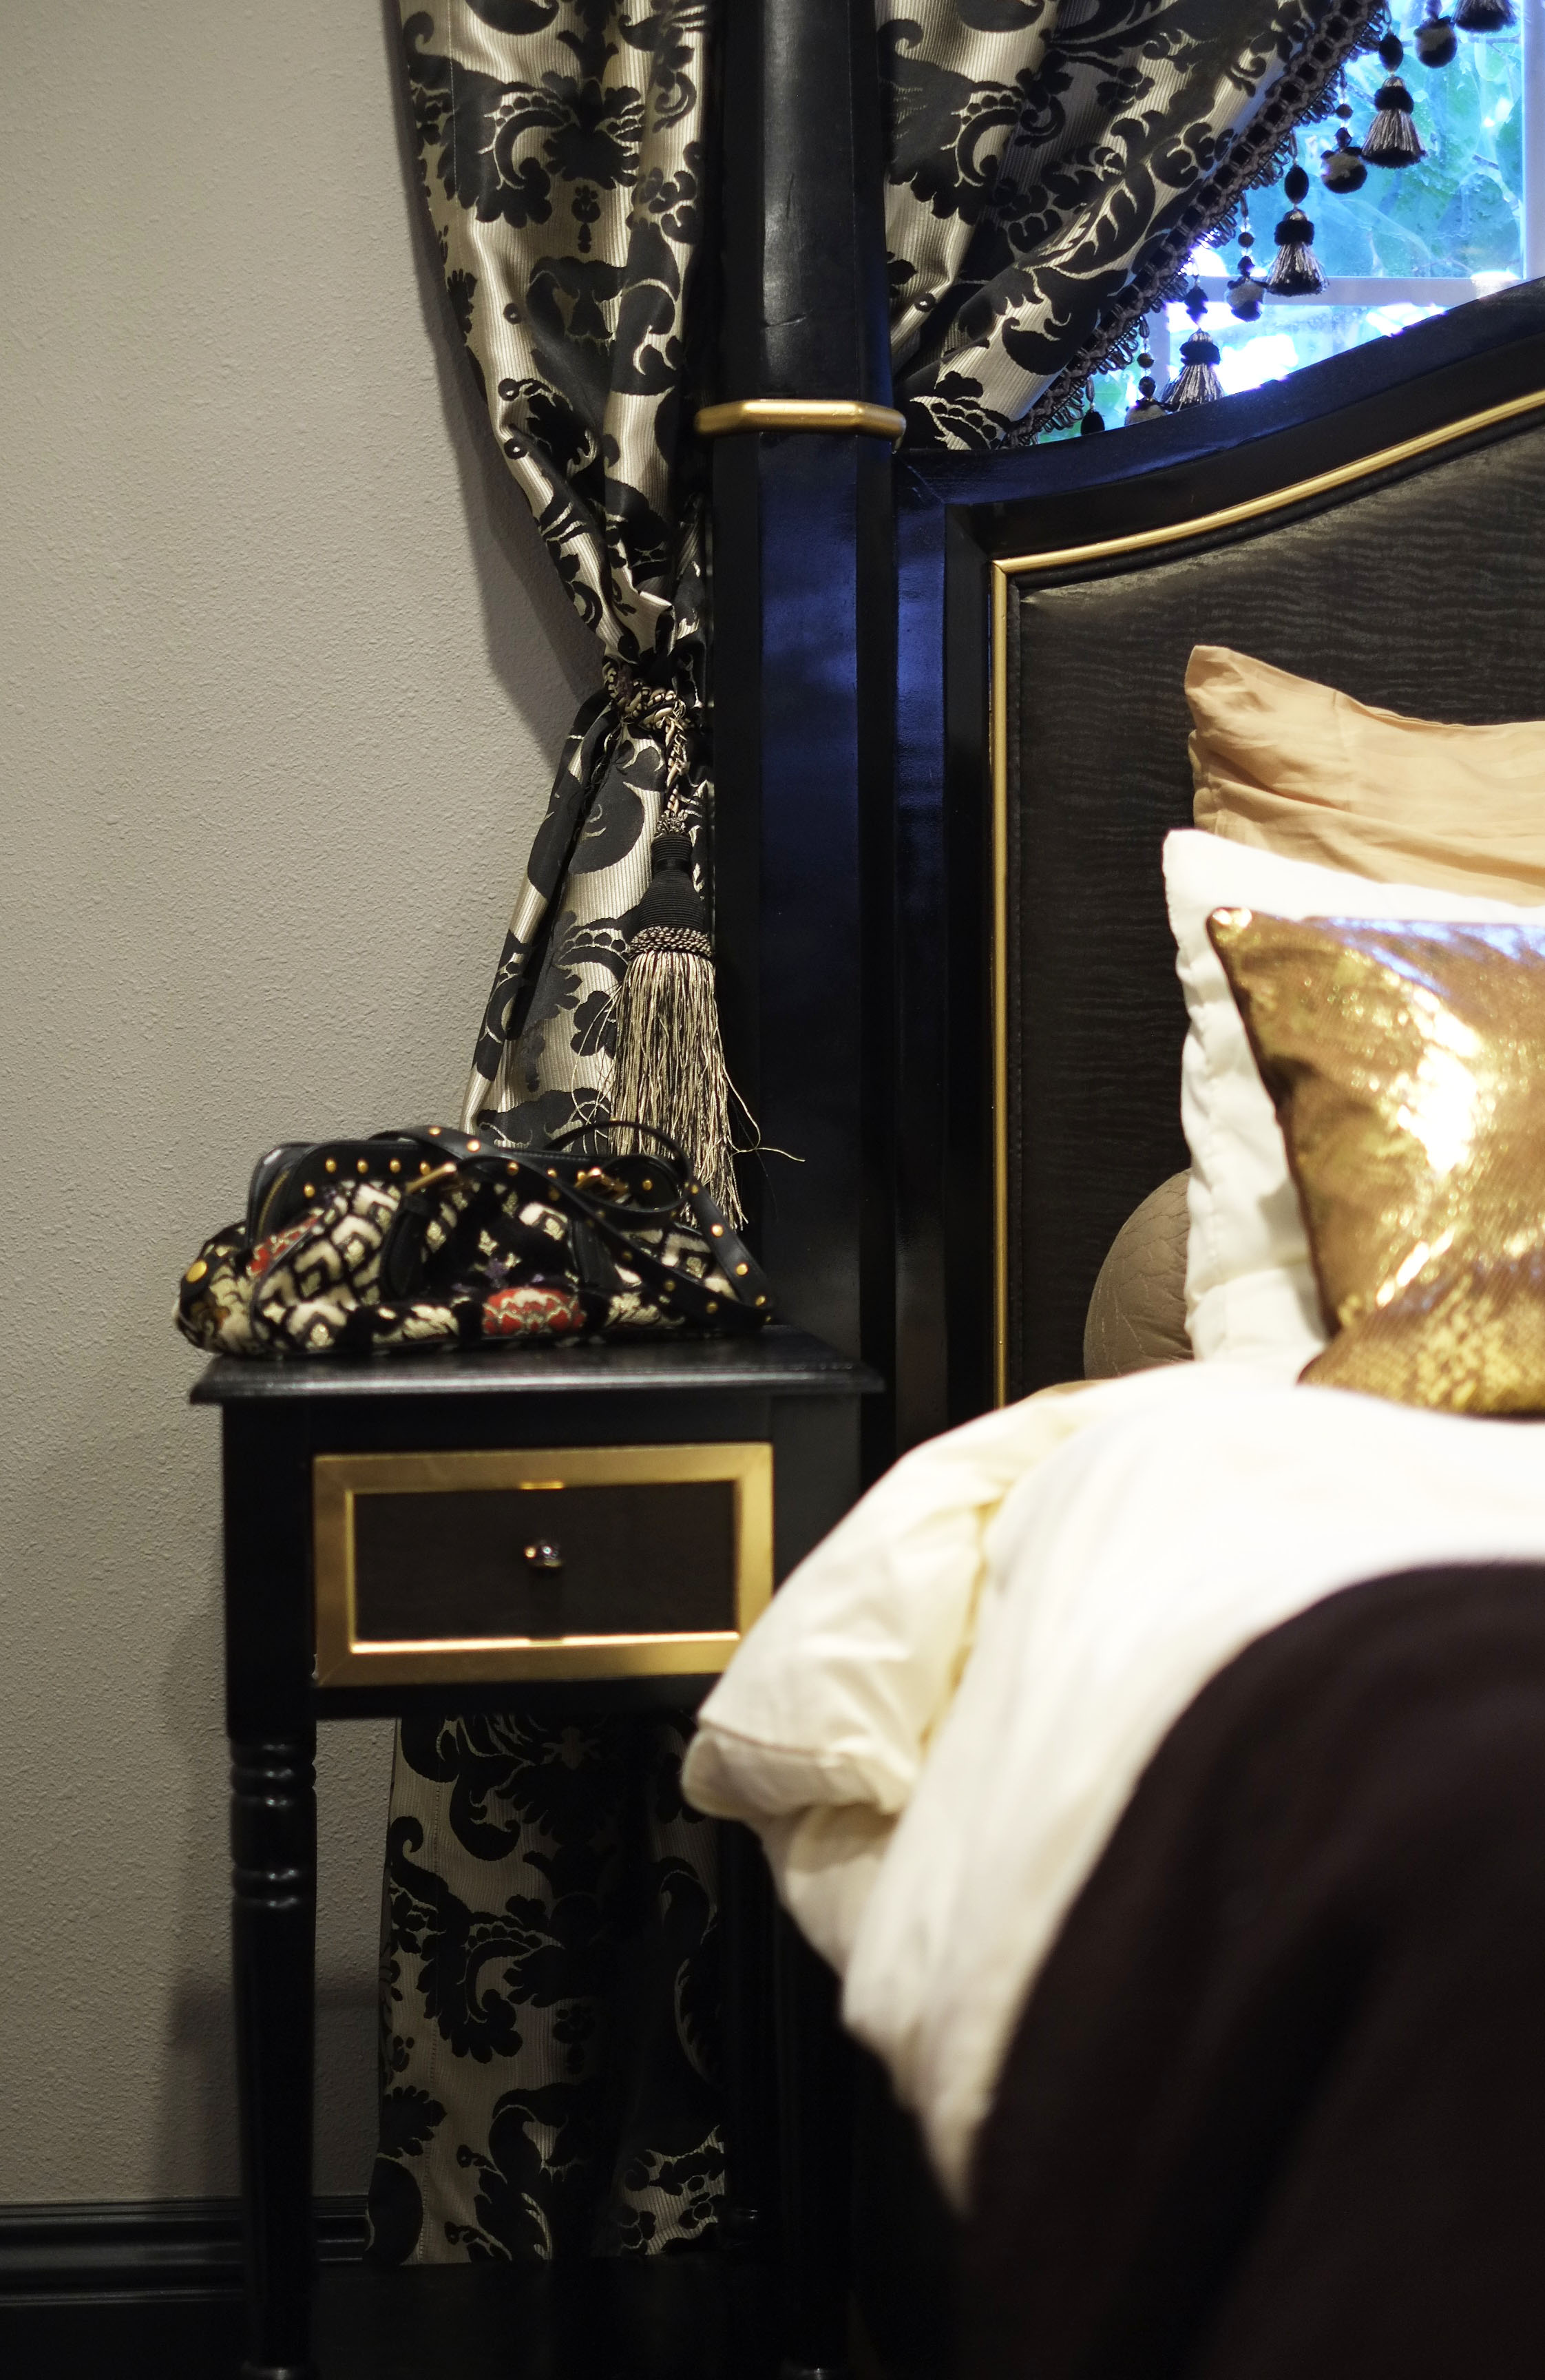
Matching Pieces
Next…I needed matching nightstands but couldn’t find a suitable pair anywhere since the above bed was custom designed to suit my new space. I shopped my local HomeGoods and found this pair of small scale stands at $59.99 apiece. But black + black = BORING!!!
So I suped them up using the same formula for the bed…
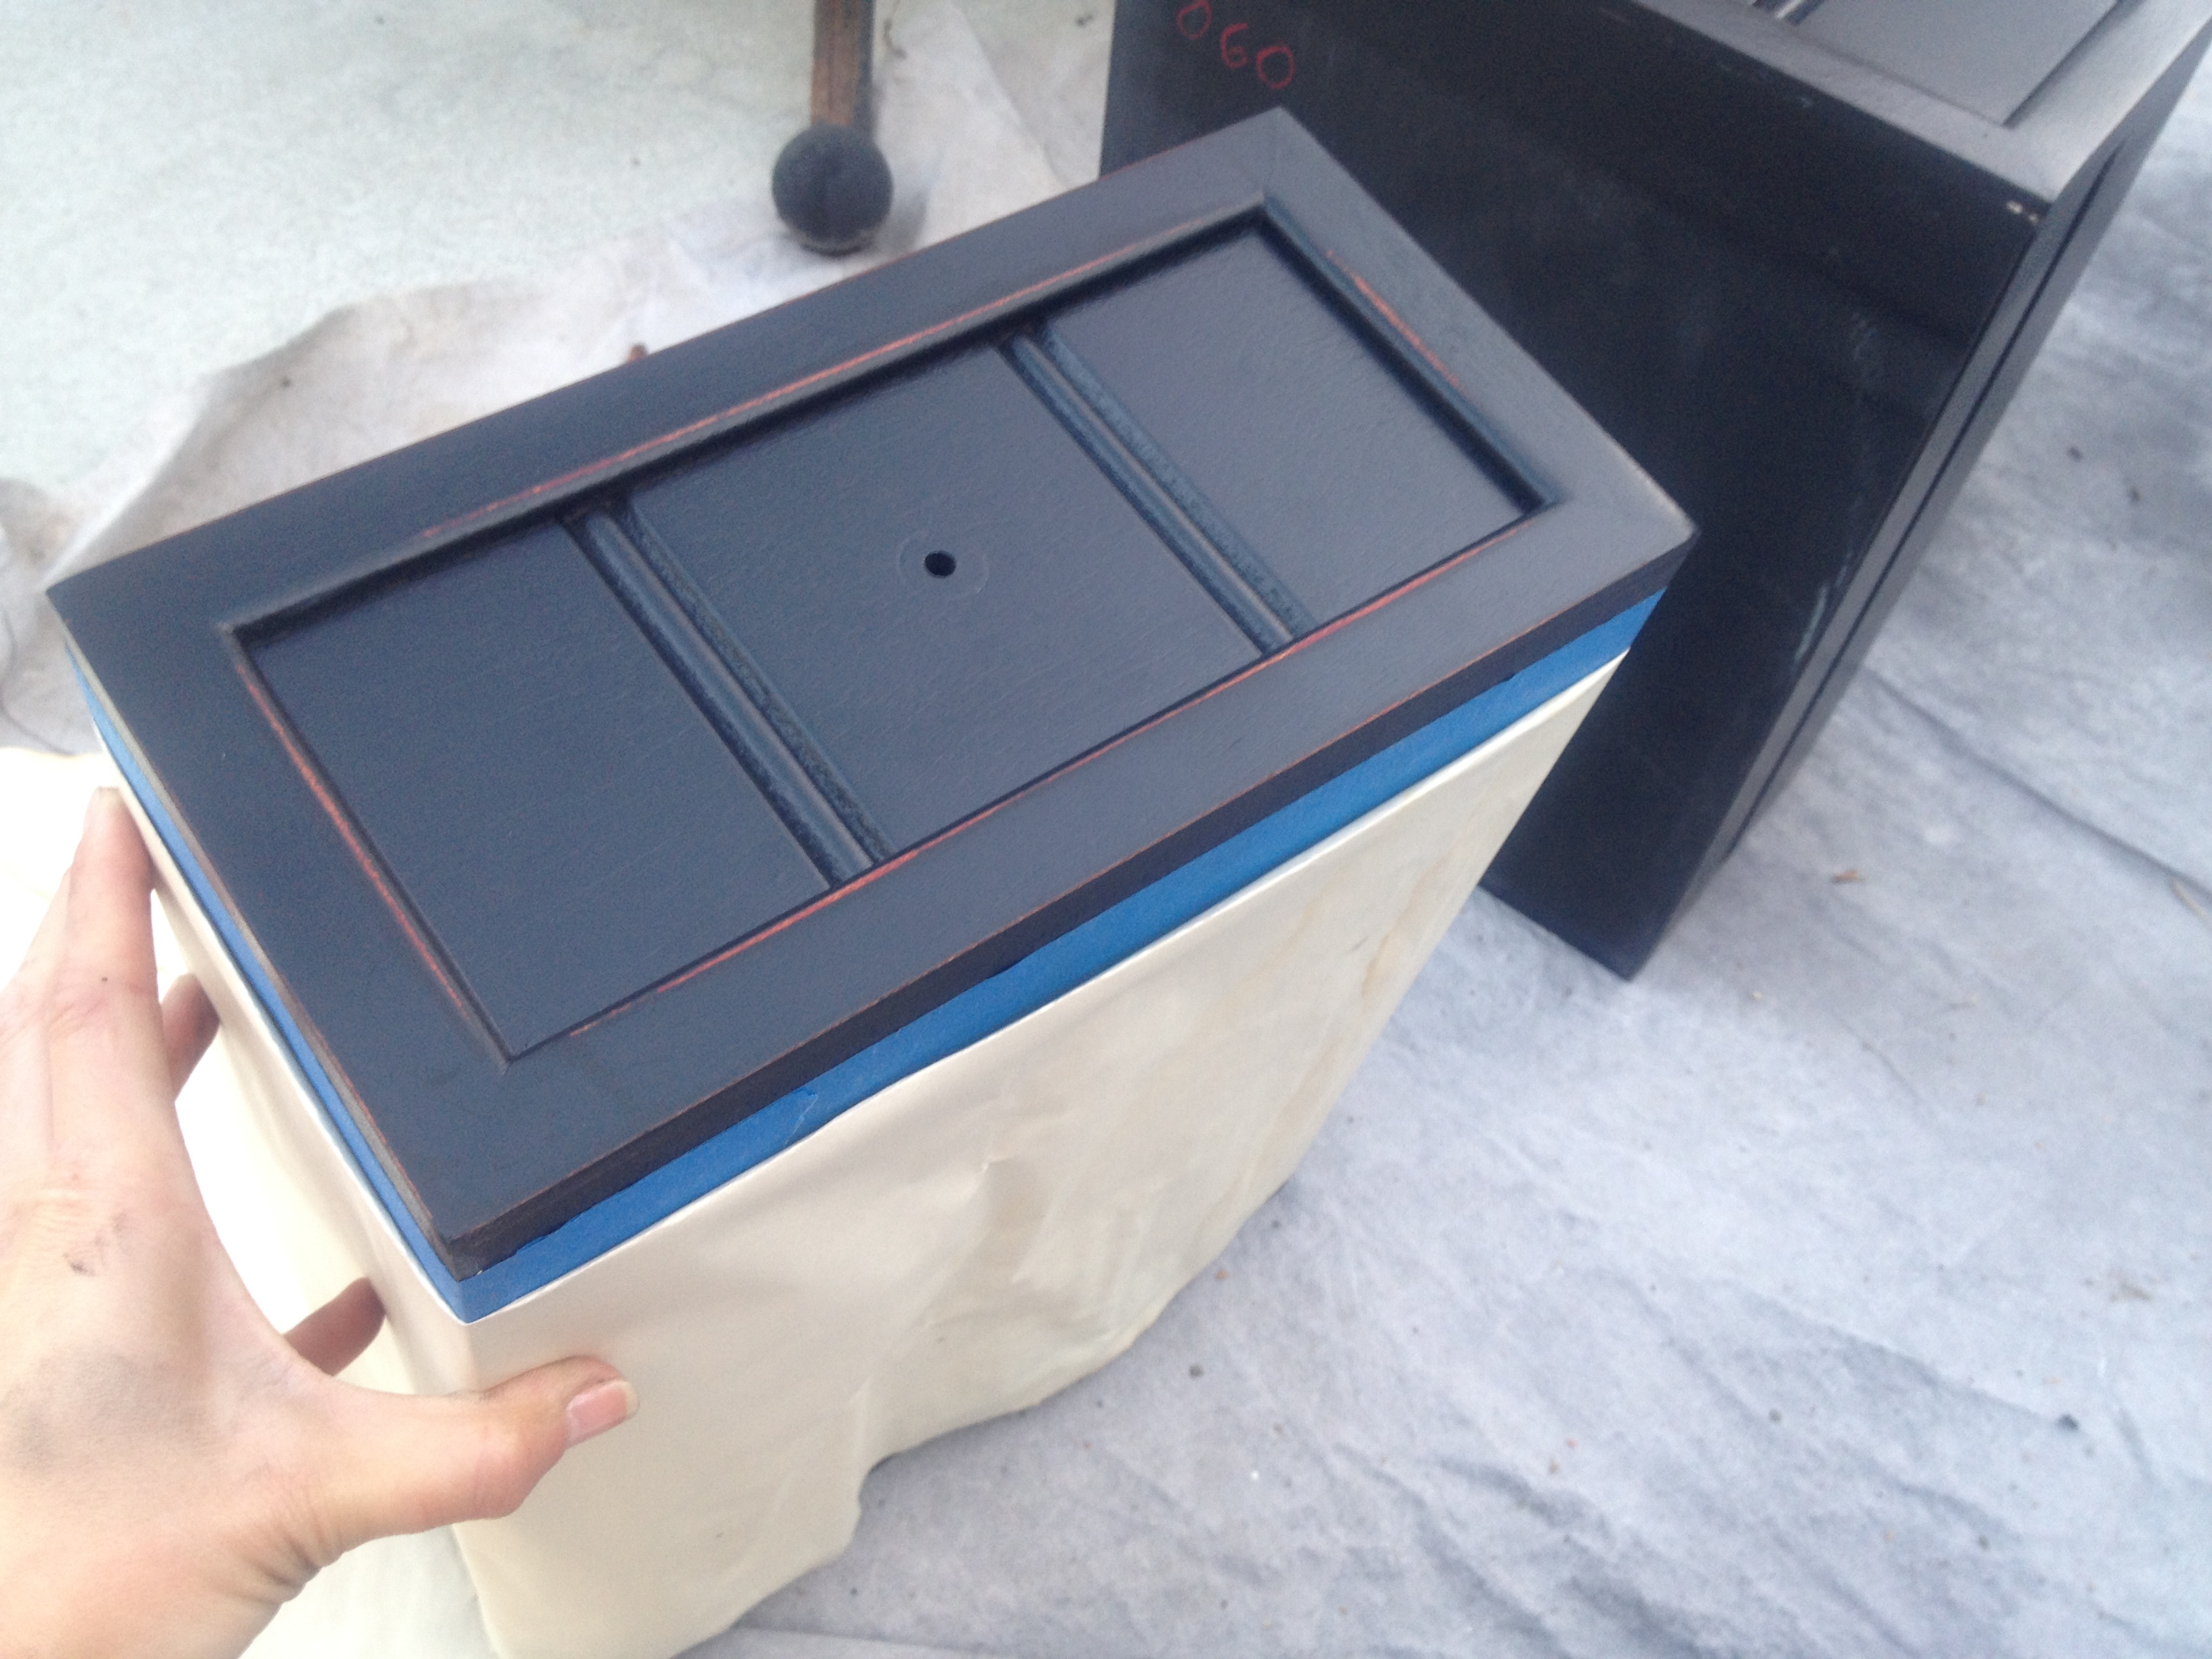
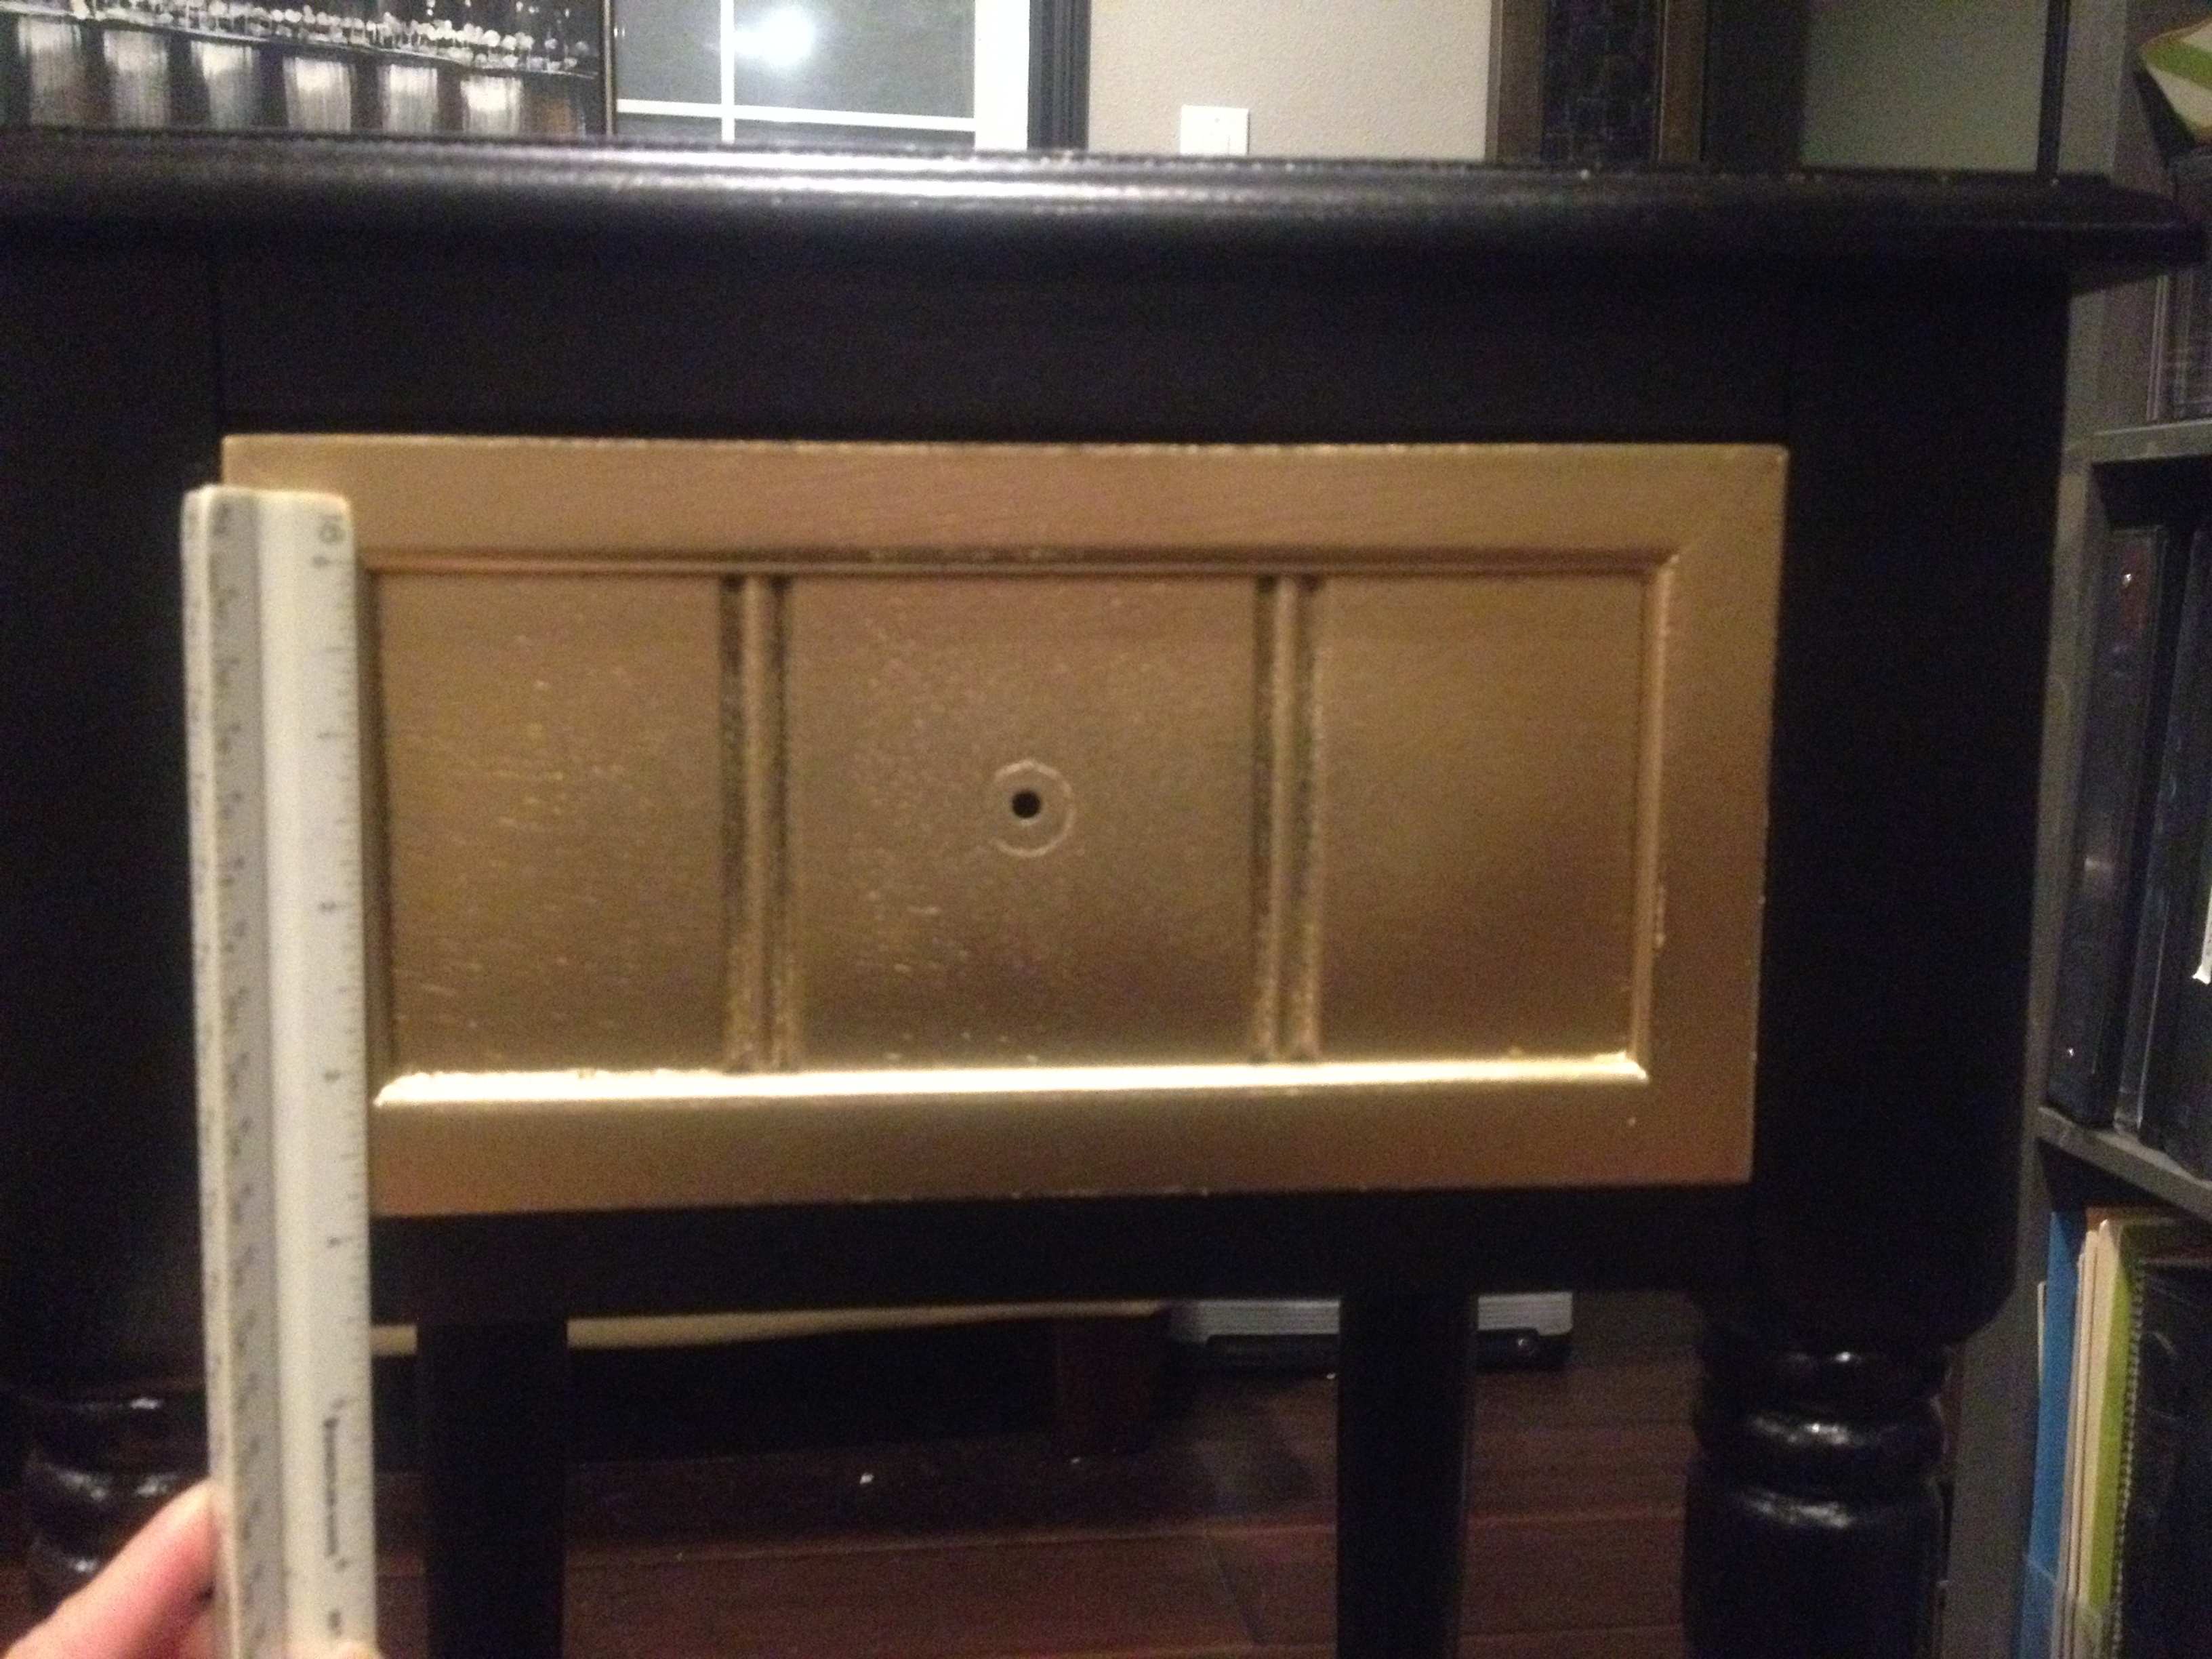
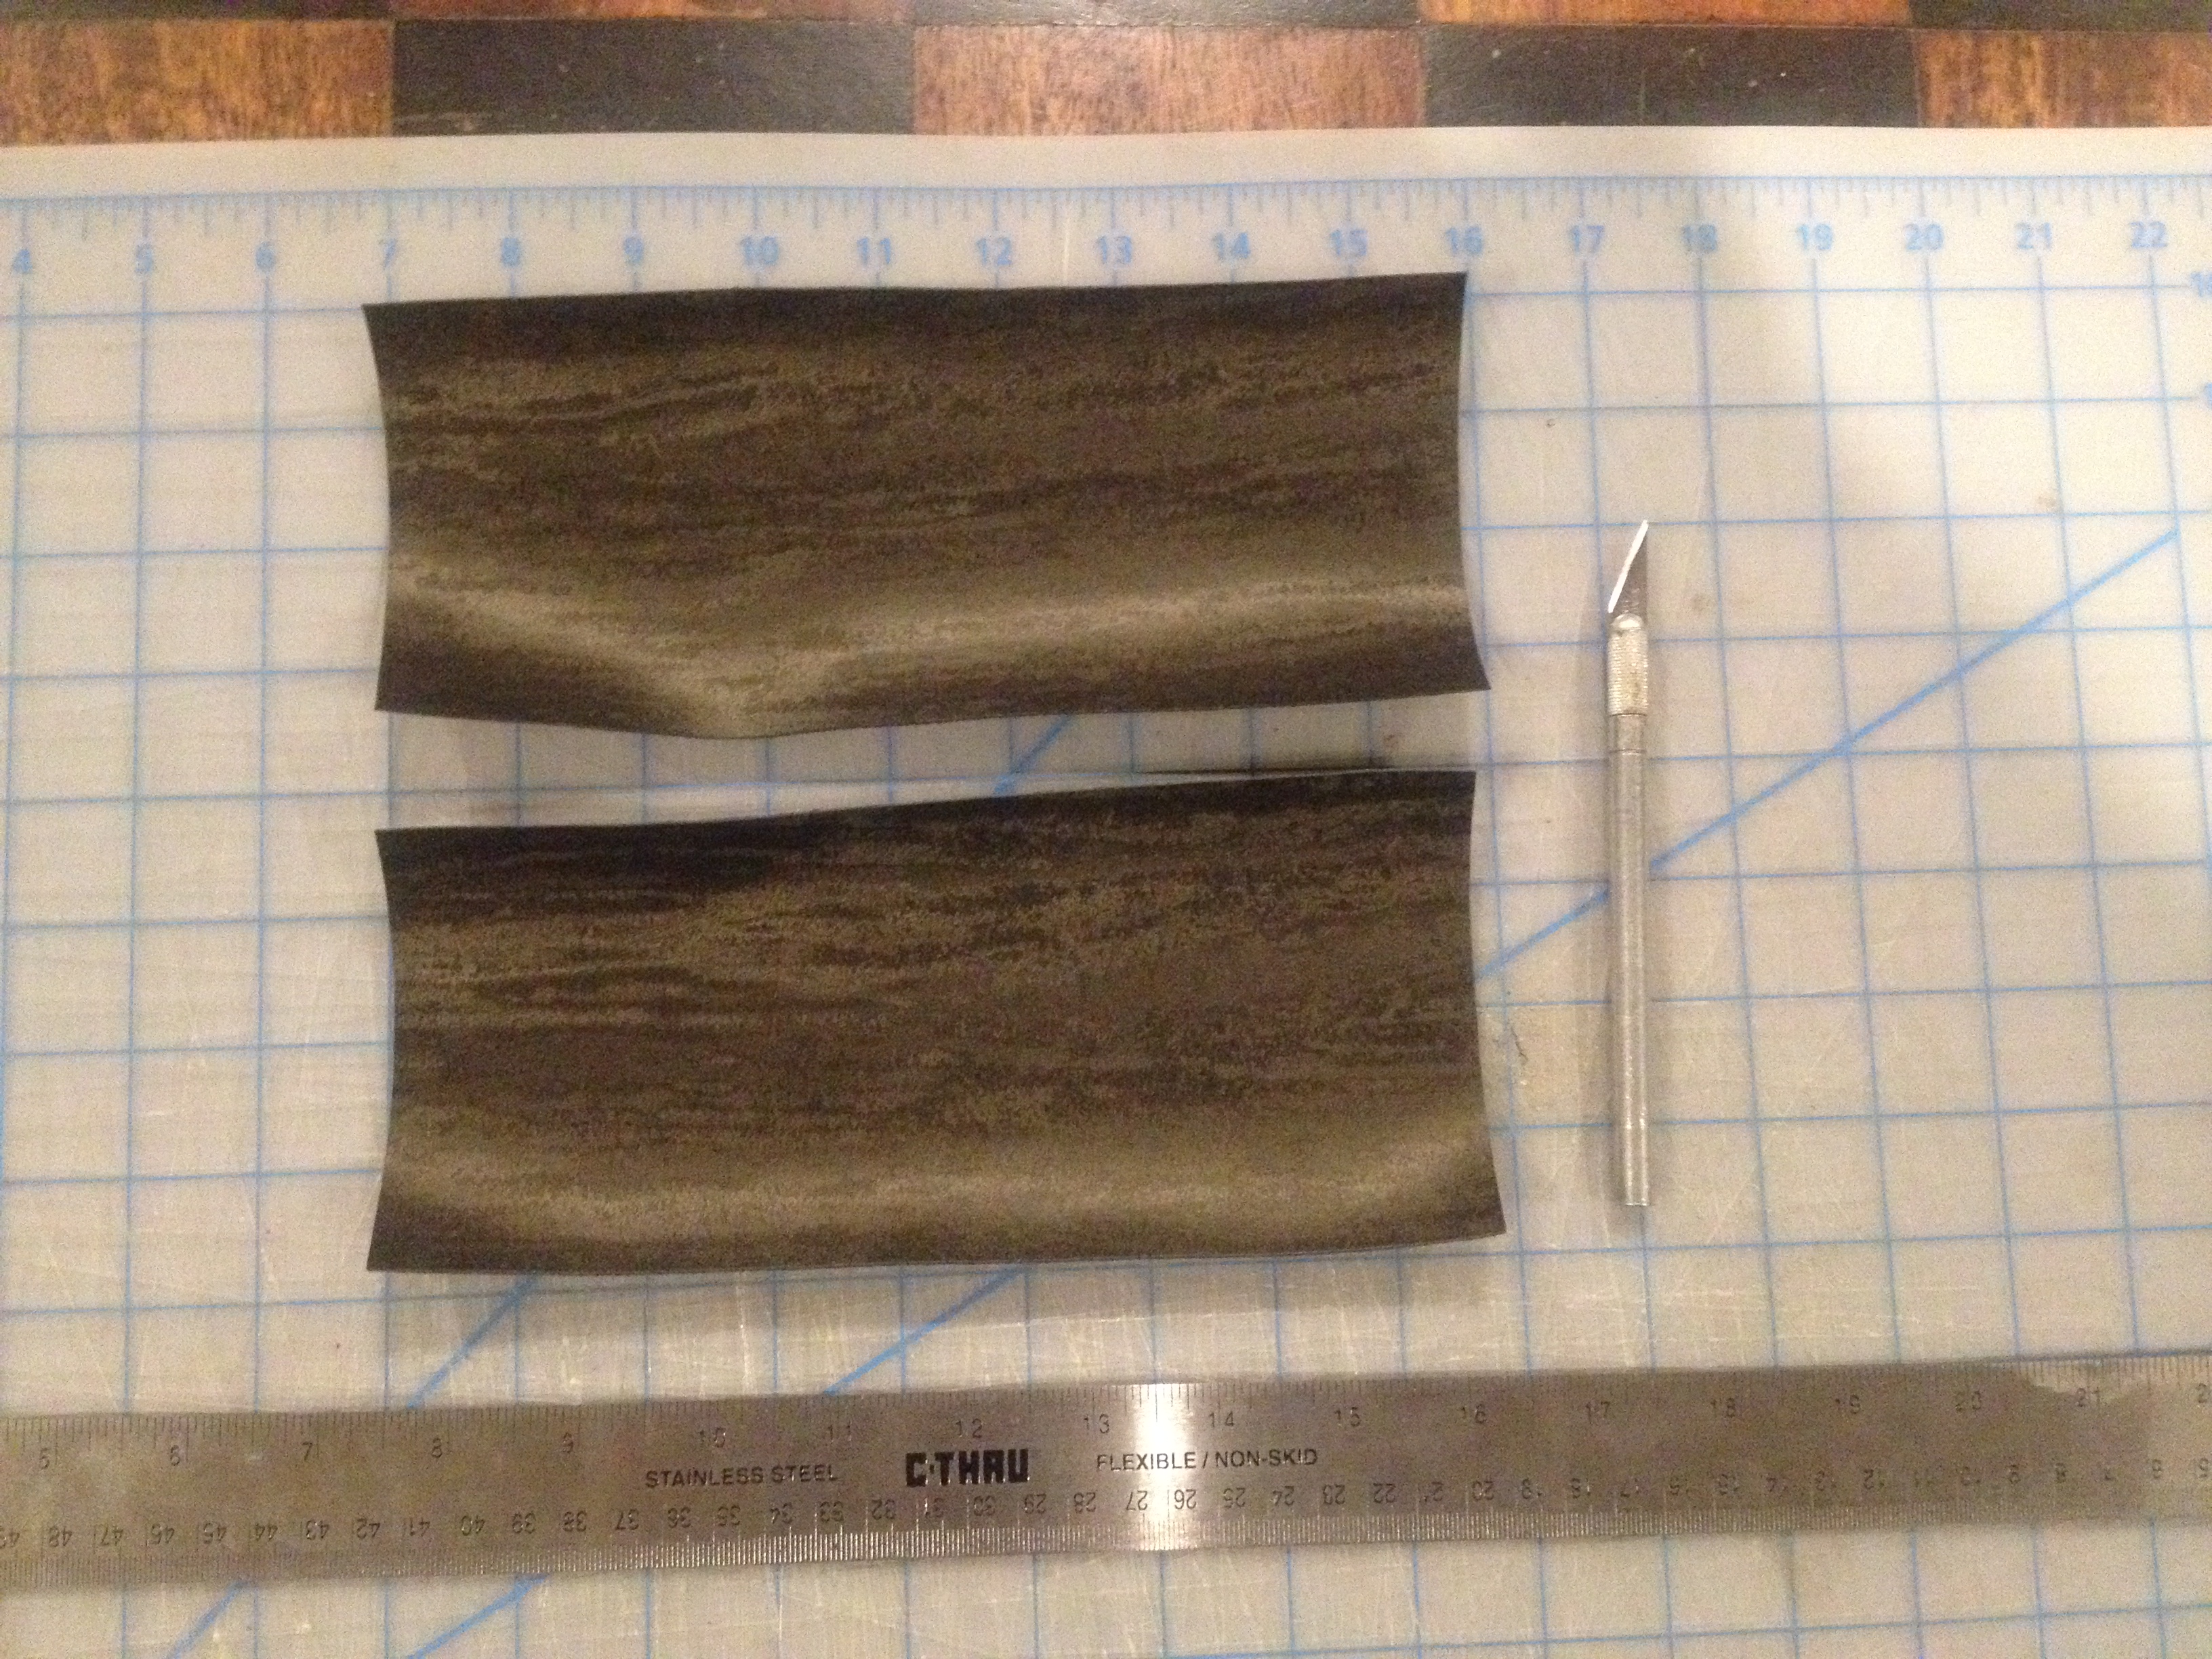
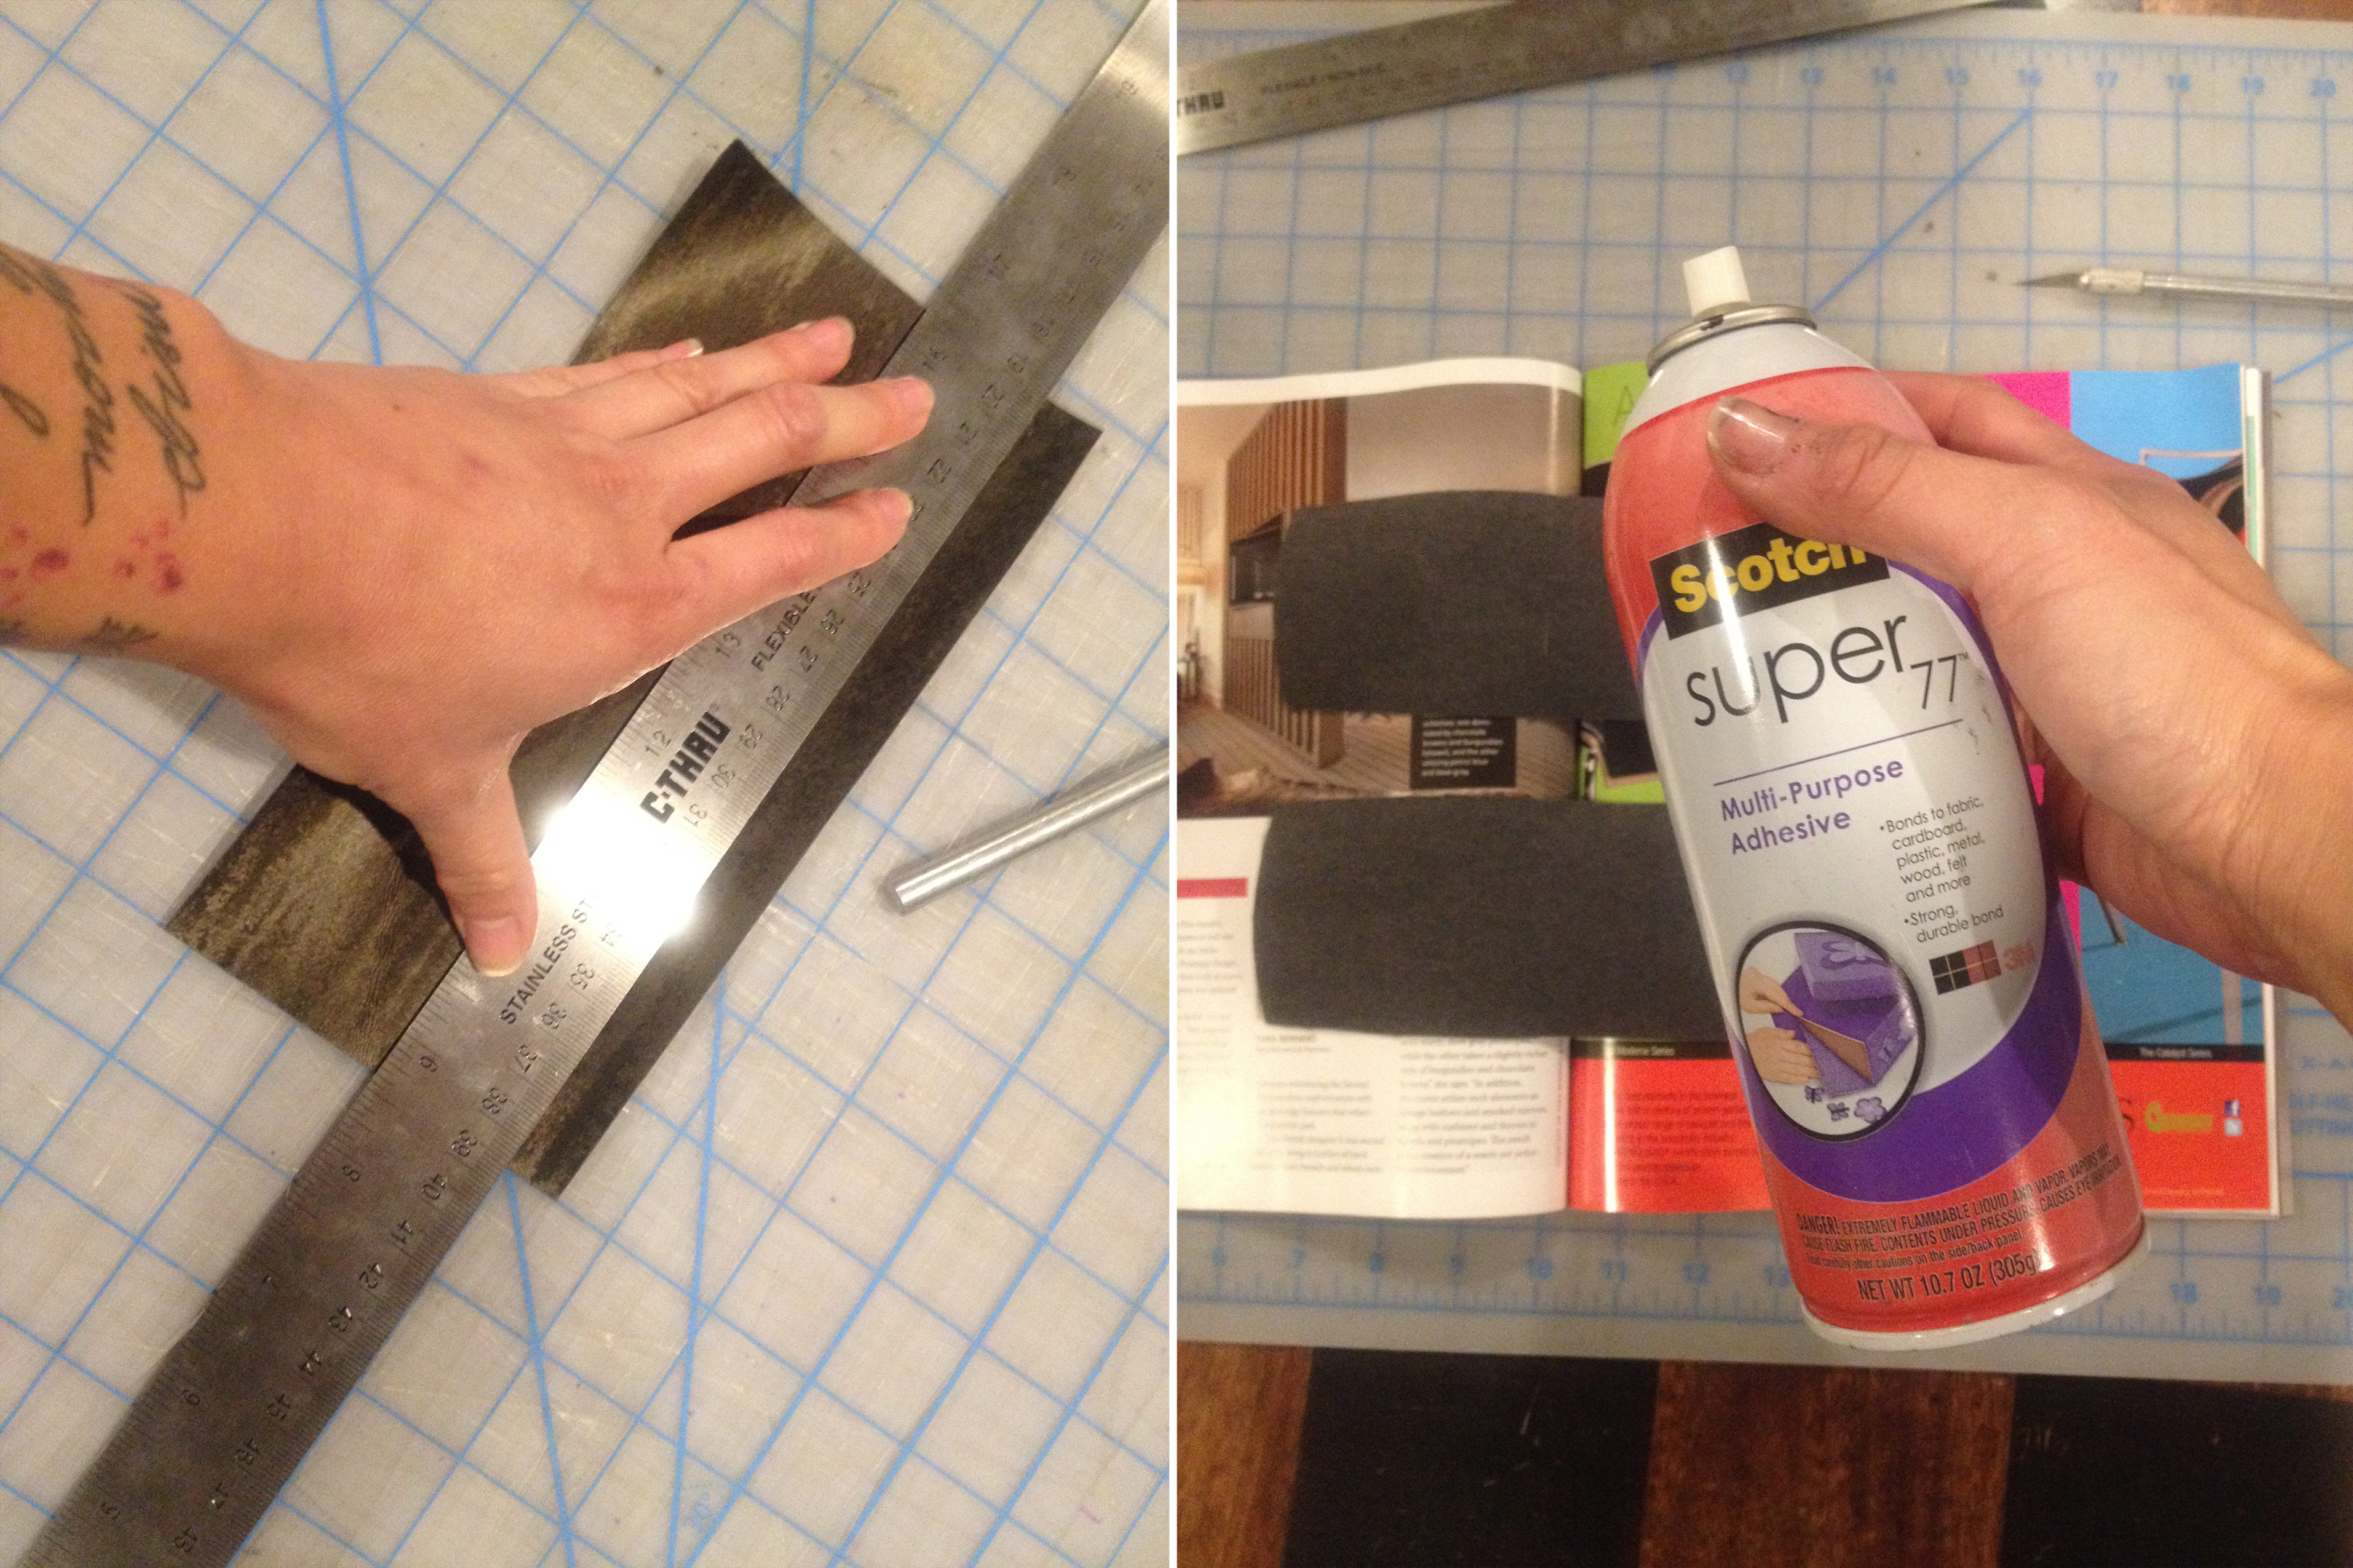
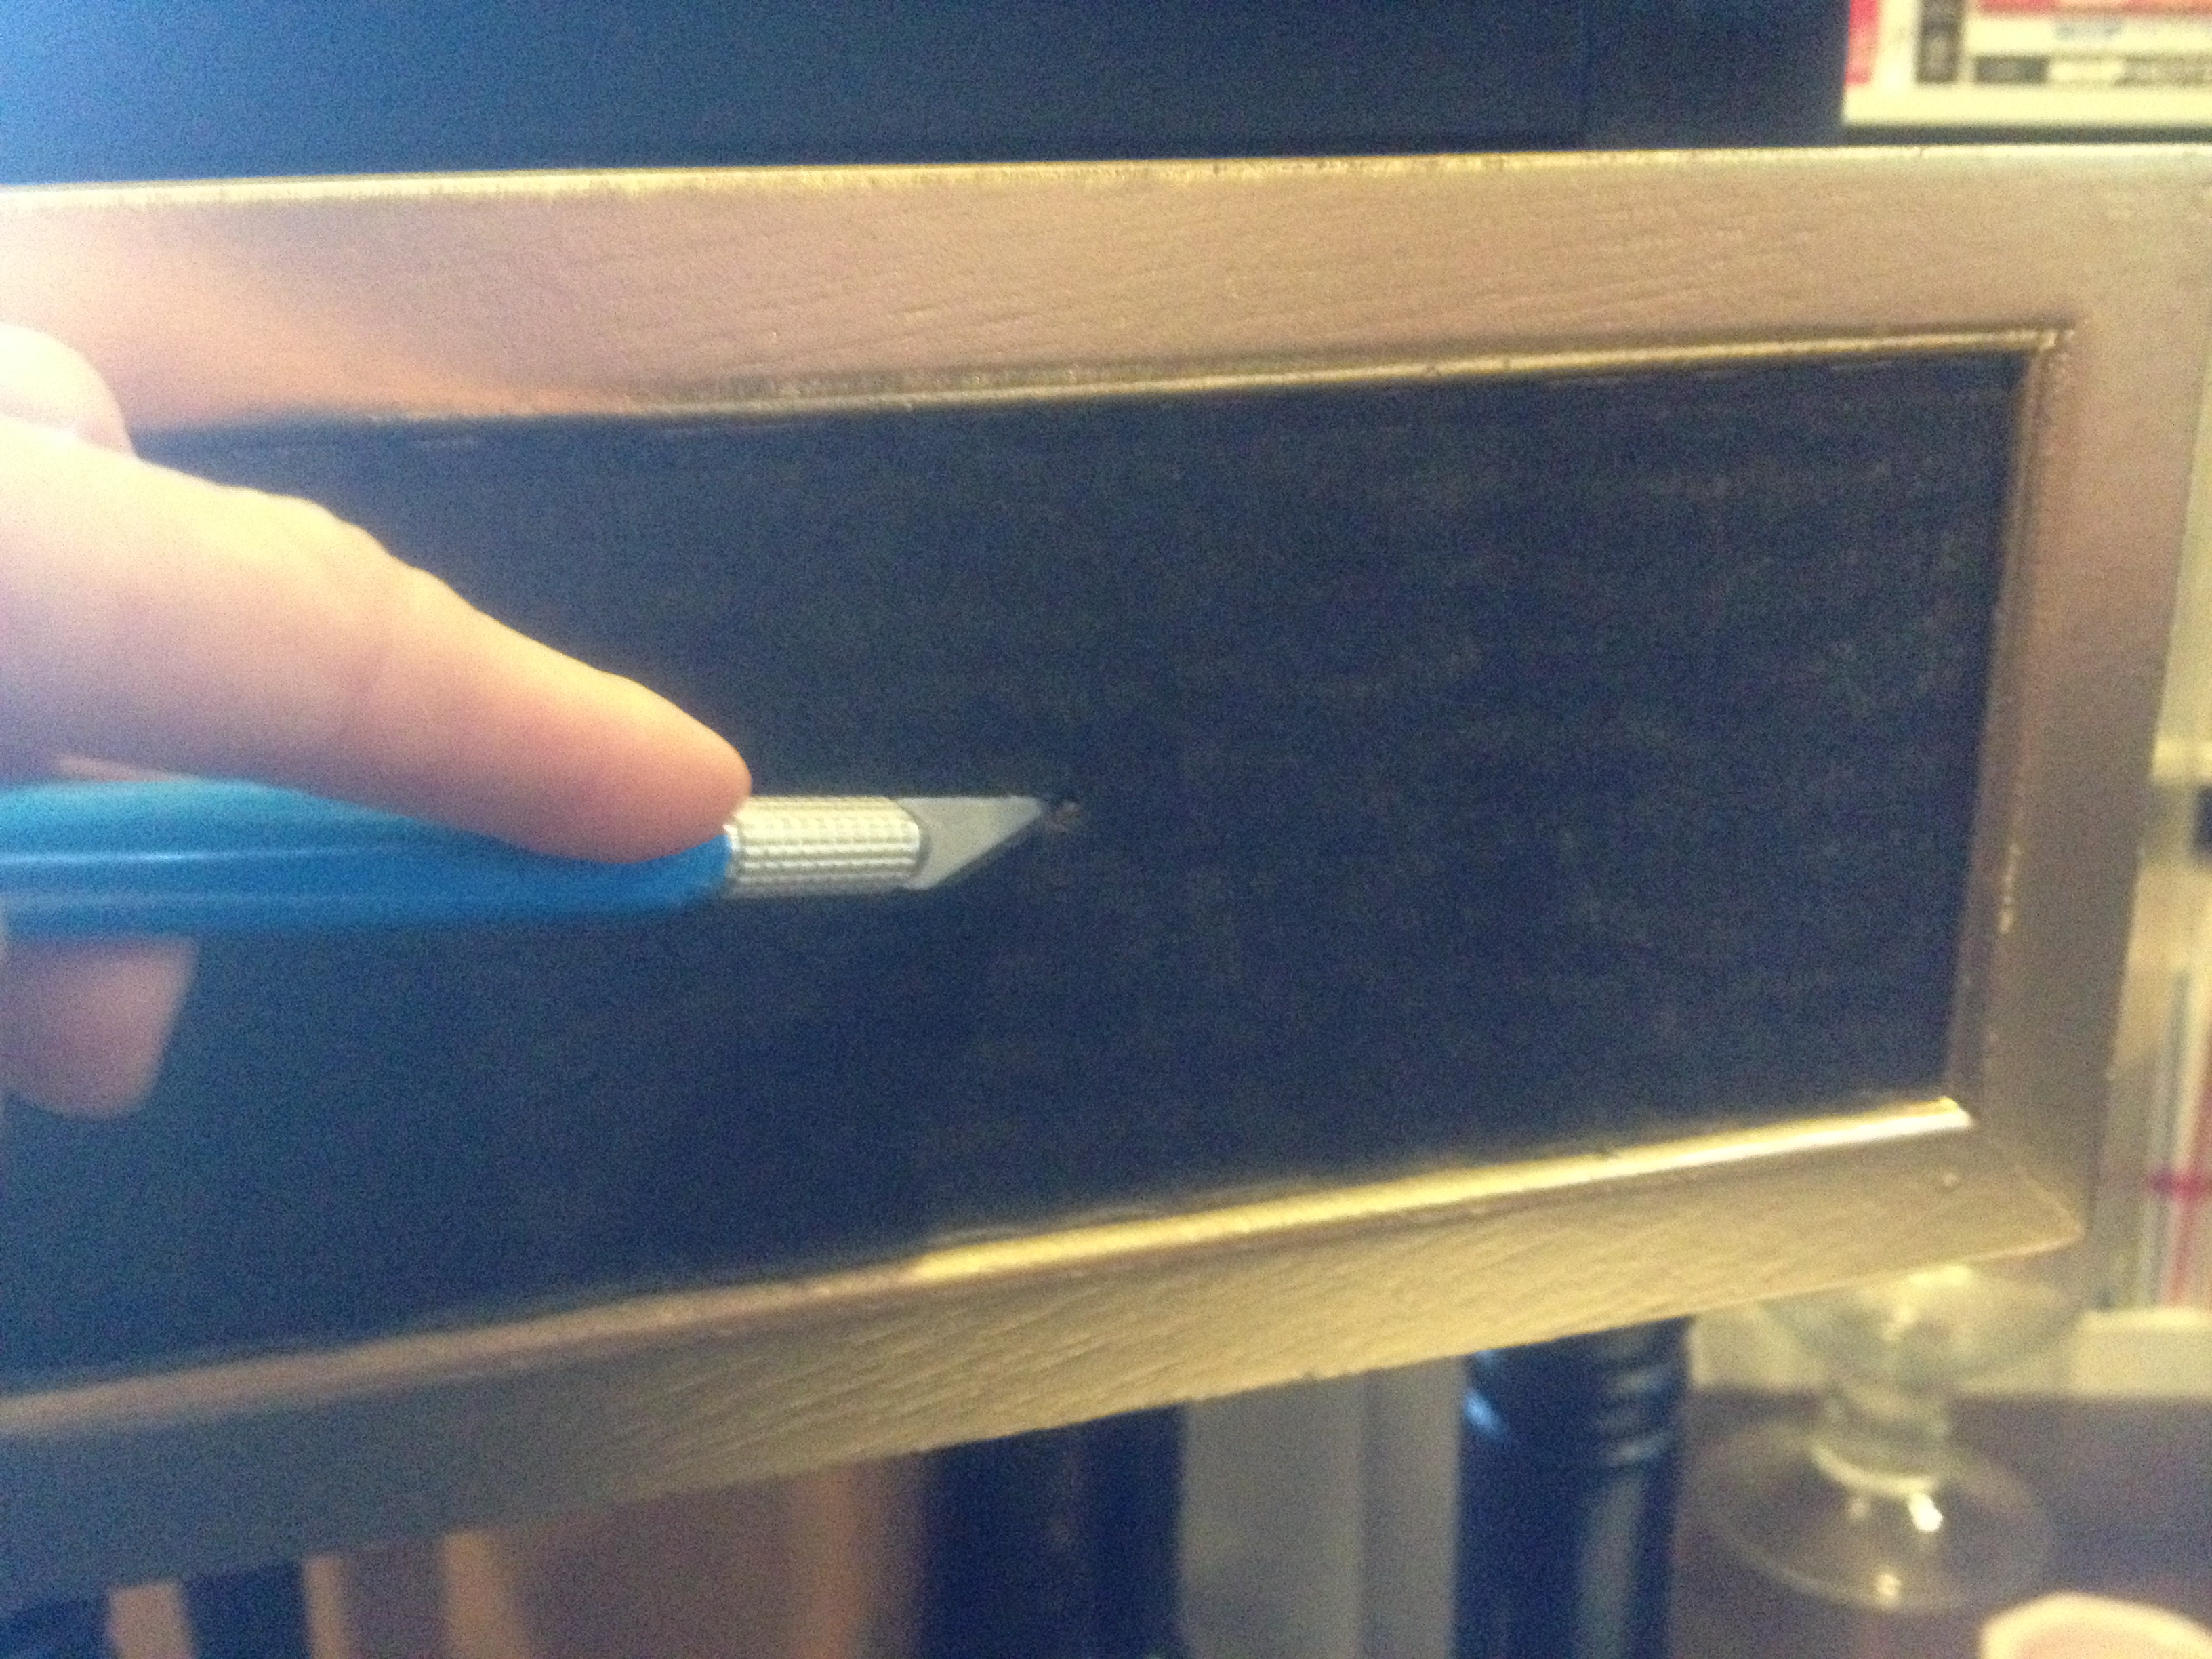
Customize
Using a fabric adhesive, I sprayed the backs of the upholstery fabric and carefully applied it to the drawer face inset. Remember to cut a hole for the new knob!
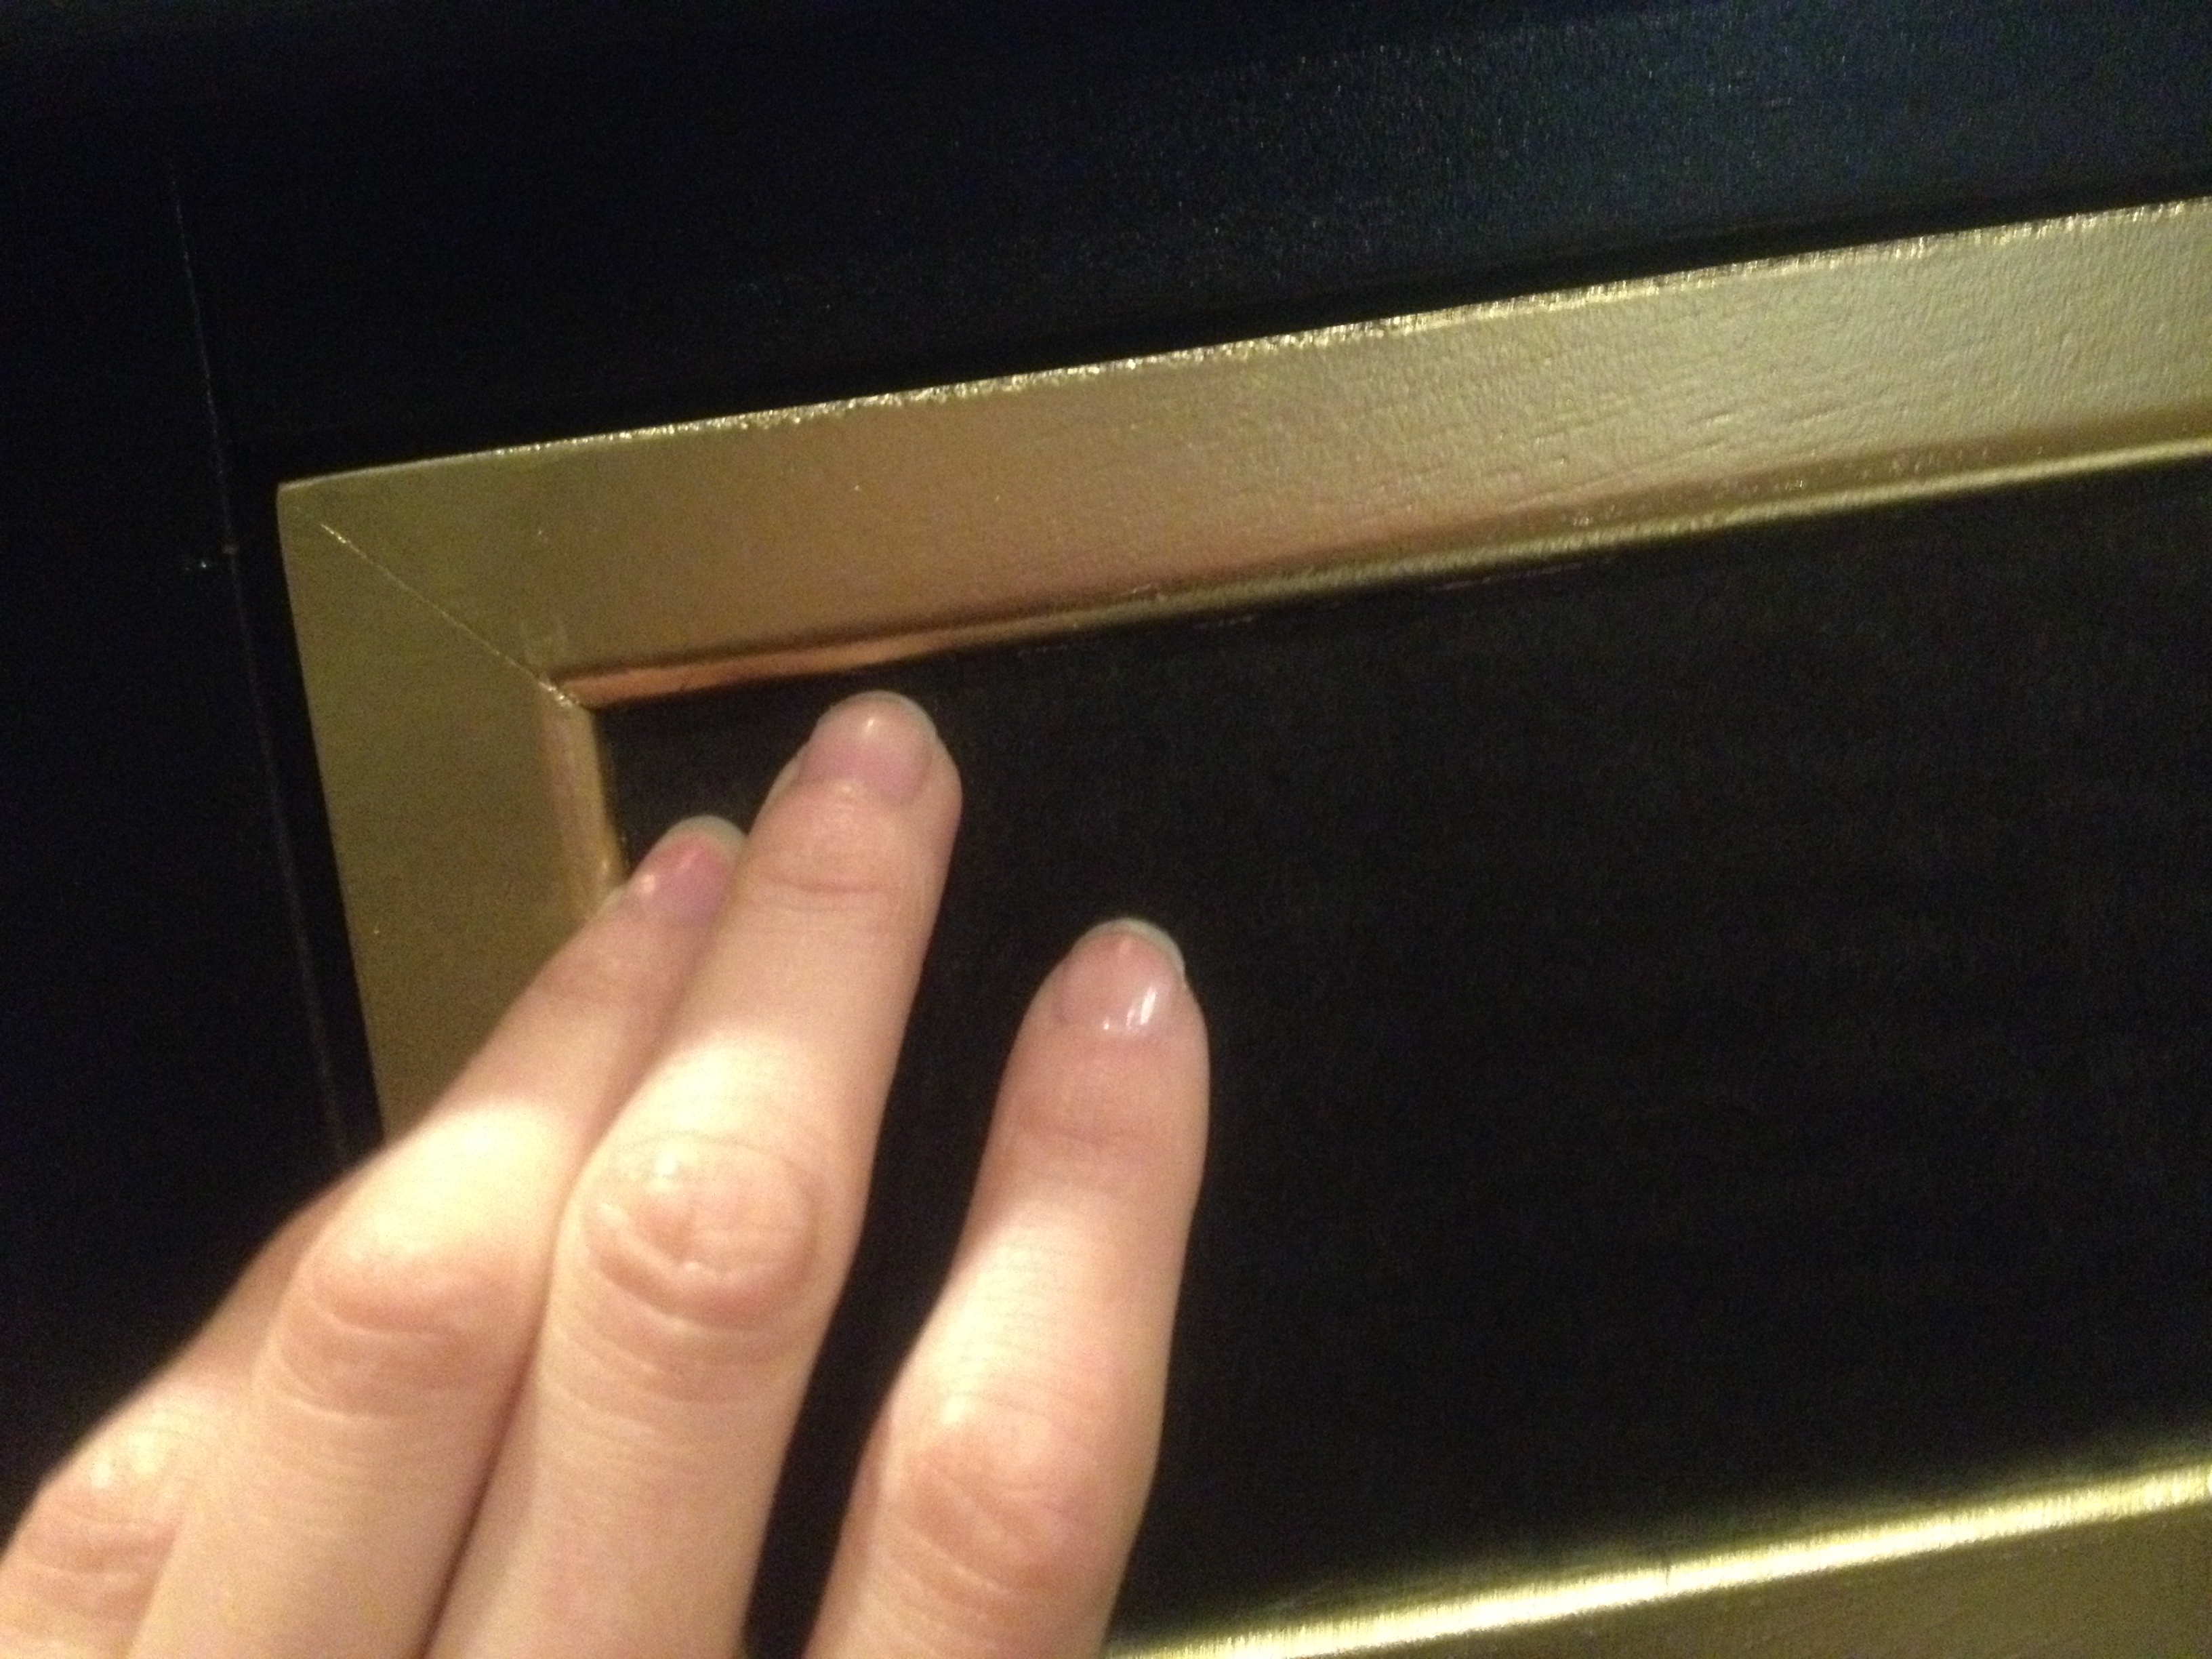
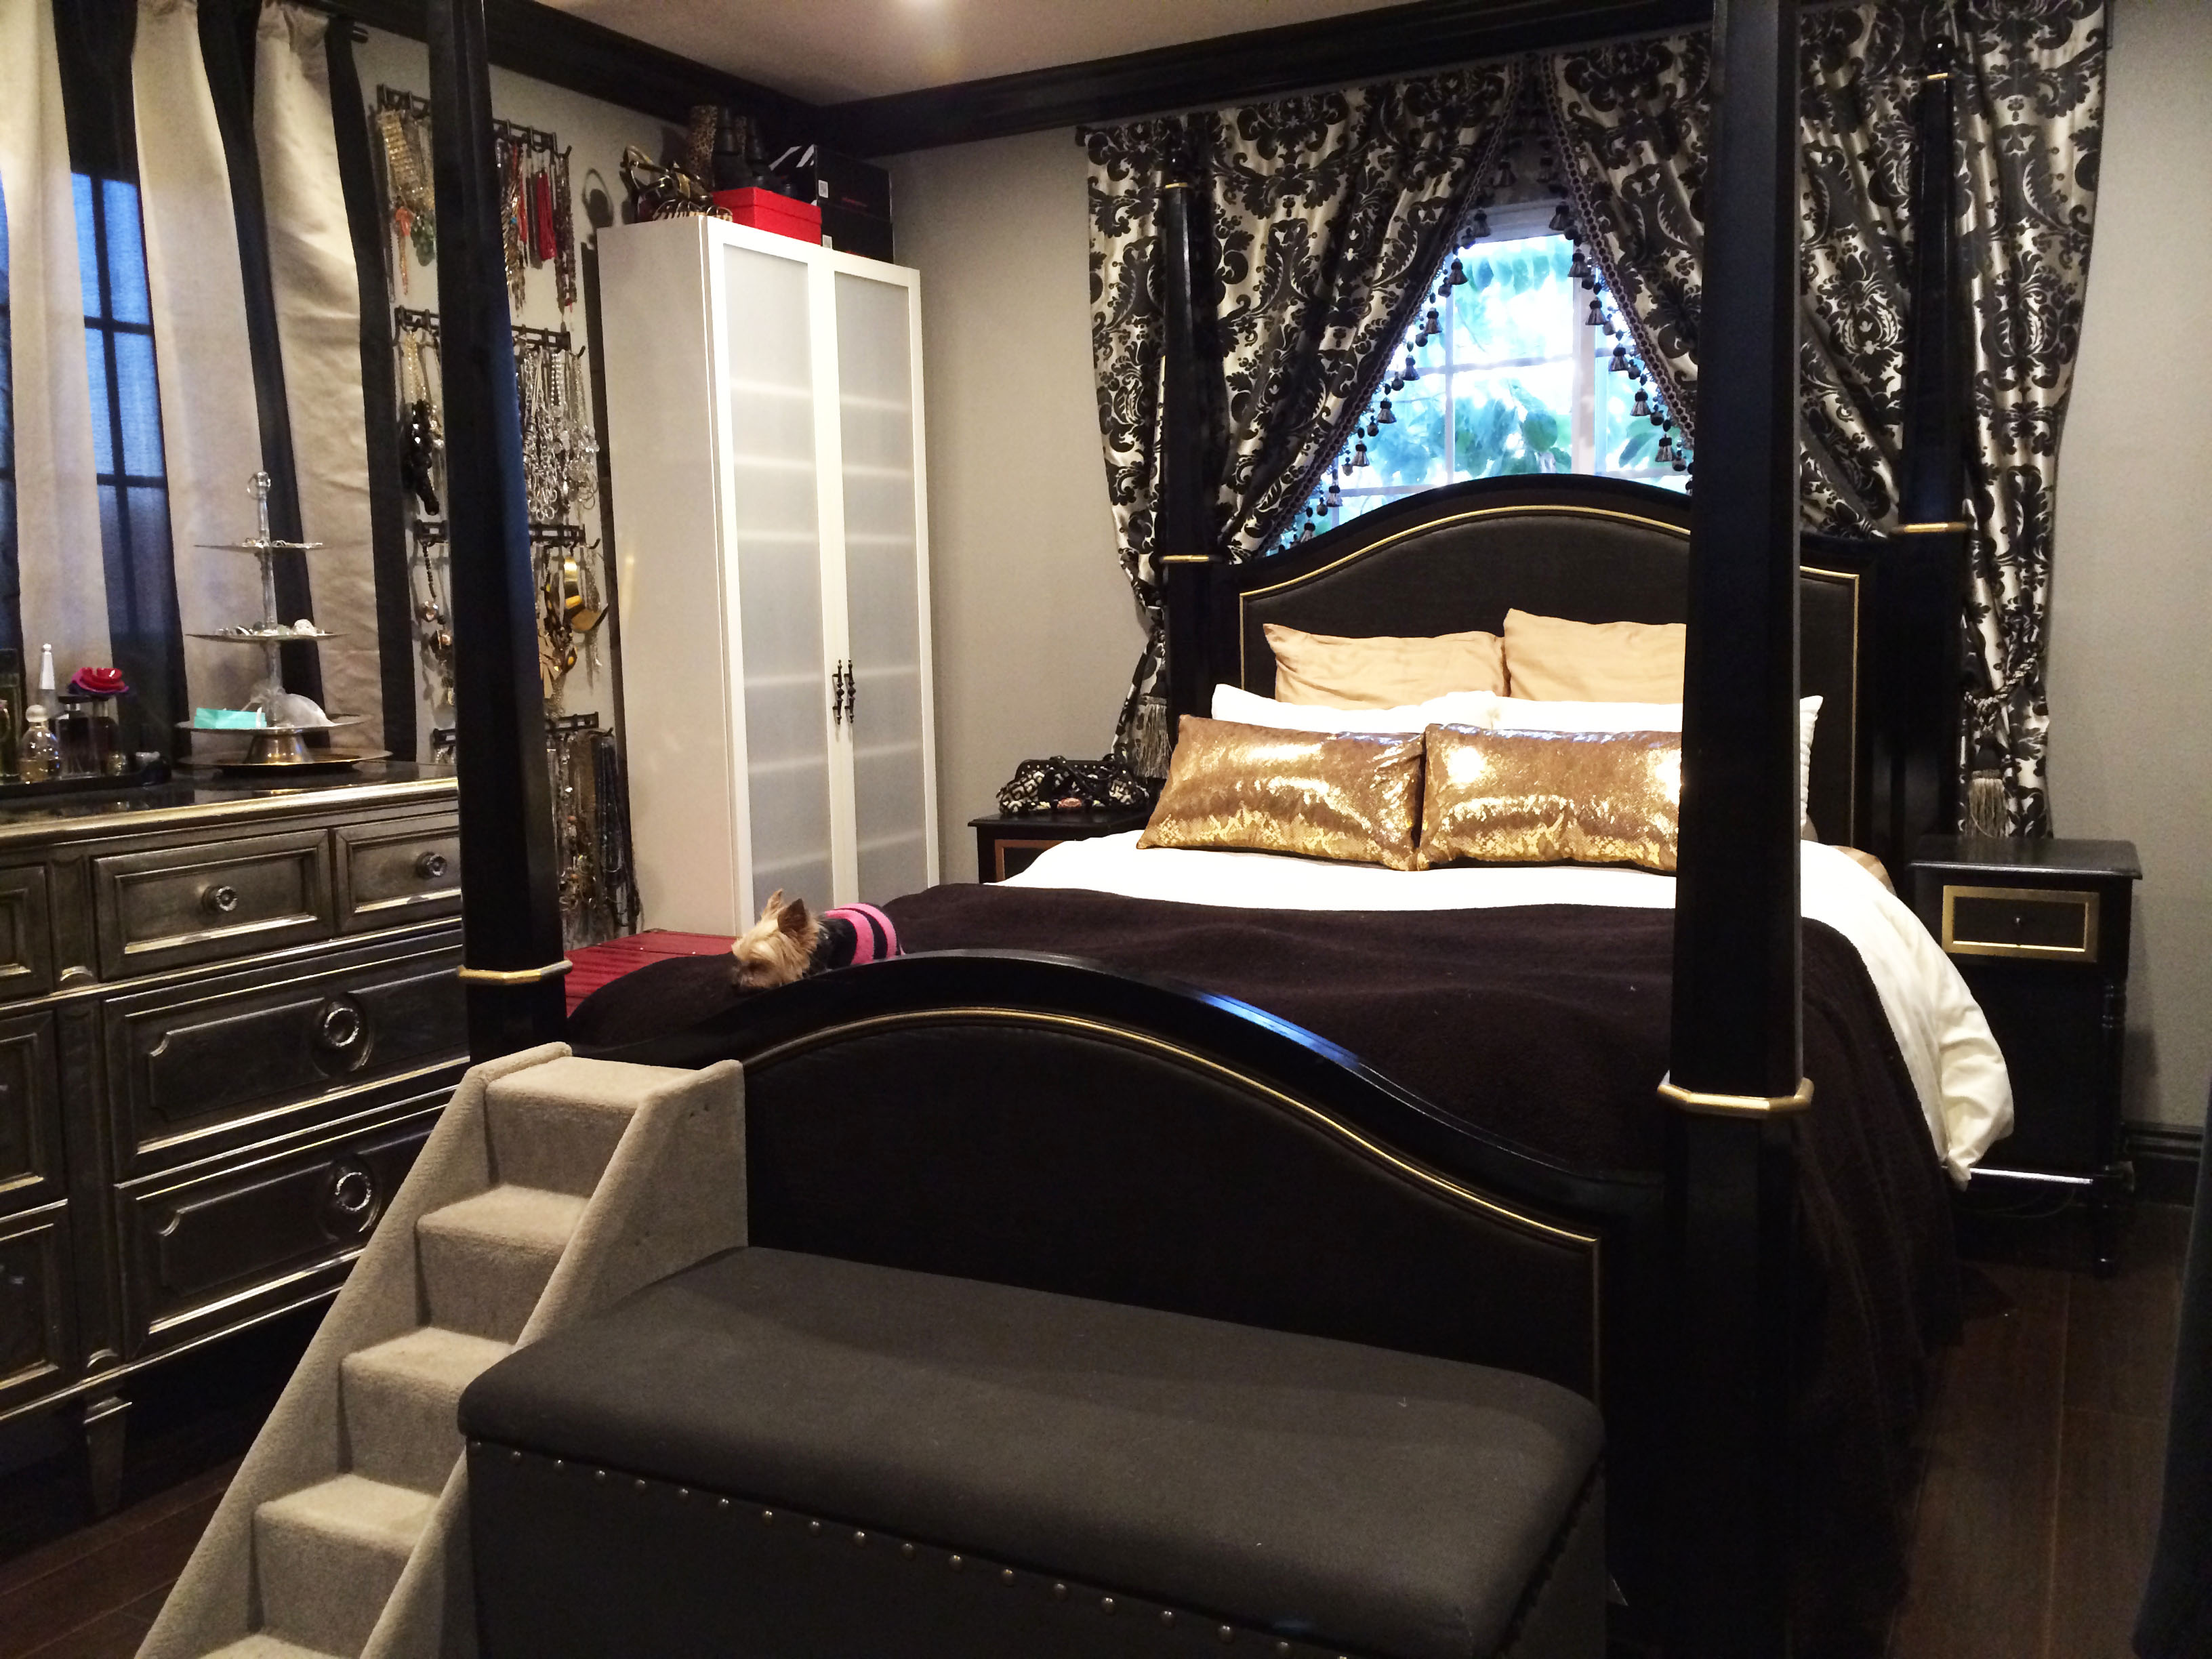
I know! What a crazy transformation right? How’d I do it?
By upcycling a mix of Craigslist “trash” and store-bought items into the fabulous treasures you see right before you.
All it takes is a little creativity, a big concept, and PATIENCE hunnies! Much to HGTV’s dismay, these things don’t happen overnight ya know??!! What do you think of the process??? Is upcycling worth all the trouble and man power???


21 Comments
Fabulous, as always, Ms. Julie! Beautiful, beautiful!! Who wouldn't have sweet dreams in a space like that? I love to upcycle too. DIY is totally worth it. There's nothing better than knowing that nobody else on the planet has the same exact thing as you because you made it yourself! Great step-by-step, btw! Can't wait to see the rest of the house! 😉
Oh my gosh, I can't believe the transformation! This turned out so incredibly well.
the-creationofbeauty.blogspot.com
OMG this is amazing!!! Such a transformation, I am in love <3
fashiontatt.blogspot.com
OMG this is magic! The work you put in there paid of so freaking well! You have such an eye for potential!
http://love-your-ego.blogspot.de
Wowza girl — that is a serious makeover!! I'm crazy for that triple high gloss and lacquer!!!
Night and day.your hard work paid off!
Shut Up!!! This is amazing. I would definitely say it was worth the effort. It looks so sophisticated. Sweet dreams 😉
It sure is! Looks fabulous. Thanks for stopping by today Julie. Love your post and we do the same to put it altogether..lots of sourcing, shopping, scouring the web. Have a great weekend. xo Nancy
Looks AMAZING. Incredible transformation.
xo, Liz
http://www.casualconcern.com
Total Transformation! What did you use for your jewelry rack? Its both functional and decorative to see all the necklaces on display!
Amazing makeover! I love it – so glam!
Wow Julie, you should have been in our post today – love the transformation – what a difference!!
Wow, it looks AMAZING!:)
Wow! Amazing! Great job!
wow!!! great inspo! :*
http://landing-in-fashion.blogspot.com/
I love the black and gold combo! 🙂
xxDenysia Yu
http://thatlaitgirl.com
WOW, that such a a lot of work, and amazing result of course. Love it.
xoxo
Christy
http://www.am2pmchic.com/
That is an INCREDIBLE transformation!!! Excellent job!!
XOXO,
The Glam Pad
Wow! What a transformation!
Now thats an amazing work!<3 beautiful beautiful!!
Totally classy Julie! That bed is awesome, one of the beautiful things in the room. The cabinets also transform into a new and everyone loves it. What about the ladder? Cute!
Sebastian Chuter