

Are you the type of person who can never keep your closet tidy? Did you know that there are correct ways to store and organize your garments and accessories to prolong their life span? Do you want to walk into your closet and want to wear EVERYTHING you own?
12 Simple Steps to Designing and Styling Your Dream Closet
If you haven’t got a clue where to start with your closet, this post is for you!
This post will teach you how to design the space, demarcate zones, then move onto learning how to maximize every square inch so you don’t waste space. Additionally, you will learn how to style your closet so it looks like your own personal boutique! Learn my pro tips for storage and organization, the correct utility items for proper care and hanging of your garments, helpful home hacks when it comes to interior closet design, and stylish ways to personalize your closet! I am breaking down my TOP 12 STEPS to achieving the closet of your dreams!
Key Wardrobe Pieces | Hang or Fold
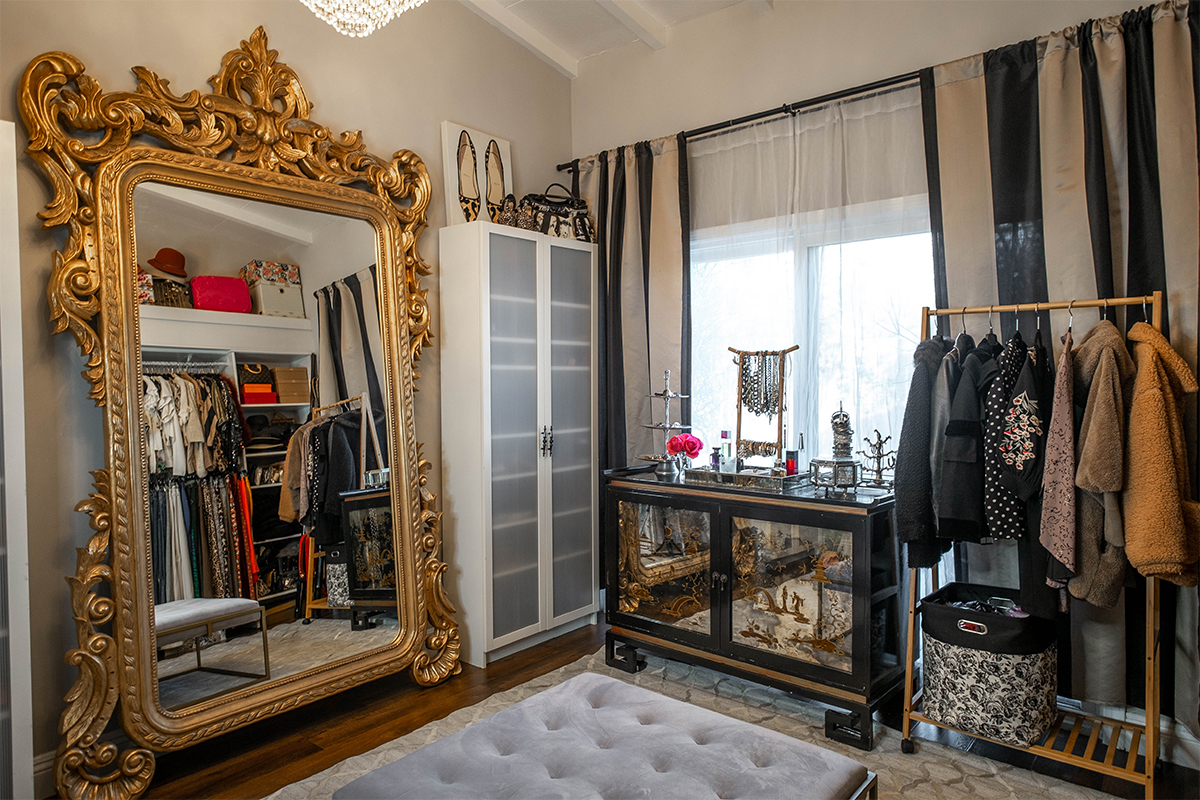
Since my closet space wasn’t large enough for my personal boutique, I converted a small room into my new walk-in closet. I used a combination of Home Depot’s DIY closet system, Ikea Billy bookcases, and antique furniture for a stylish yet functional mix.
We will tackle these essential pieces of every woman’s wardrobe:
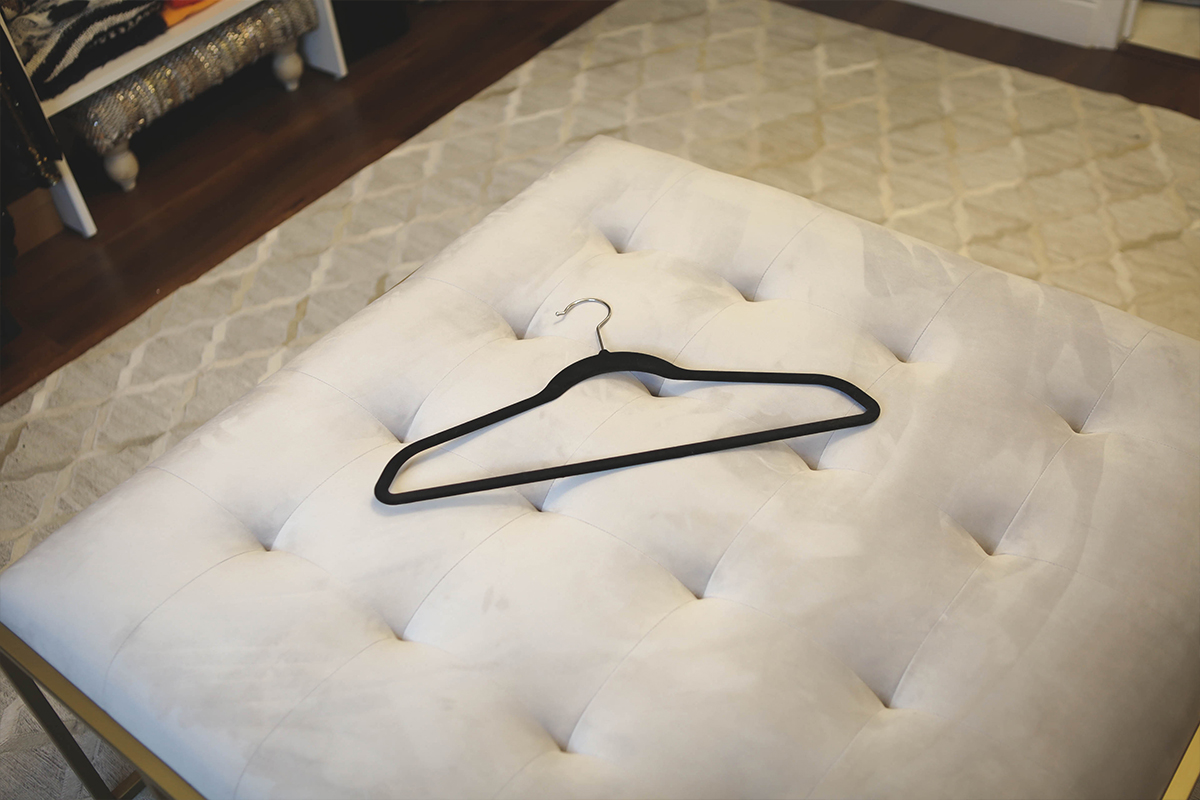
- Blouses and tops- slim velvet hangers keep garments secure so they won’t slip off.
- Knits- ALWAYS must be folded
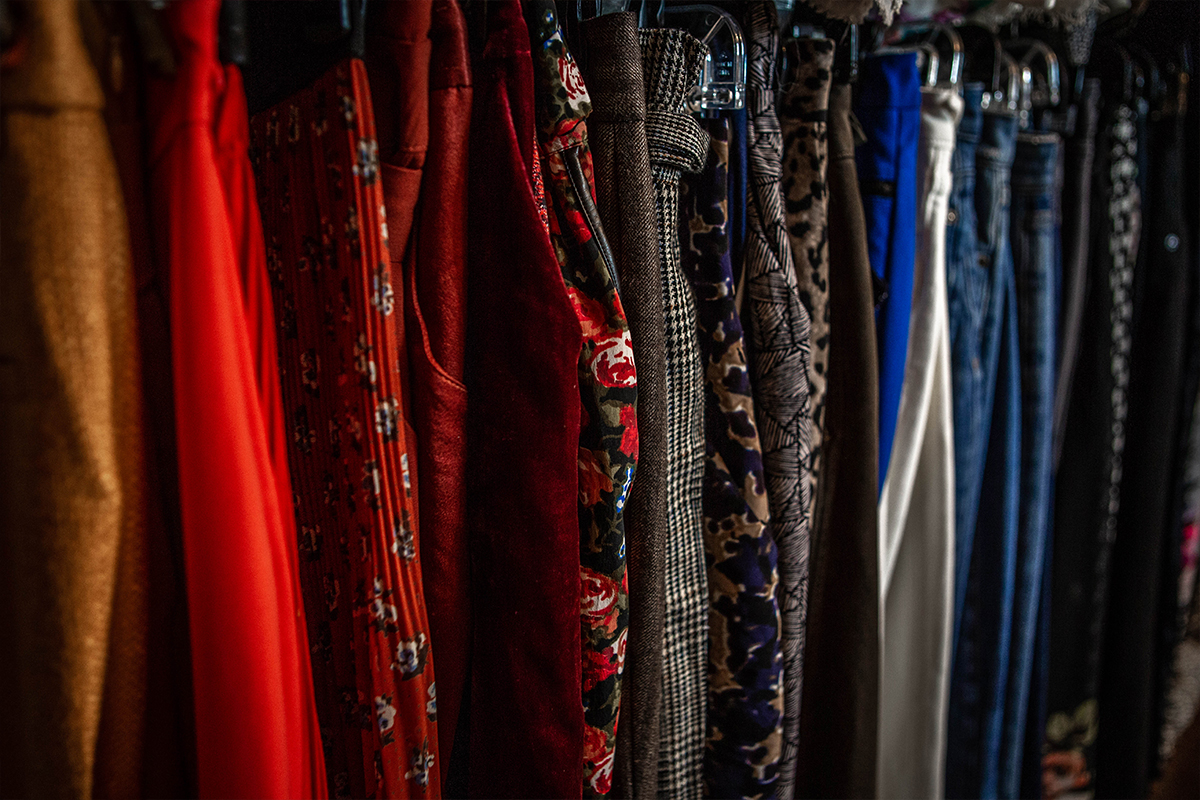
- Pants/ Trousers- should be hung straight with slack hangers with clips. I like to keep the ones from stores like Nordstrom’s because they’re black
- Skirts/ Dress Shorts- 4-Tier skirt hanger/ Maximizes space / similar items on same hanger.
- Ottoman to sit and put on shoes/ place to throw garments after trying them on.
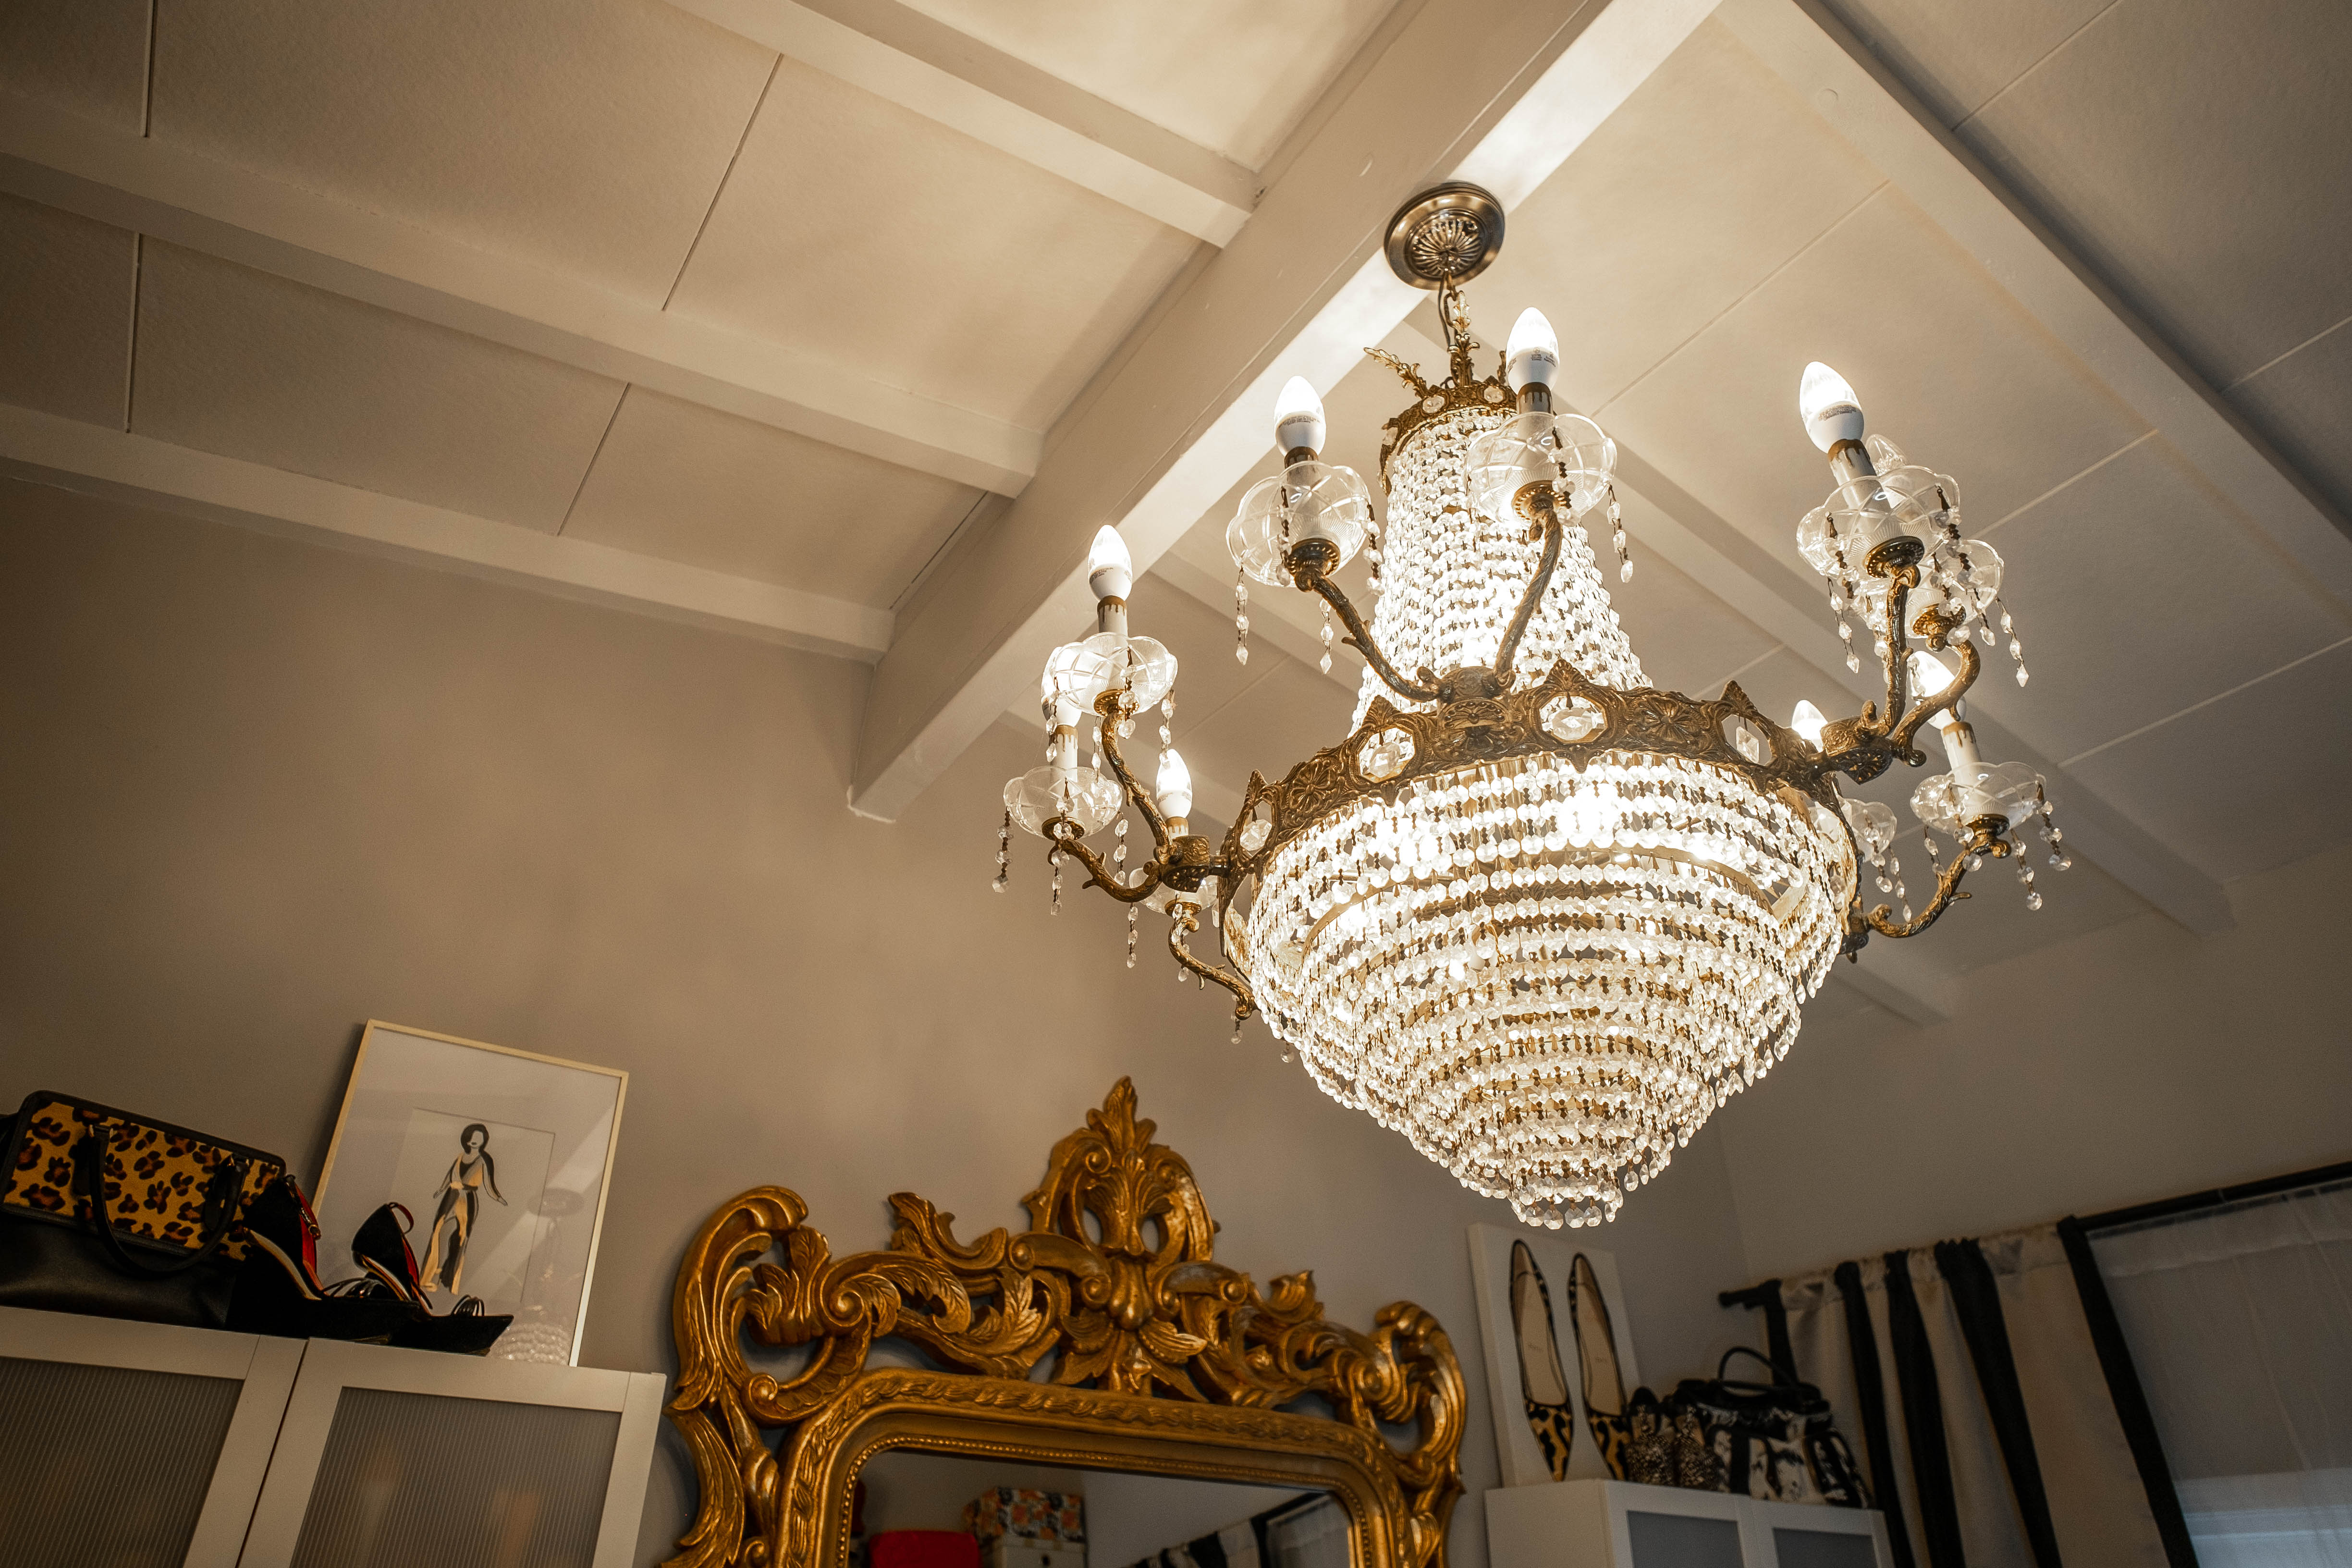
Step ONE: Add lighting to set the tone.
Lighting is the first piece that sets the tone for the entire space. Think about your style- chic, classic, modern, glam, boho and design your closet around the vibe you’re after. I scored this chandelier on Craigslist and picked it up for $300 from a mansion in Beverly Hills. I am the high-design THRIFT queen guys! You don’t have to pay a fortune to look fabulous!
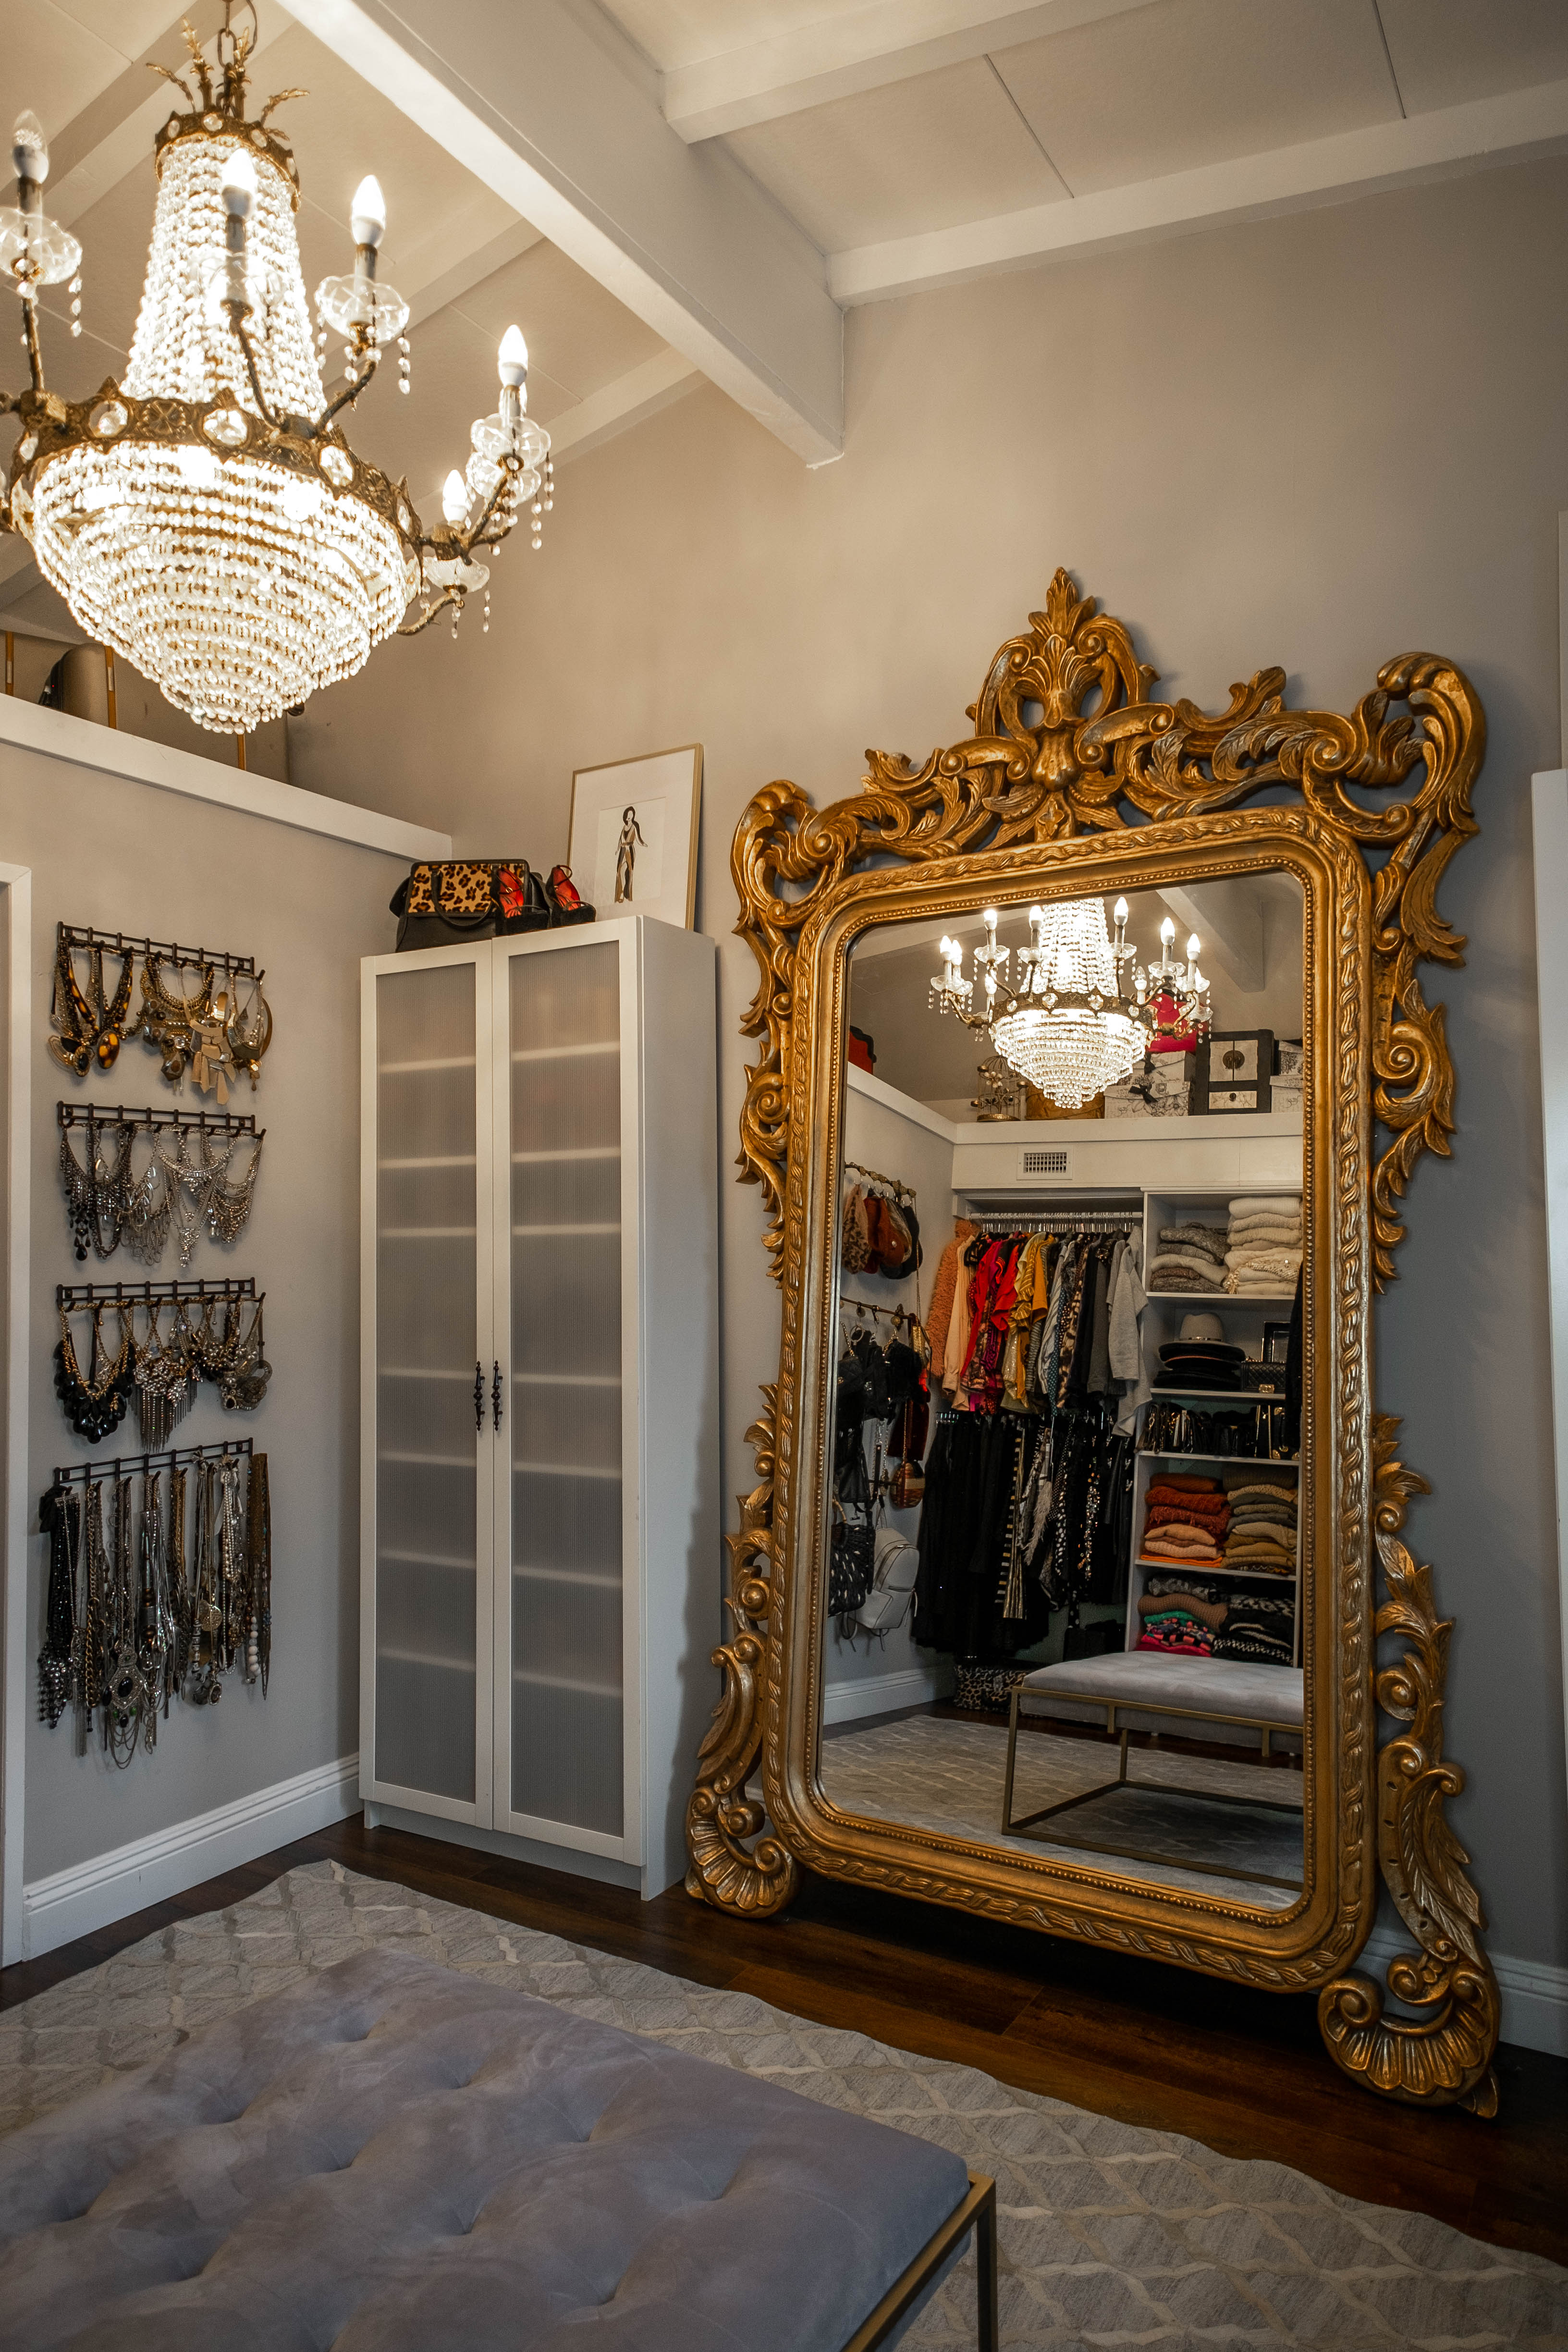
Step TWO: Place a full-length mirror in your closet.
What’s a closet without a full-length standing mirror?! I mean, can you say EXTRA??? LOL. This was another Craigslist find, these mirrors retail for over $3K – can you guess how much I got it for?
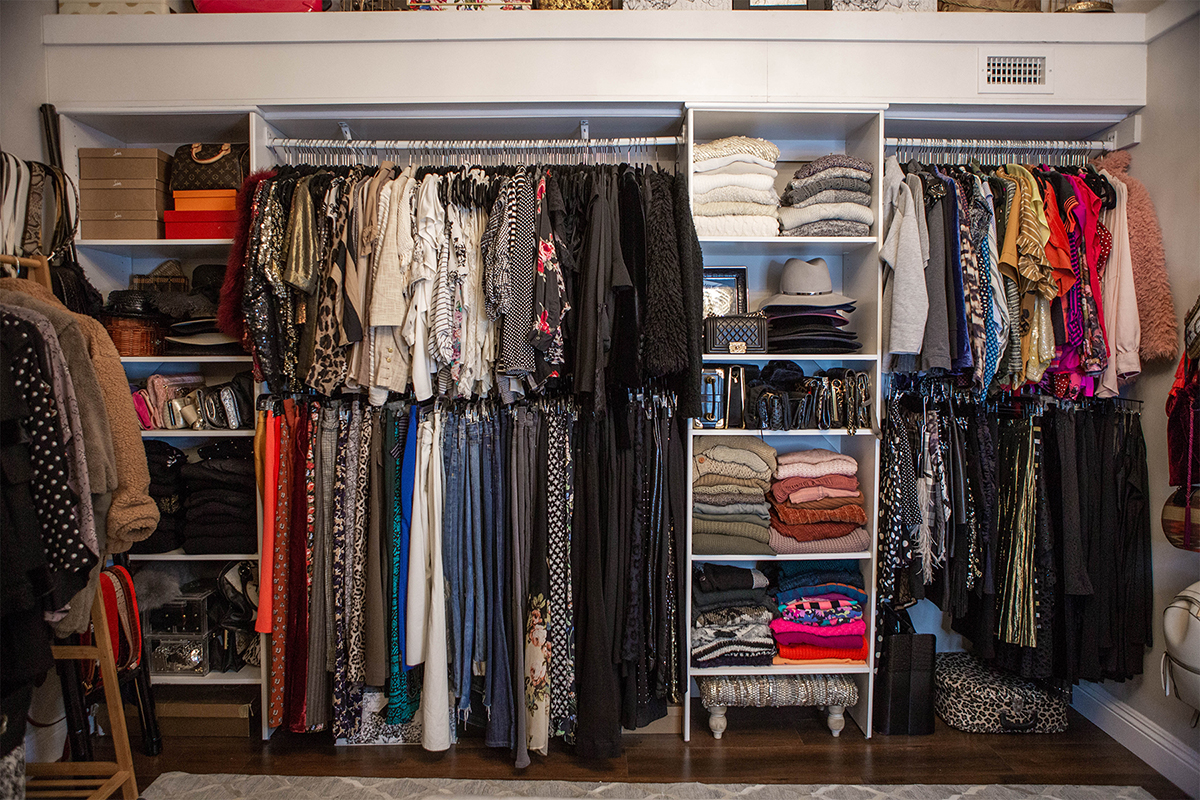
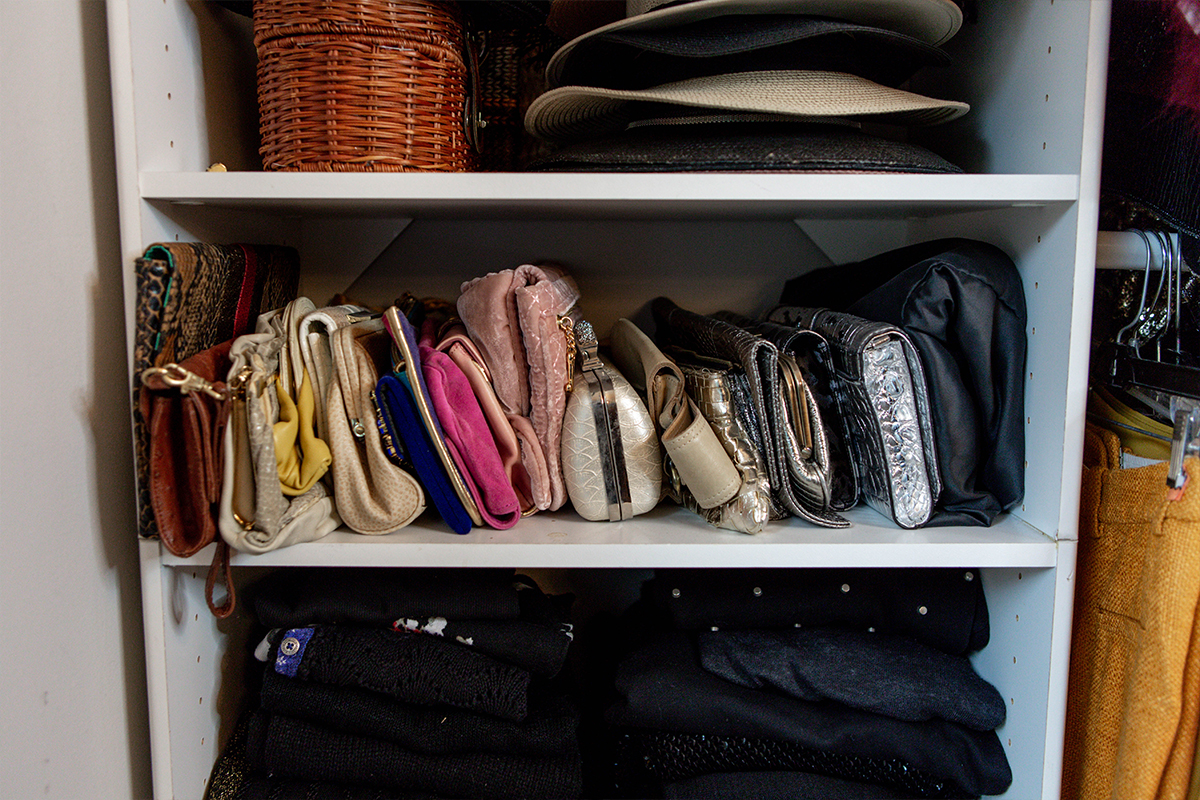
Step THREE: Install closet system to group items.
Install a storage shelf system so you can stash sweaters, heavy knits, and boxes for all your smaller trinkets.
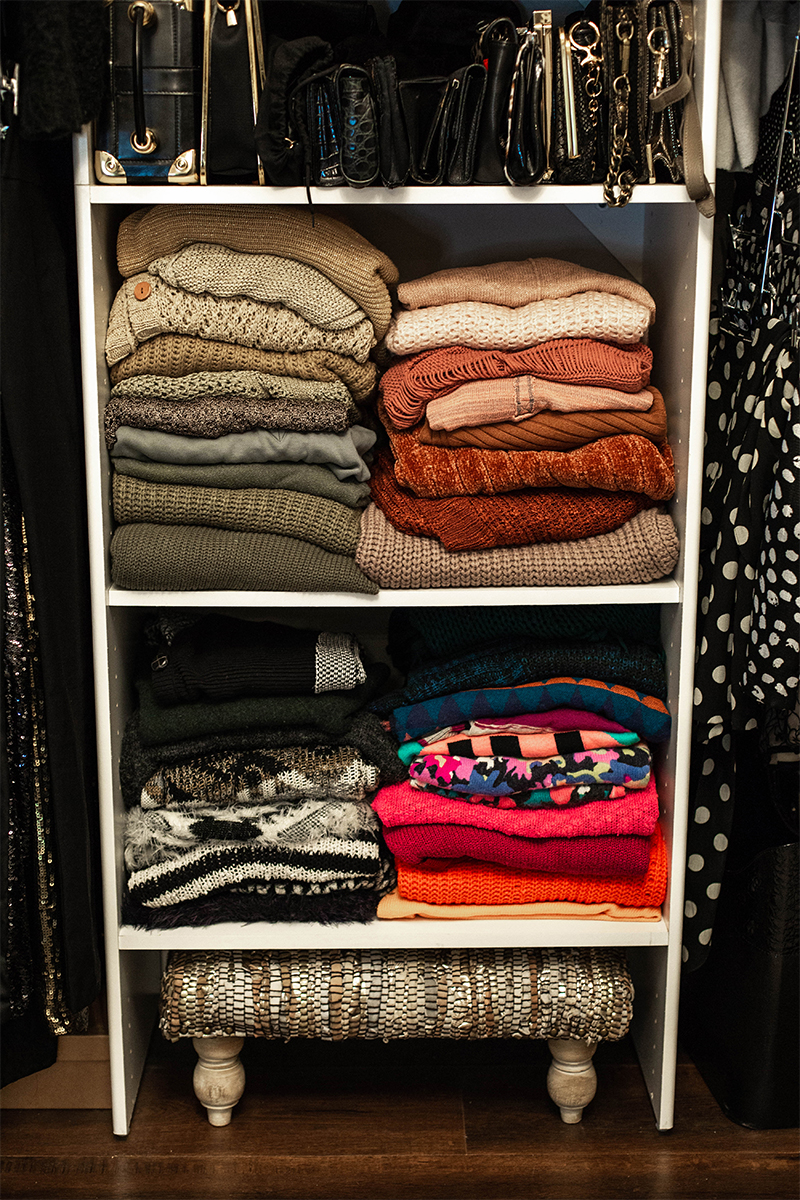
I used to roll my sweaters up to maximize space while keeping them wrinkle-free but now that I’ve purged a LOT, I simply fold them and place the bulkiest items on bottom since they all retain their shape.
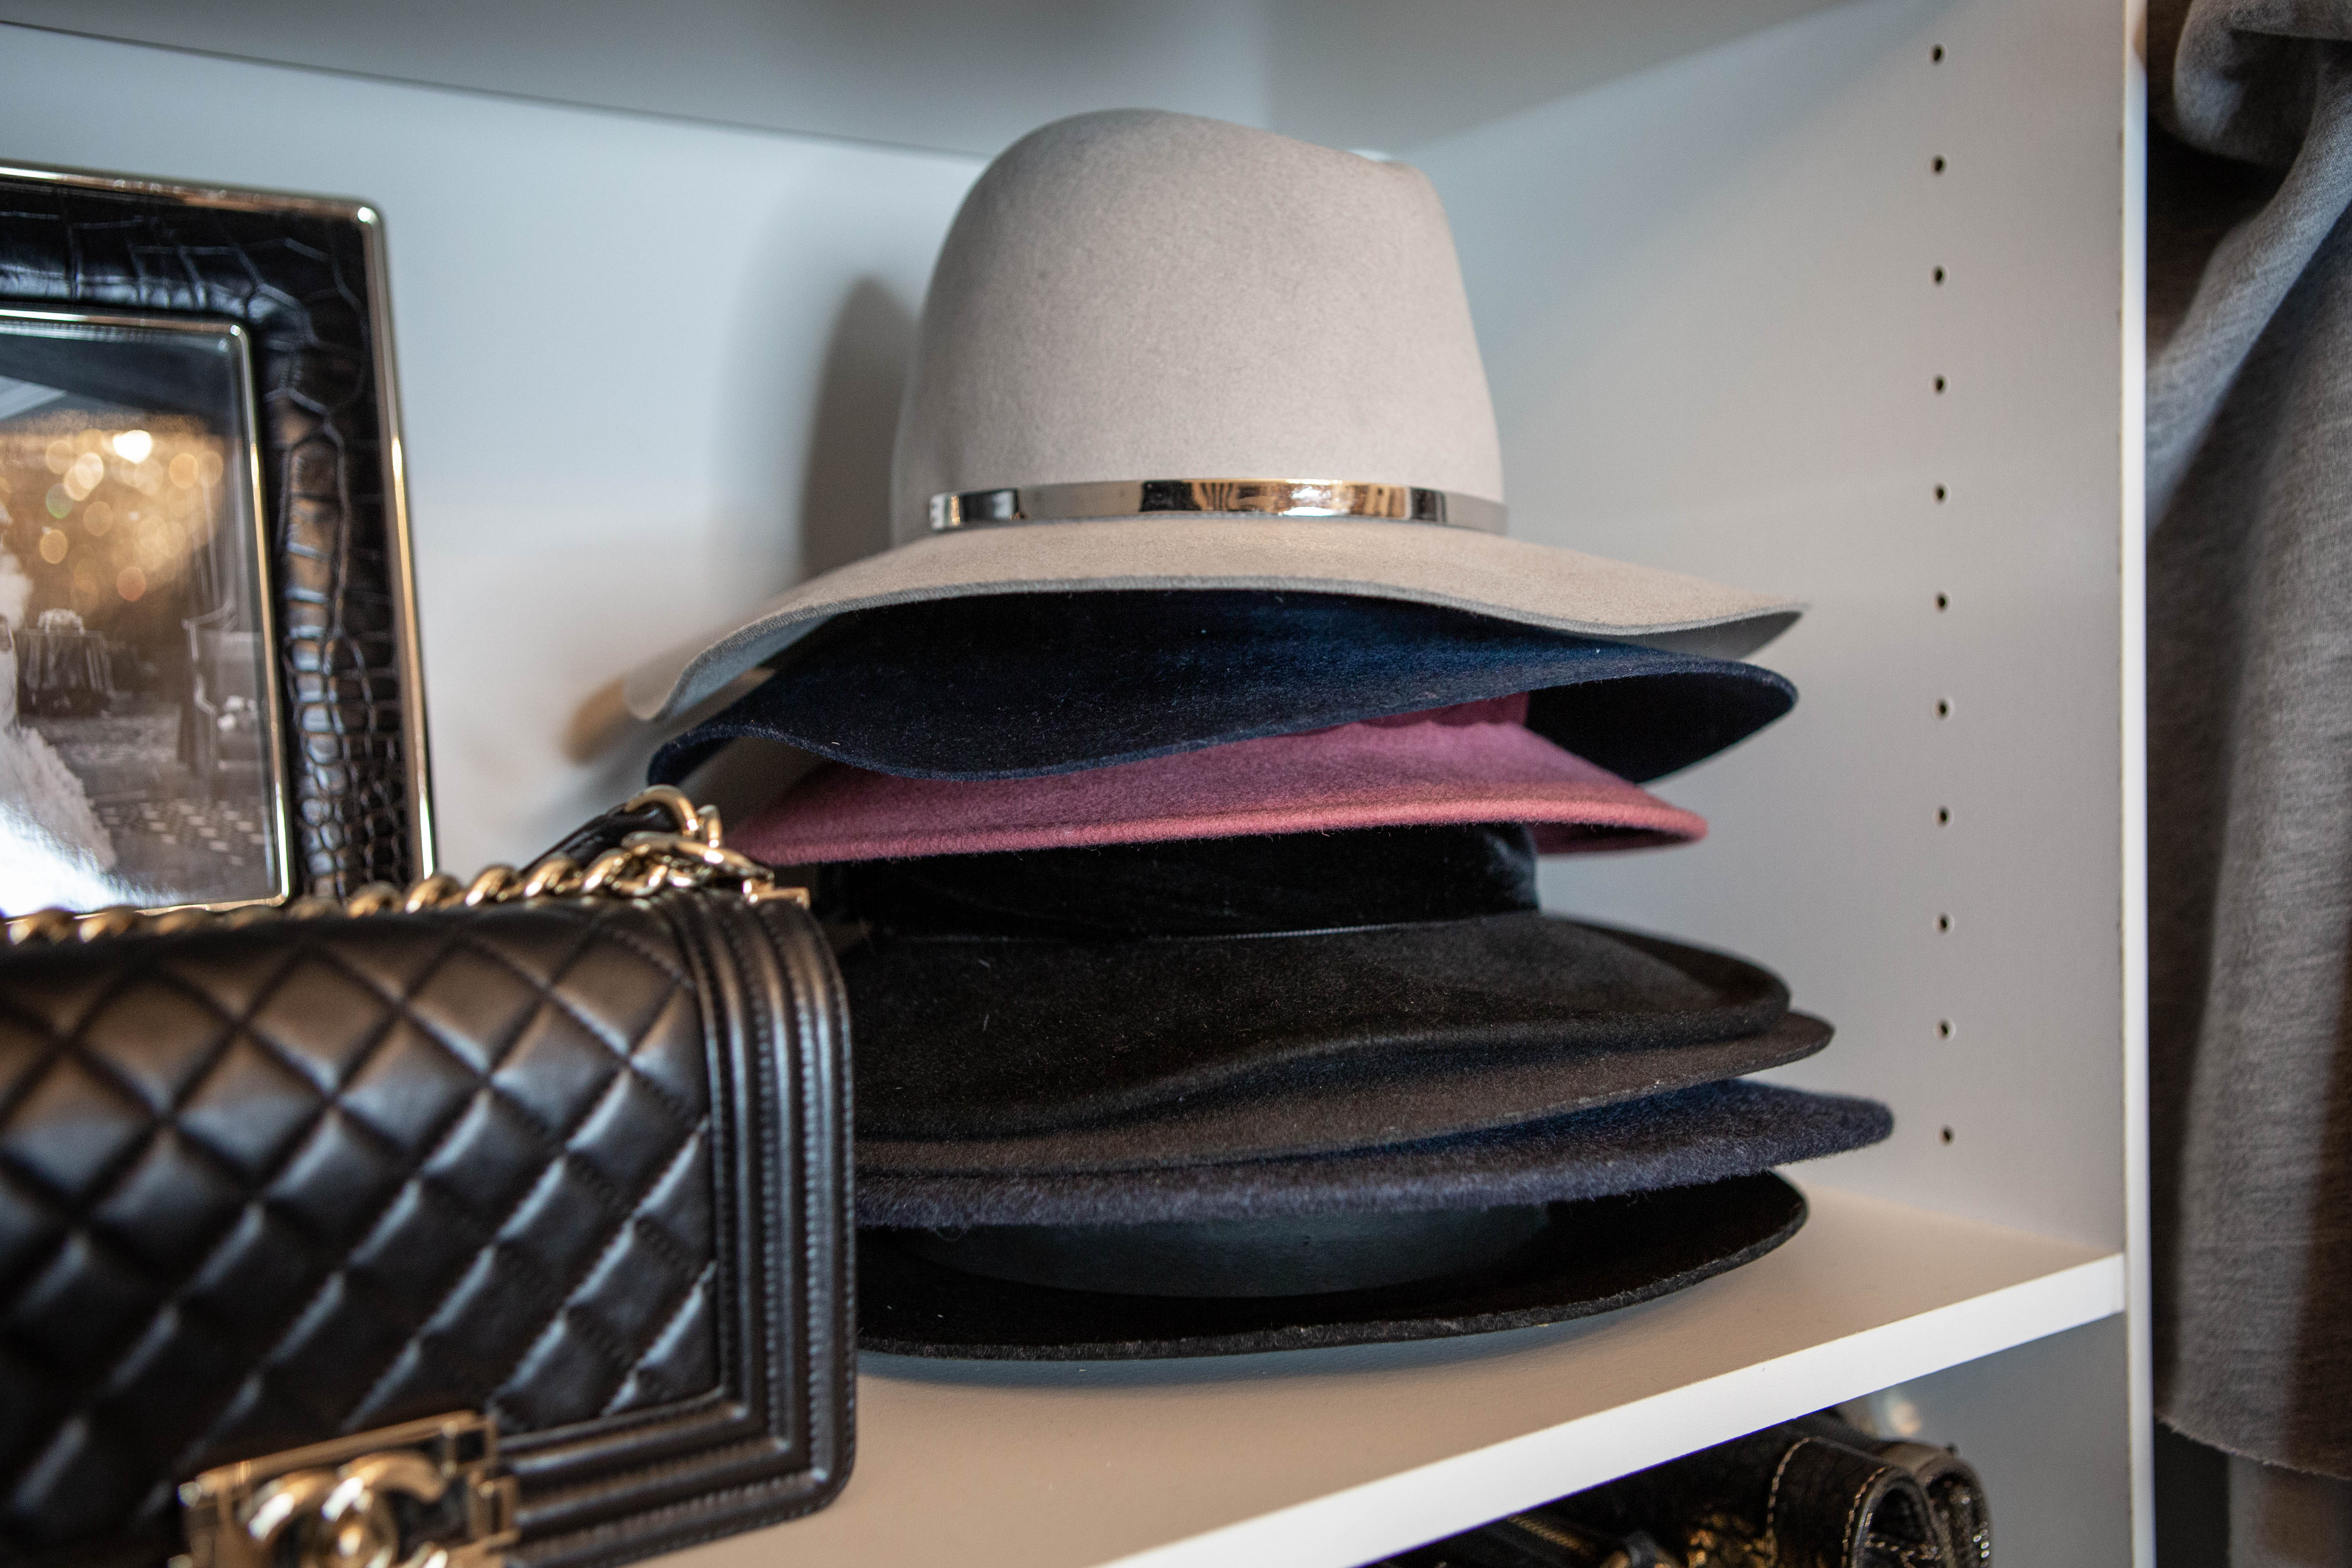
I store my wool fedoras on shelves, flattest/ fattest one on bottom, layer on top.
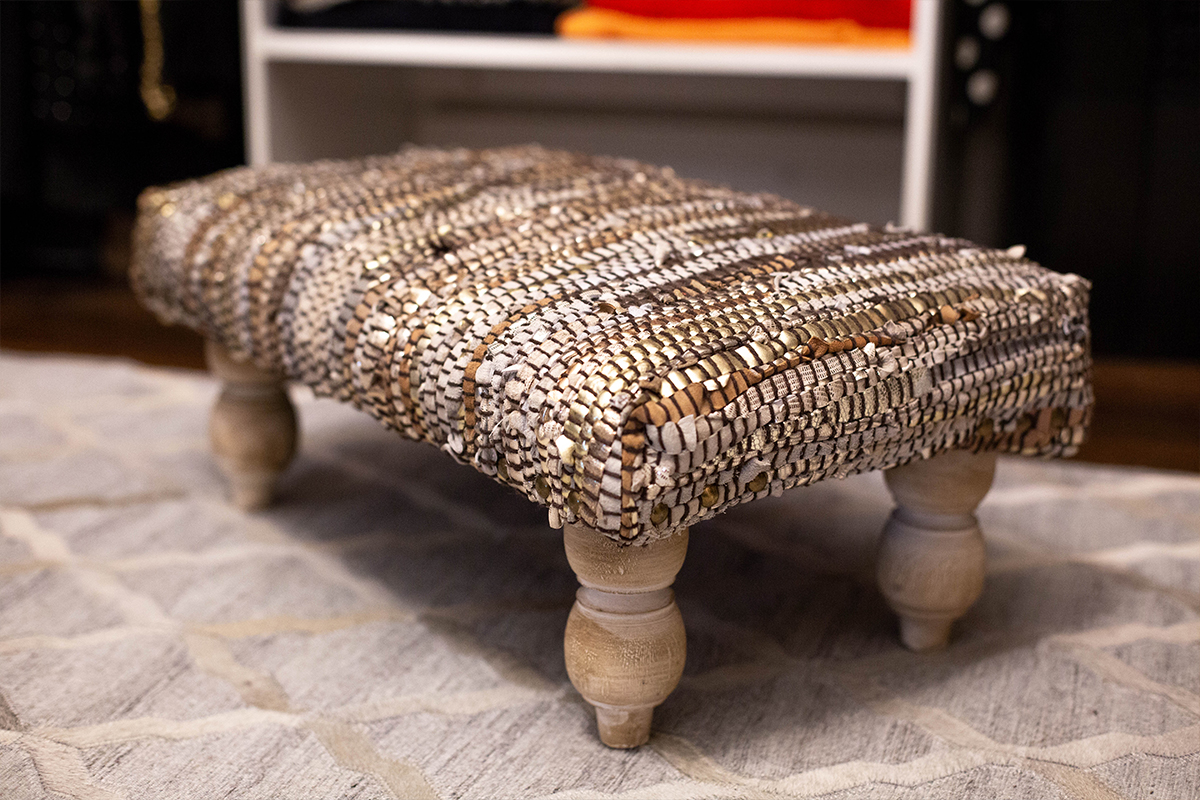
I also keep a handy footstool and ladder tucked aside for these hard to reach areas. My favorite ones are from World Market in an assortment of fun colors and cool textures to match your closet.
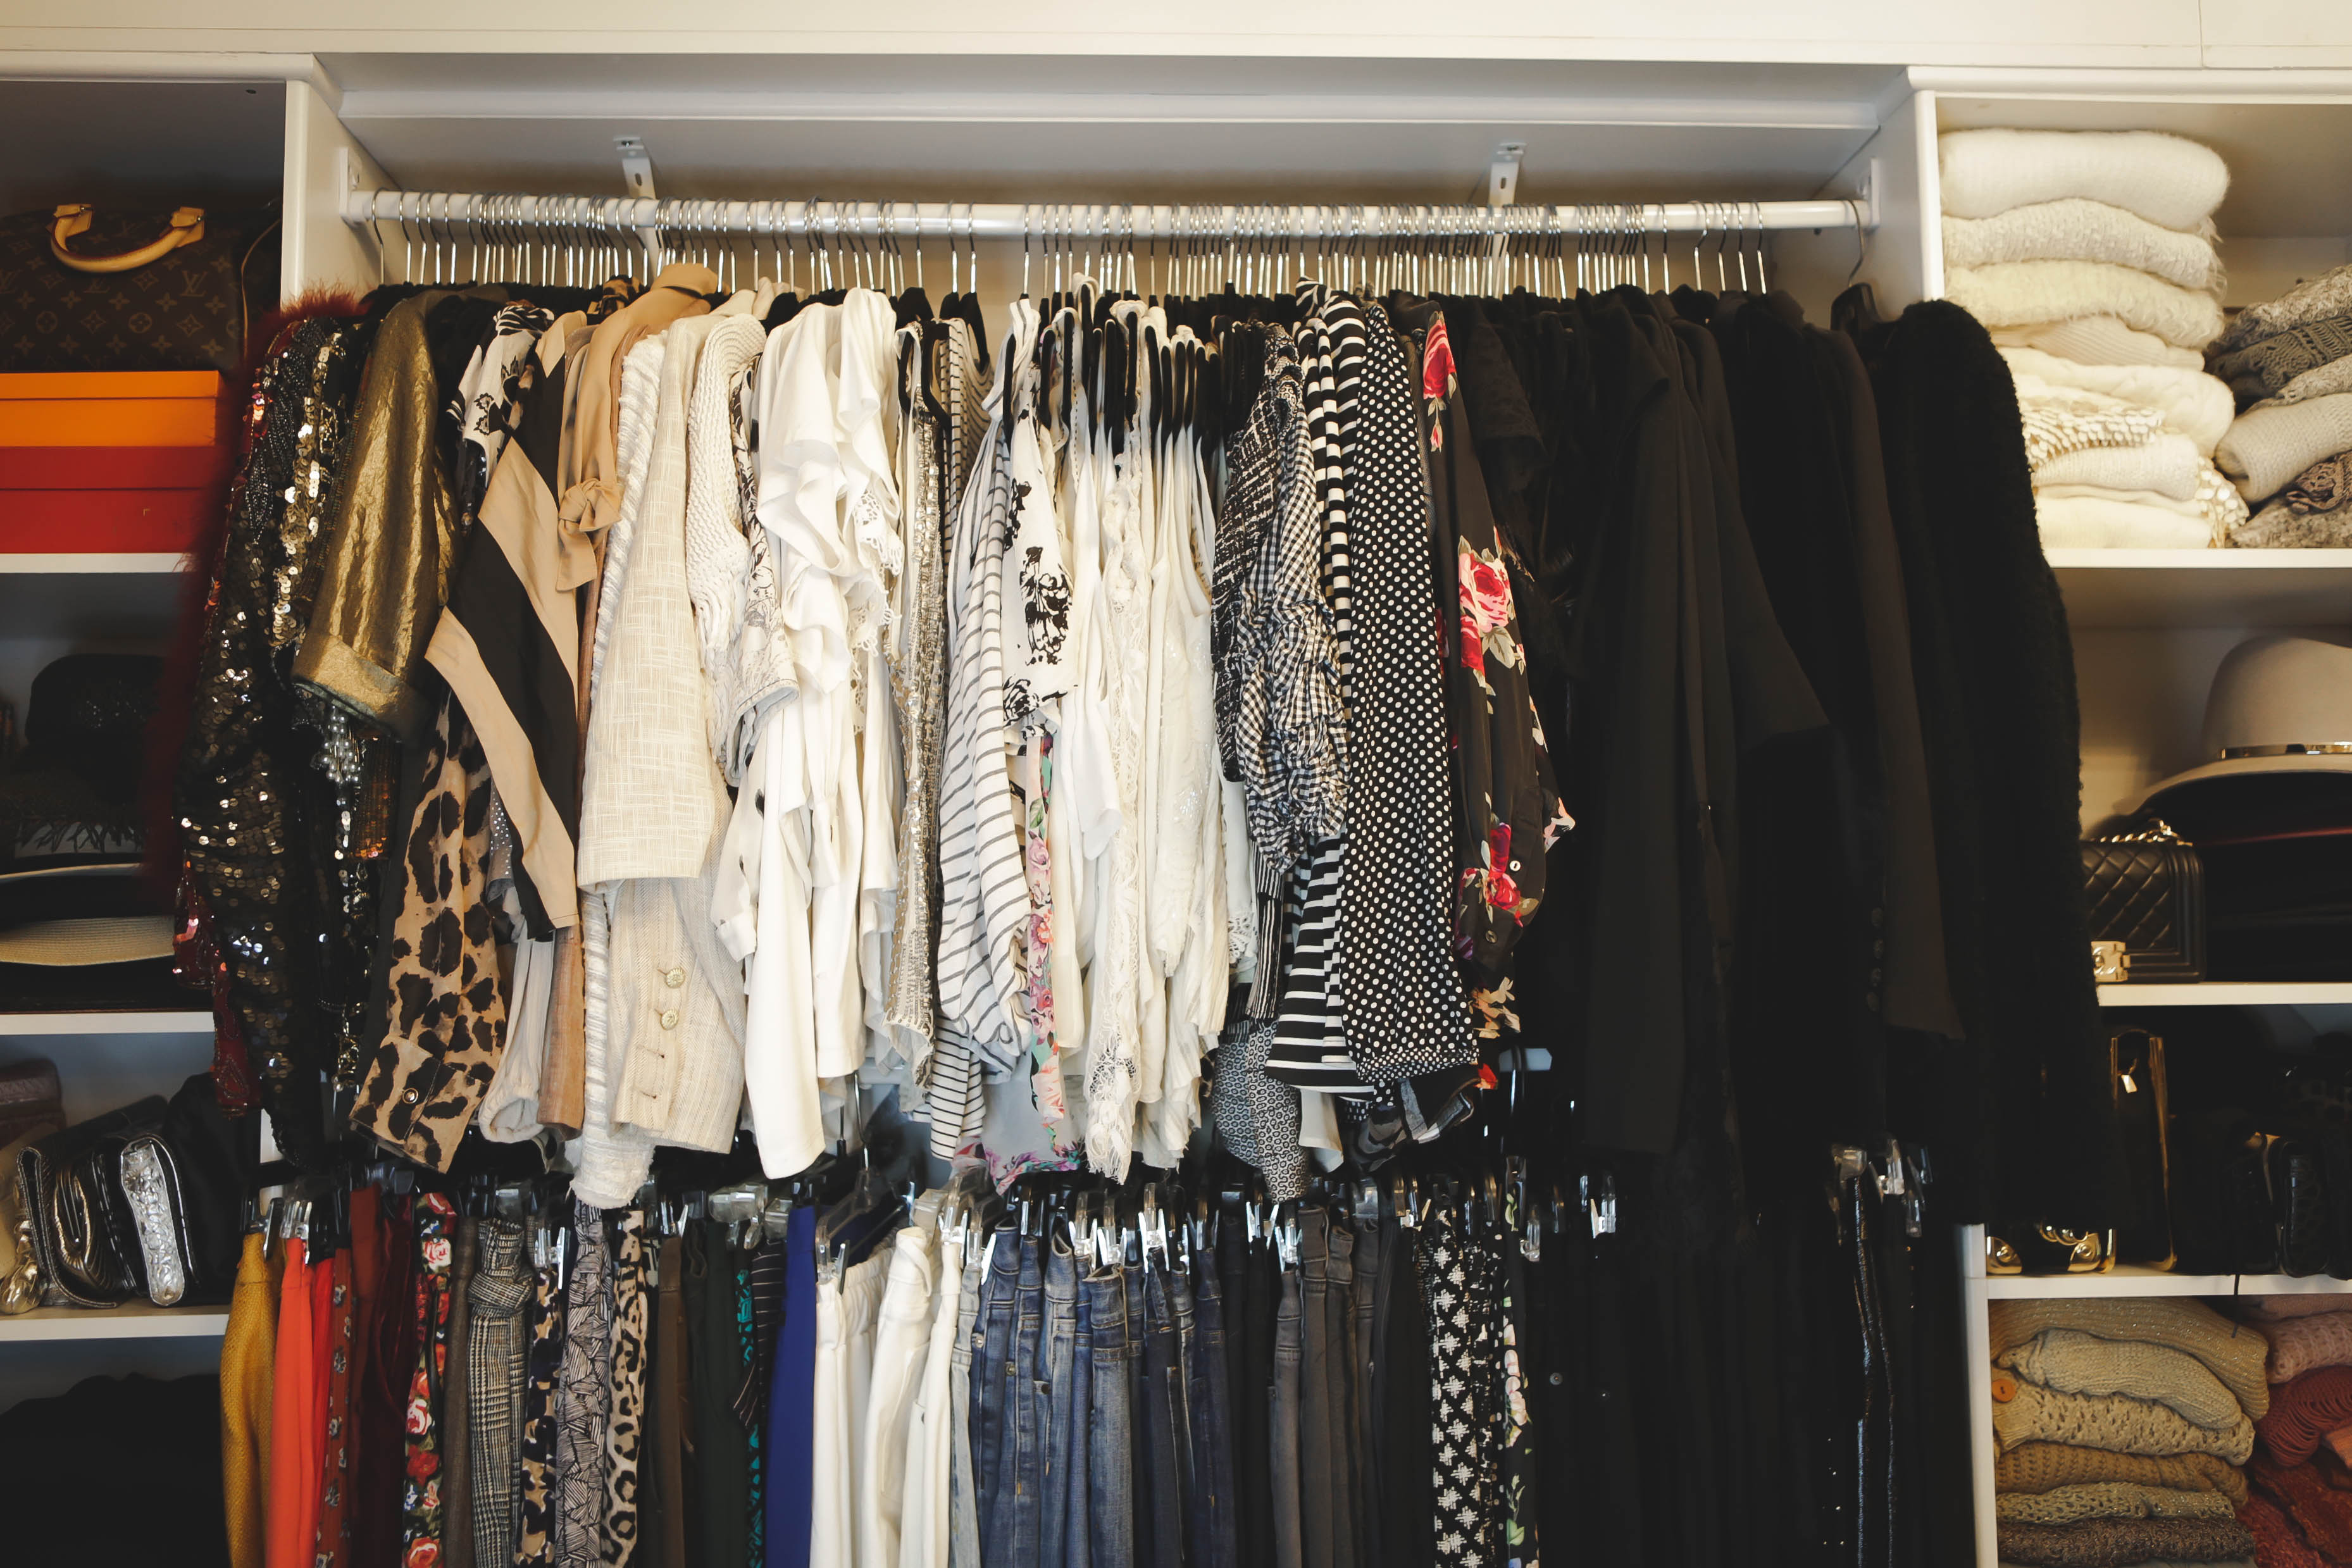
Step FOUR: Organize garments by color, type, style.
Organize clothing first by color, then by length of sleeves (sleeveless> short> long> you get the idea). That way the next time you’re searching for your long sleeved striped black and white blouse, you simply step over to that spectrum of color et Voila! Blouse on your body in no time at all.
This method will also help to define your wishlist if you don’t already have it. Do you really NEED another black blazer when you’ve got 10 of ‘em lined up side-by-side? Probably not, but if you don’t see it, you won’t believe it.
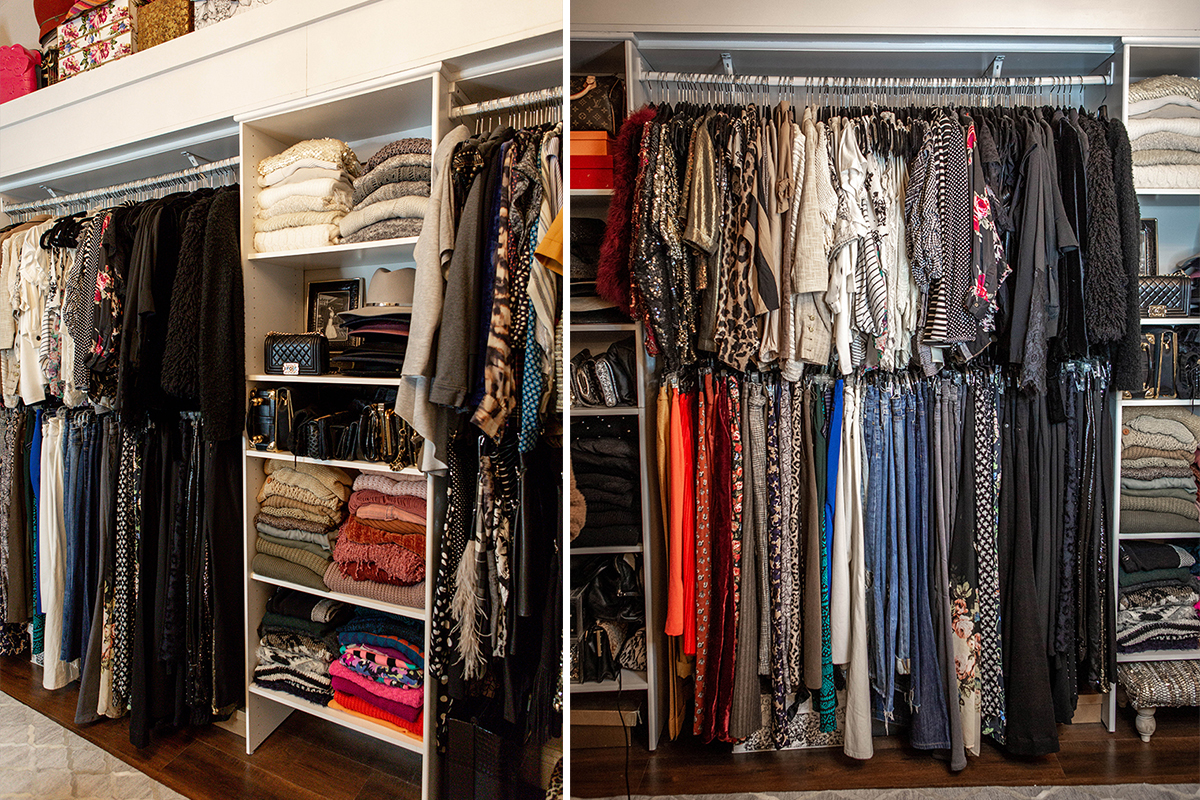
Step FIVE: Organize rows by garments.
I like to section my clothes with tops on top and bottoms on bottom. If you don’t have a double rod, you can purchase one. You can hang it directly on your upper rod, doubling the space for less than $20!
Step SIX: Use similar hangers for a consistent look.
Invest in slim velvet hangers for tops to keep the look consistent and streamlined. Bonus points for its anti-slipping features, perfect for your silks and satins. They’re not the most heavy-duty hangers but at $15/pop for a 35-pack, you can afford to replace them when needed. I use basic walnut wooden hangers for my coats and jackets, available at the Container Store.
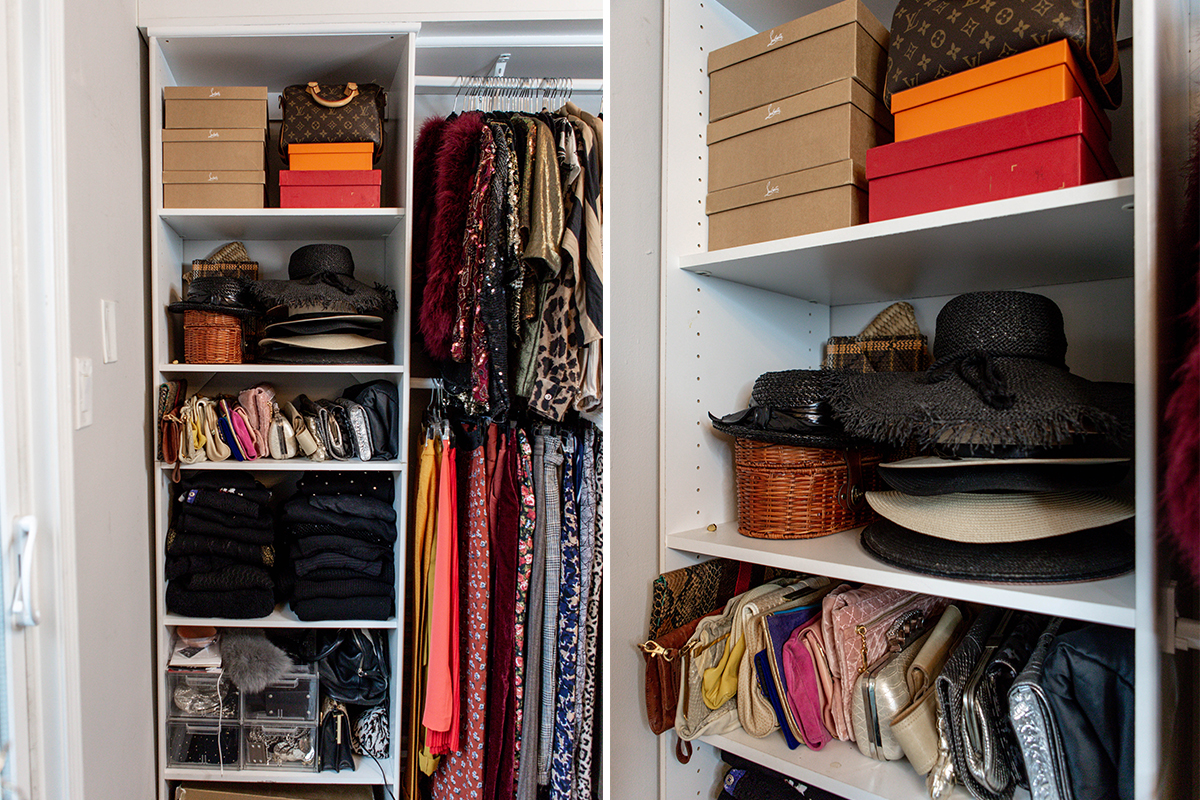
Step SEVEN: Keep seasonal items in drawers/ boxes for future use.
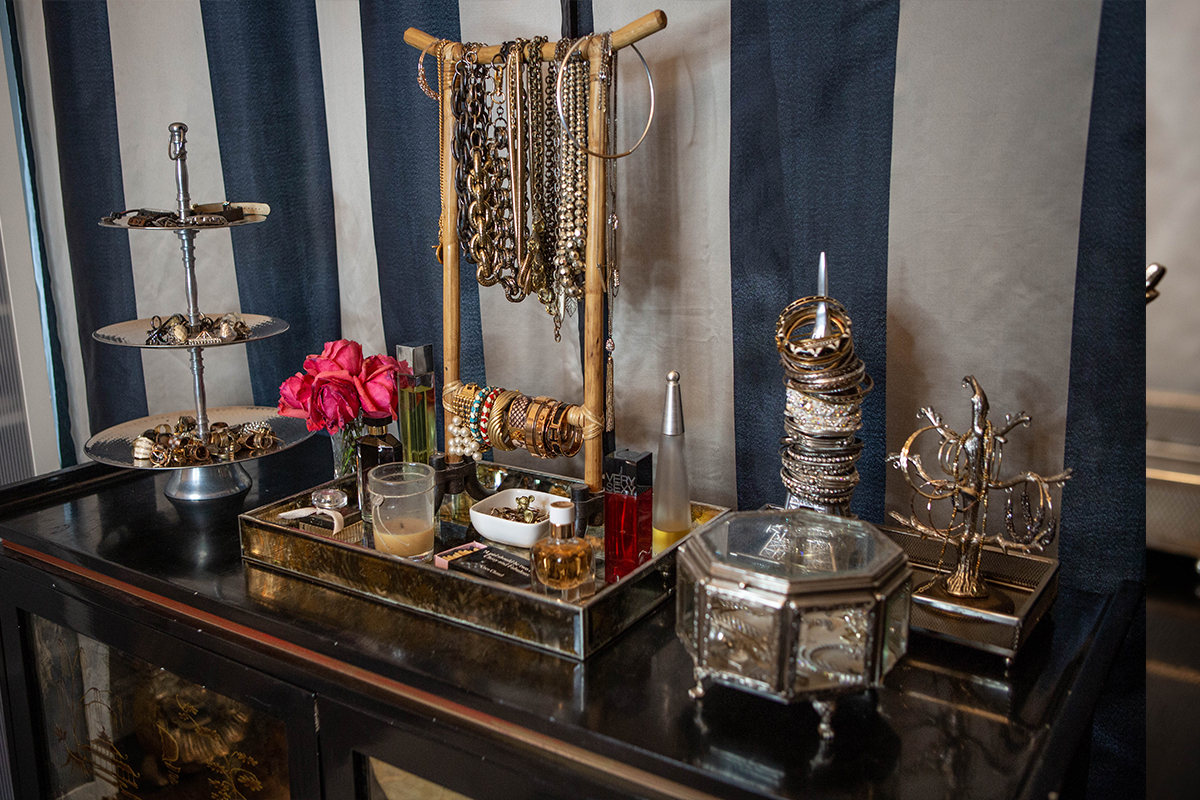
Store seasonal hats, large handbags, and other items you don’t use daily on the uppermost shelf of your closet or in a cabinet. Since these items don’t get regular use, I like to place them in plain sight but out of rotation.
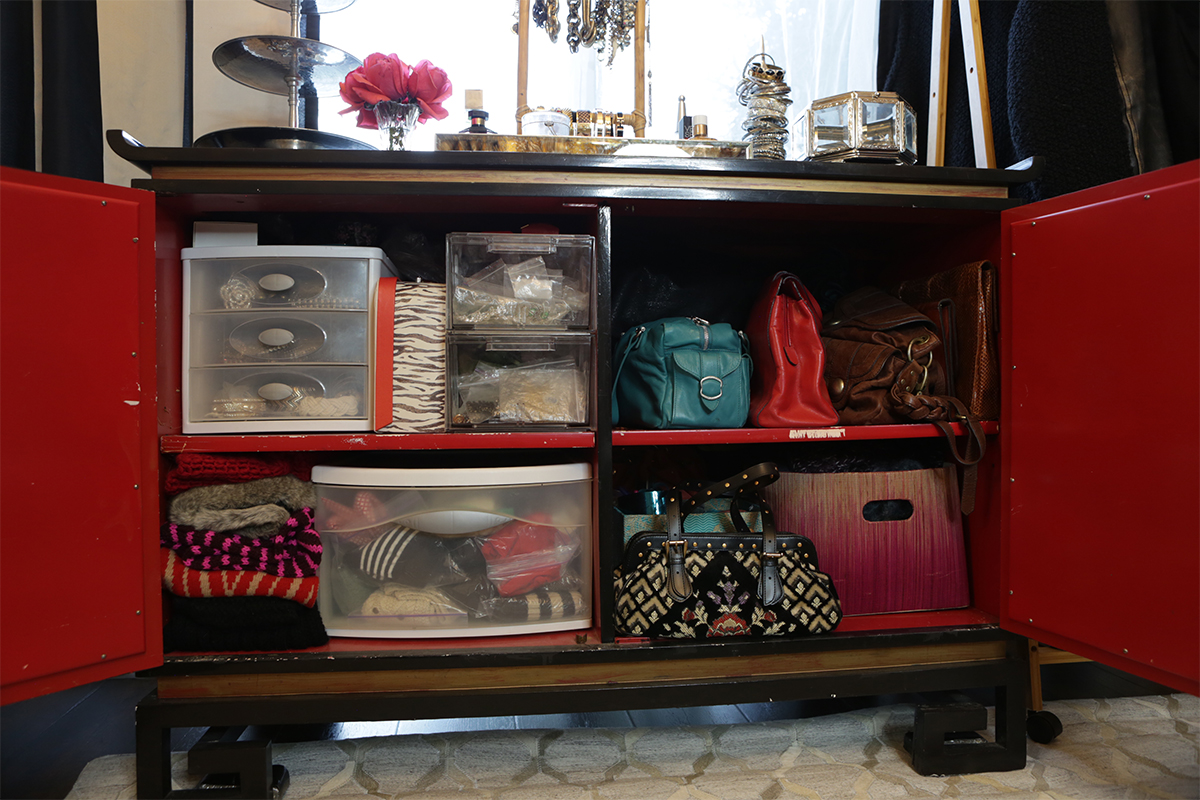
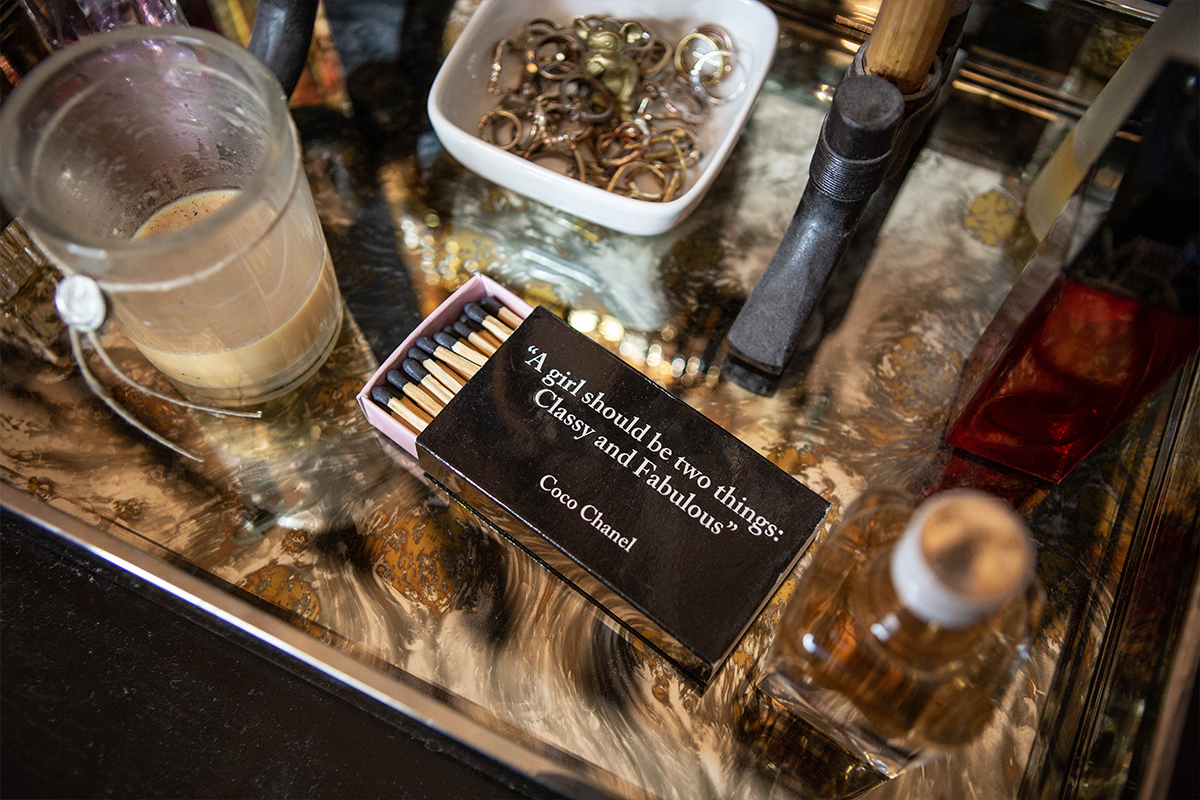
I love these inexpensive 3-drawer plastic bins for costume jewelry.
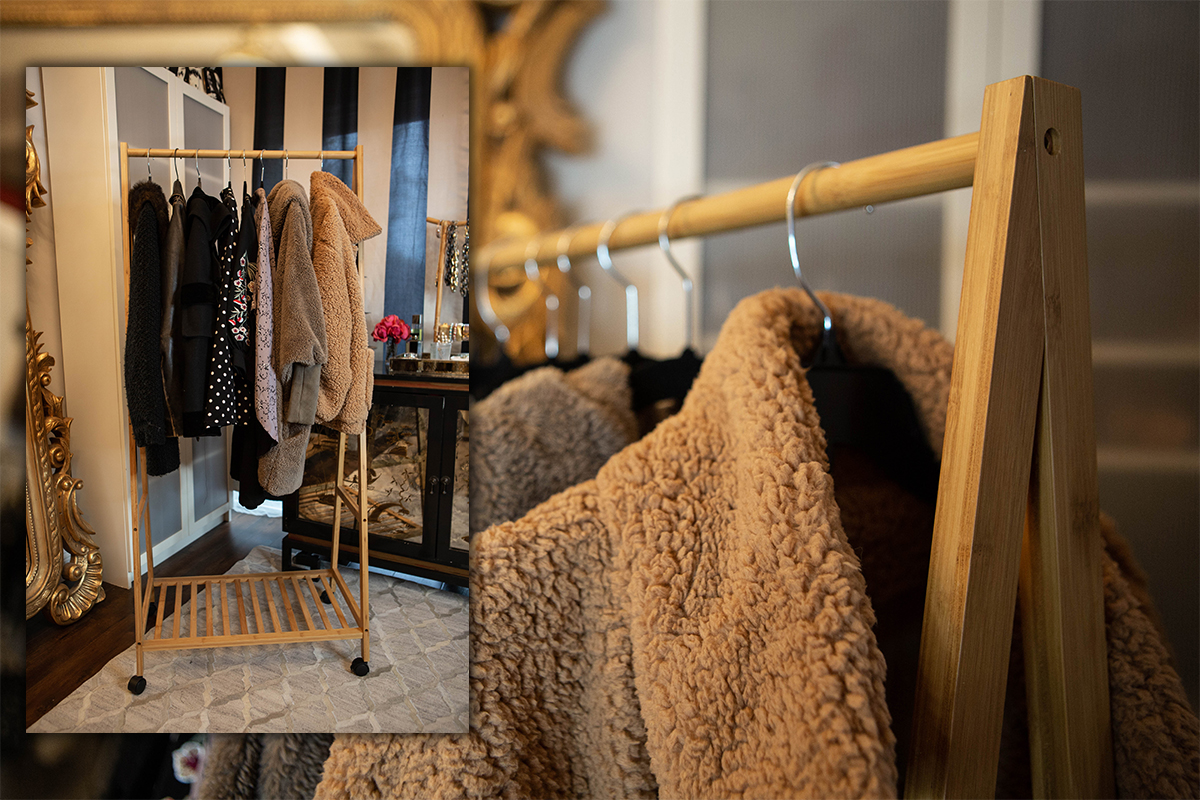
Step EIGHT: Use freestanding garment racks for favorite items or seasonal items.
Key pieces storage rack: Every season I purge my closet to make room for things I LOVE. Don’t you want to walk into your dream closet and want to wear EVERYTHING? I get rid of items that I can’t fit/ don’t flatter me/ haven’t worn in 1 year/ no sentimental value.
Learn how to purge your closet with this post: Closet Confessions | How I Clean out my Closet
I donate/ consign those items and pull out pieces I WANT to rock. Keeps my faves on rotation. Mine is old, but I LOVE garment racks from Urban Outfitters!
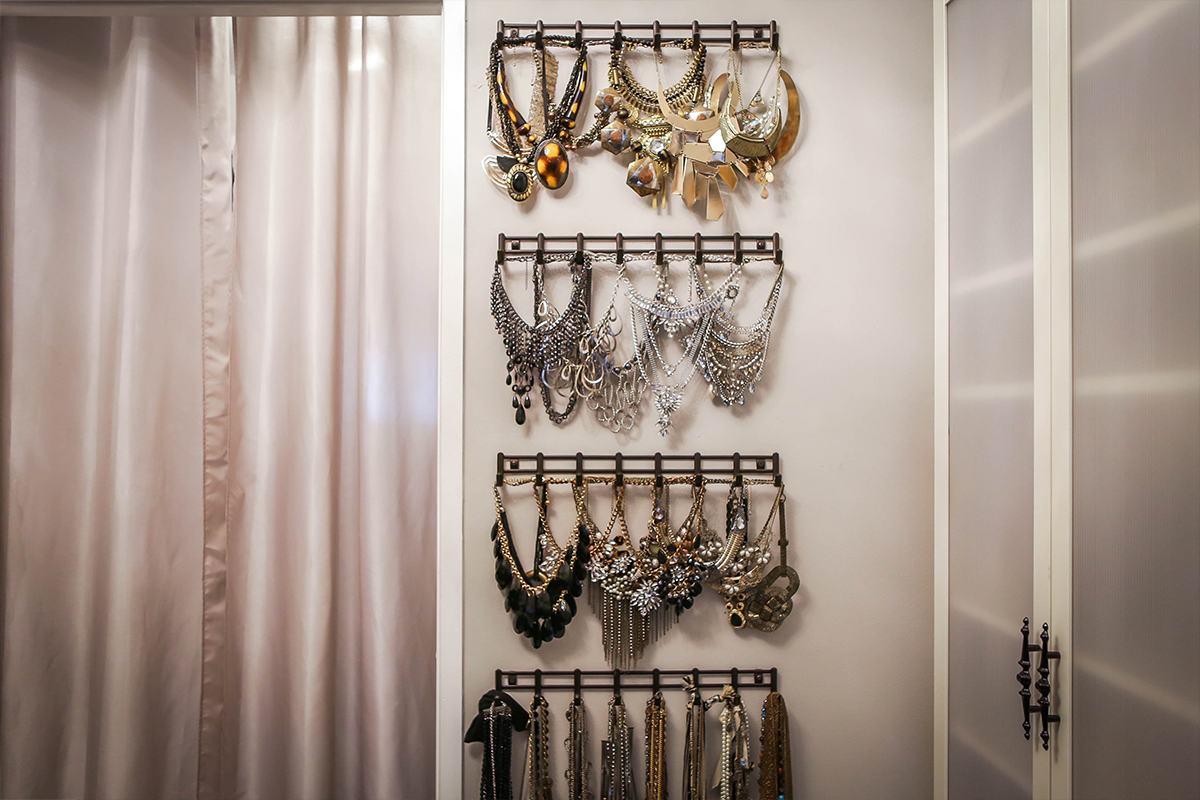
Step NINE: Utilize empty wall space.
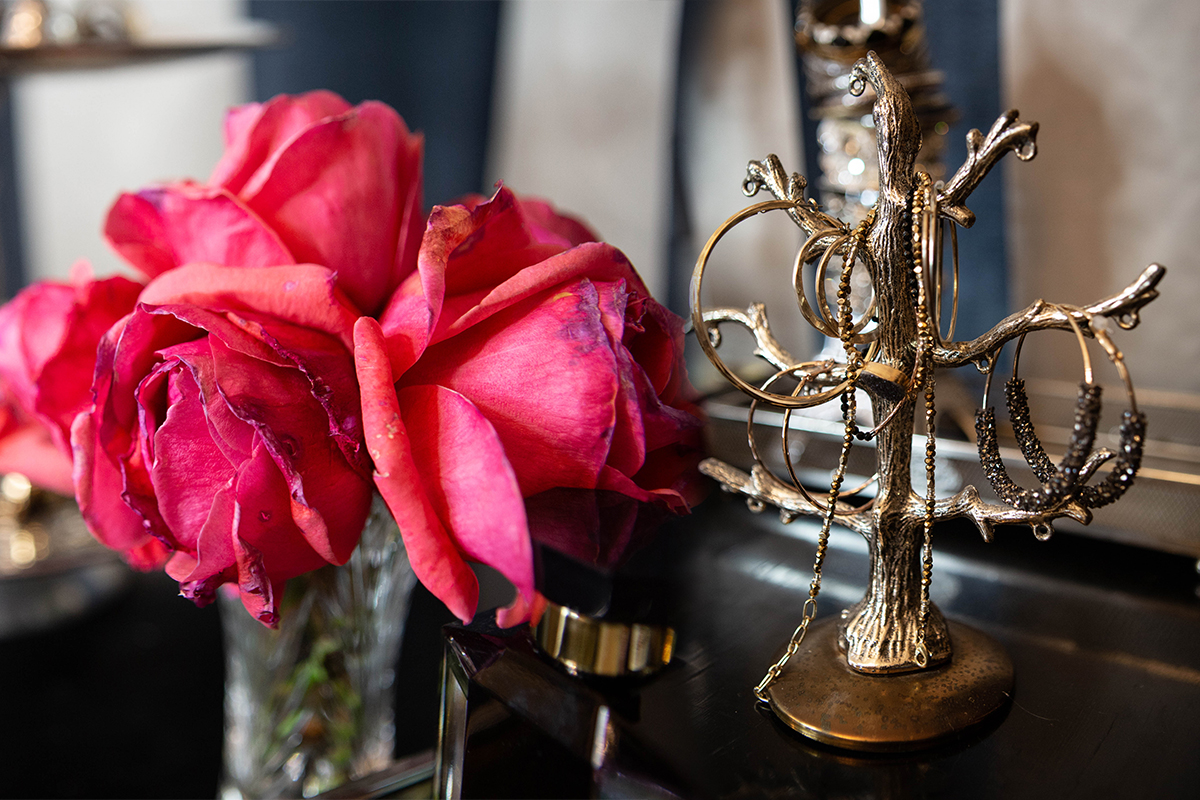
Maximalist by nature, I know that if I don’t see it, I won’t wear it. I hacked my wall display by using this wall-mounted belt rack from the Container Store for my jewelry.
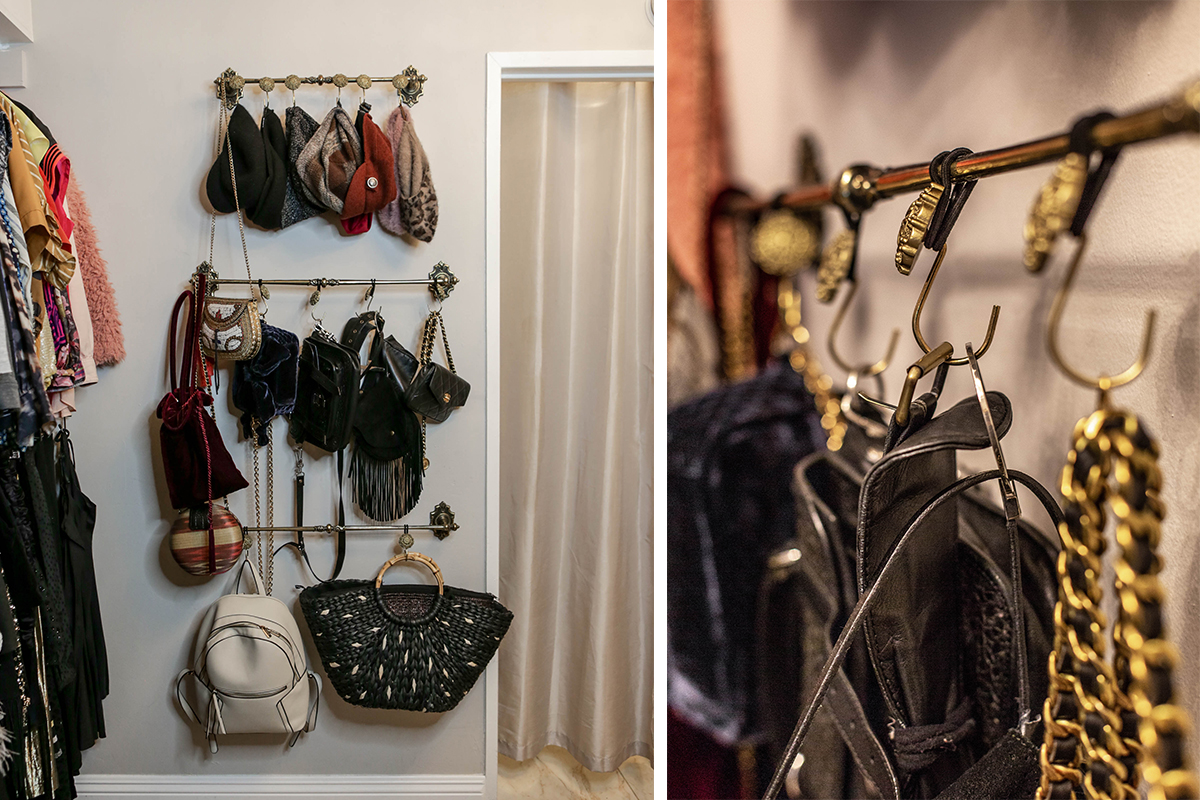
As for my favorite purses and bags, I used this vintage drapery rod I found at Goodwill and a clever shower hook hack. I store my soft knit hats on here as well, since different hats need different types of storage. This allows for easy access, so I can just grab one on the go! You can also purchase a curtain rod like mine from Bed Bath & Beyond.
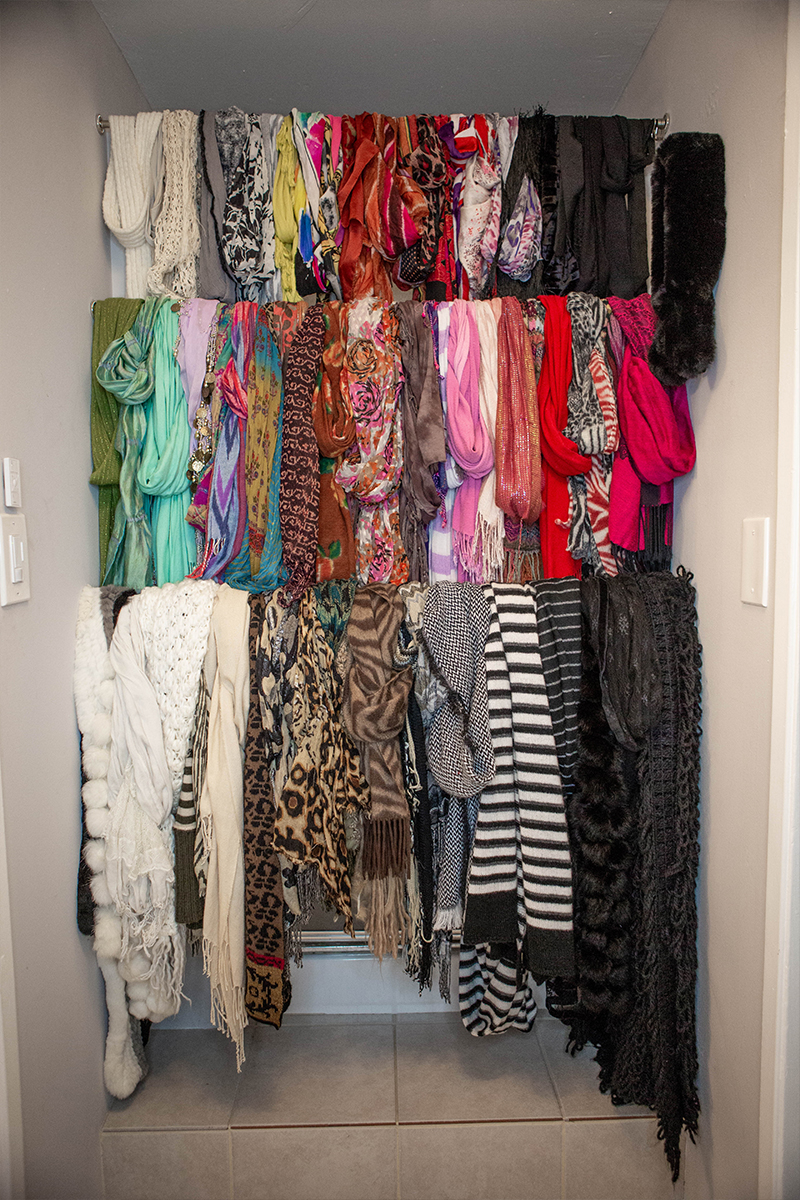
I have extra wall space just outside of my closet, so I utilized that area to store my scarves. I bought a tension rod and simply looped my scarves on it! I love how they look like a chic display from my favorite boutique. It makes storing so functional and adds a beautiful jolt of color to my space. Plus since the tension rod doesn’t damage the walls, I can remove and install it with ease.


Step TEN: Hack a bookcase to store your shoes.
I purchased these Billy bookcases from Ikea, added doors, extra interior shelves, my own hardware, et Voila, new shoe rack that keeps dust outta my shoes. I plan to embellish these doors with wallpaper for a graphic look but have yet to do so! Future Youtube video in the works!
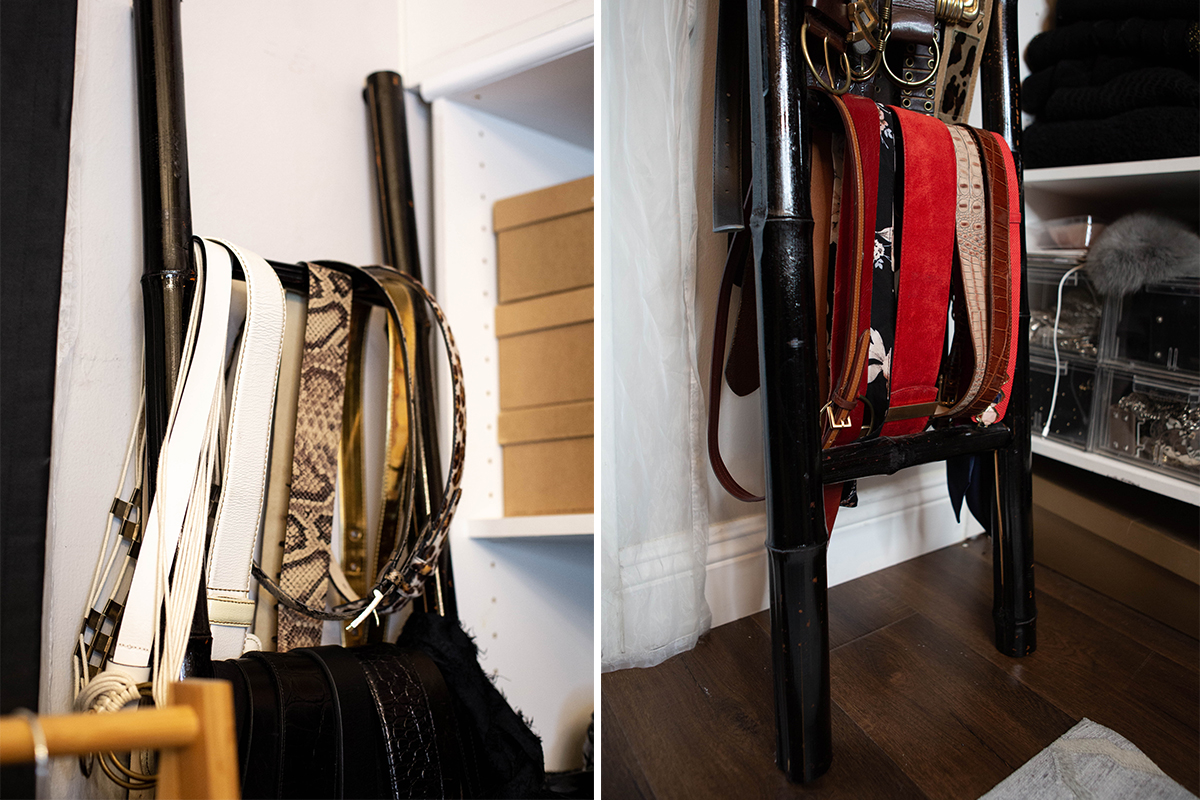
Step ELEVEN: Display your belts!
You see these decorative ladders all over the magazines. I bought this from World Market and use it to hang my belts. The steps allow me to visually see them all at a glance and know which colors I need right away.
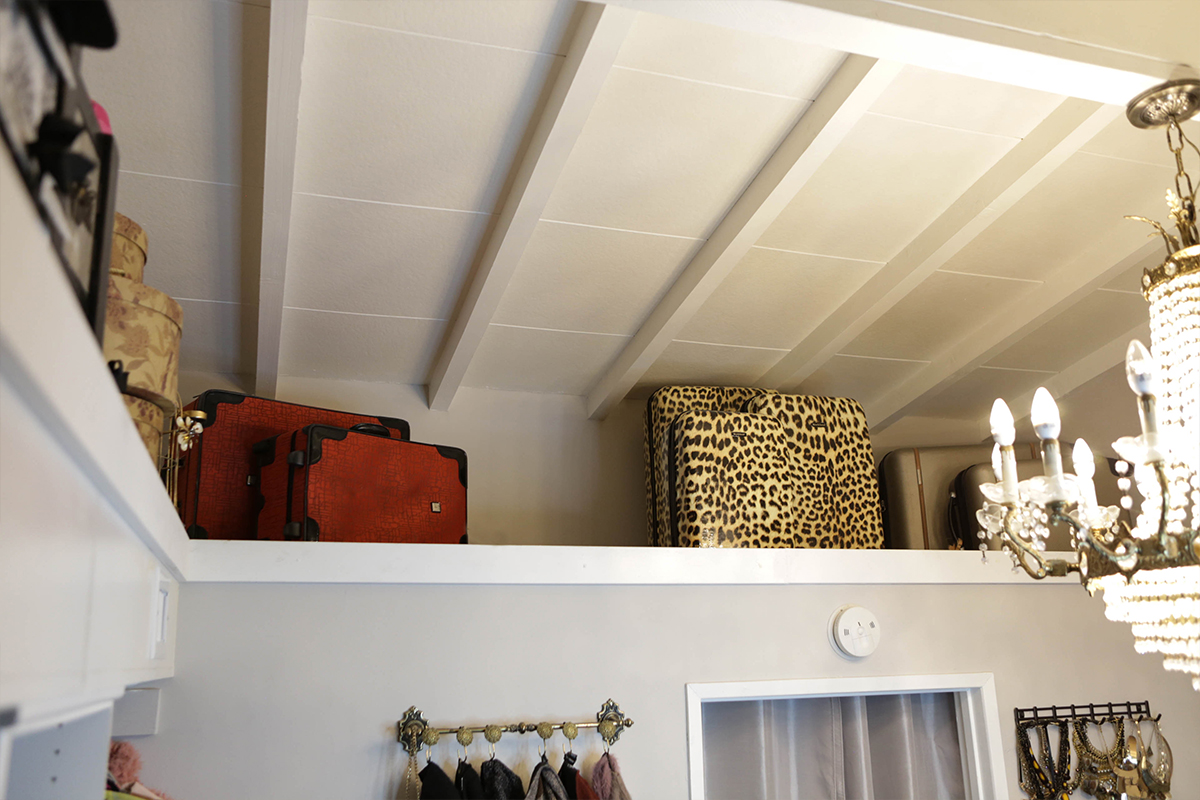
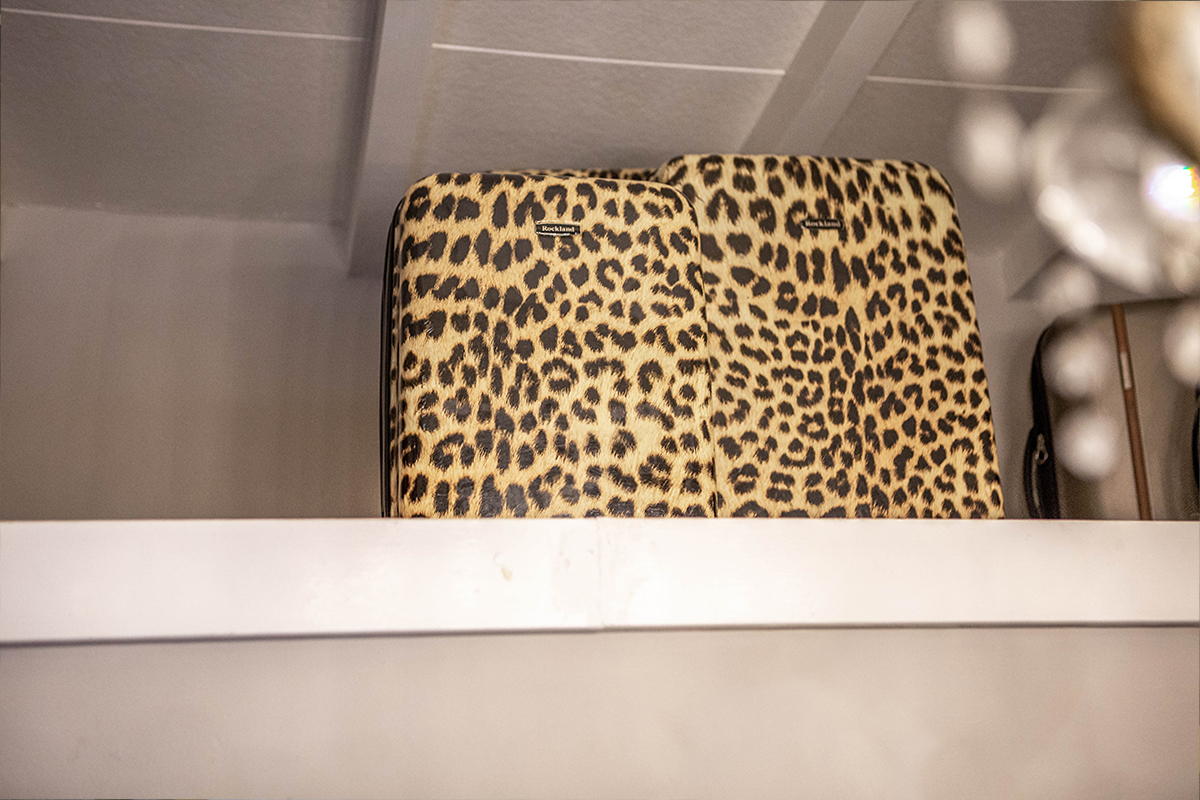
Step TWELVE: Showcase your luggage.
I know you may not have these high ceilings in your closet but they can also be stored on an upper shelf for a cool display. Since everything I purchase is already super chic I want to show it off! Plus it just draws your eye up for visual interest.
TAKE AWAY TIPS:
- If you don’t see it, you won’t wear it
- Take advantage of empty wall space by hanging organizers for your jewelry and accessories
- To prolong the lifespan of your garments, use the CORRECT hangers or none at all! Know which pieces need which type of storage – POP QUIZ insta story on Monday! This / That
- Display in- season/ on-trend items, store seasonal items.
- MUST HAVE: Ottoman/ chair/ stool/ something to throw clothes you try on neatly in one spot so putting them back becomes a quickie 2-minute pick-up game instead of a chore that takes you ALL afternoon to do
Closing Thoughts
It really helps to physically see everything you own. No more digging through piles of clothes in a forgotten corner of your bedroom. No more wishing you had something to wear when everything’s laid out front and center. Interior design is all about making thoughtful decisions to improve your everyday lifestyle. Function first, style a VERY CLOSE second! Your closet is another opportunity to tell your story so personalize it with things you adore. Make your closet into a space you LOVE to spend time in, after all your clothes help transform you into whoever you want! Have fun with it! Mess around and mix it up!
 Design is never done so don’t worry if it’s not complete now, the first step is to PURGE babes!
Don’t worry if these steps seem daunting. I created these two videos to help guide you through the process of designing and styling your dream closet!
What steps or tips did you find most helpful? Comment below!
INSTAGRAM | FACEBOOK | YOUTUBE | BLOGLOVIN’


